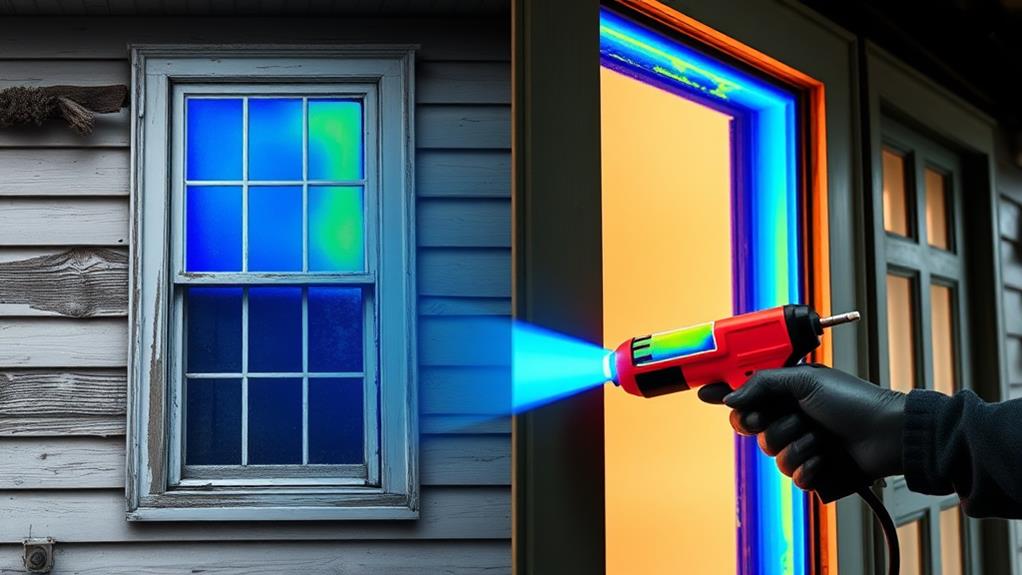
To identify air leaks in your home, start by visually inspecting common problem areas like windows, doors, and where different building materials meet. Use tools like smoke tests or thermal leak detectors for more precise detection. Once you've located leaks, seal them with caulk, weatherstripping, or expanding foam, depending on the size and location. Focus on sealing windows, doors, attics, and basements for maximum impact. DIY methods can be effective, but consider a professional energy audit for a comprehensive assessment. By tackling air leaks, you'll improve your home's energy efficiency and comfort. The following tips will help you become a pro at finding and fixing those sneaky drafts.
Common Air Leak Locations
There are five main areas where air leaks commonly occur in homes. First, check around windows and doors, as worn weatherstripping and gaps in frames can allow air to escape. Second, inspect electrical outlets and switch plates on exterior walls, which often have small gaps that let air pass through. Third, examine where different building materials meet, such as where the foundation connects to the walls or where chimneys pass through the roof.
Fourth, look for gaps around pipes and wires that enter your home from the outside. These penetrations are often overlooked but can be significant sources of air leakage. Finally, pay attention to your attic hatch or pull-down stairs, as these access points are frequently not properly sealed or insulated.
Don't forget to check less obvious areas like dropped ceilings, recessed lighting fixtures, and ductwork in unconditioned spaces. You can use a flashlight, a thin piece of paper, or an incense stick to detect air movement in these areas. On windy days, you might even hear whistling sounds near leaky spots. By systematically inspecting these common leak locations, you'll be well on your way to identifying and addressing air leaks in your home.
Tools for Detecting Leaks
Frequently, homeowners can detect air leaks using simple, readily available tools. One of the most effective methods is the smoke test. Light an incense stick and slowly move it around potential leak areas. If the smoke wavers or is drawn inward, you've found a leak.
For a more comprehensive approach, consider using a thermal leak detector. This handheld device measures surface temperatures, helping you identify cold spots that indicate air infiltration.
A blower door test, while more advanced, provides a thorough assessment of your home's airtightness. It depressurizes your house, making air leaks more pronounced and easier to locate. If you're dealing with drafts, a draft meter can quantify air movement near windows and doors.
For visual confirmation, use a flashlight at night to shine light around potential leak areas while someone observes from outside – any light passing through indicates a gap.
Don't overlook the power of your own senses. Listen for whistling sounds on windy days, feel for drafts with your hand, or look for daylight around door and window frames. These simple techniques, combined with more specialized tools, will help you effectively identify air leaks in your home.
Visual Inspection Techniques

While specialized tools can be helpful, visual inspection techniques are often your first line of defense in identifying air leaks. Start by examining the exterior of your home, focusing on areas where different building materials meet. Look for gaps around windows, doors, and where pipes or wires enter the house. Check for cracks in the foundation and loose or missing mortar.
Inside, inspect the baseboards, crown molding, and corners where walls meet ceilings or floors. Pay attention to electrical outlets, switch plates, and light fixtures on exterior walls. Don't forget to check around fireplaces, attic hatches, and recessed lights.
In the basement or crawl space, look for gaps around the sill plate and foundation walls.
On a windy day, use your hand to feel for drafts near potential leak areas. Alternatively, hold a lit incense stick near suspected leak points and watch for smoke movement. For a more thorough check, close all windows, doors, and fireplace dampers, then turn on all exhaust fans. This creates negative pressure, making it easier to detect incoming air. Remember, even small gaps can lead to significant energy loss, so be thorough in your inspection.
Pressurization Test Method
A pressurization test offers a more advanced method for detecting air leaks in your home. This technique involves using a blower door, which is a powerful fan mounted in an exterior doorframe. The fan pulls air out of your house, lowering the indoor air pressure. As a result, higher pressure outside air will flow in through any unsealed cracks and openings.
To conduct this test, you'll need to close all windows and exterior doors, open interior doors, and turn off combustion appliances. Once the blower door is set up and running, you can use smoke pencils or infrared cameras to pinpoint leaks. The smoke will be drawn towards the cracks, while thermal imaging will reveal temperature differences where air is entering.
You can perform a DIY version of this test using a box fan and incense. Place the fan in a window, blowing outwards. Light the incense and move it around potential leak areas. Where the smoke is pulled towards the fan, you've found a leak. While not as precise as a professional test, this method can still help you identify major air infiltration points in your home.
Sealing Windows and Doors
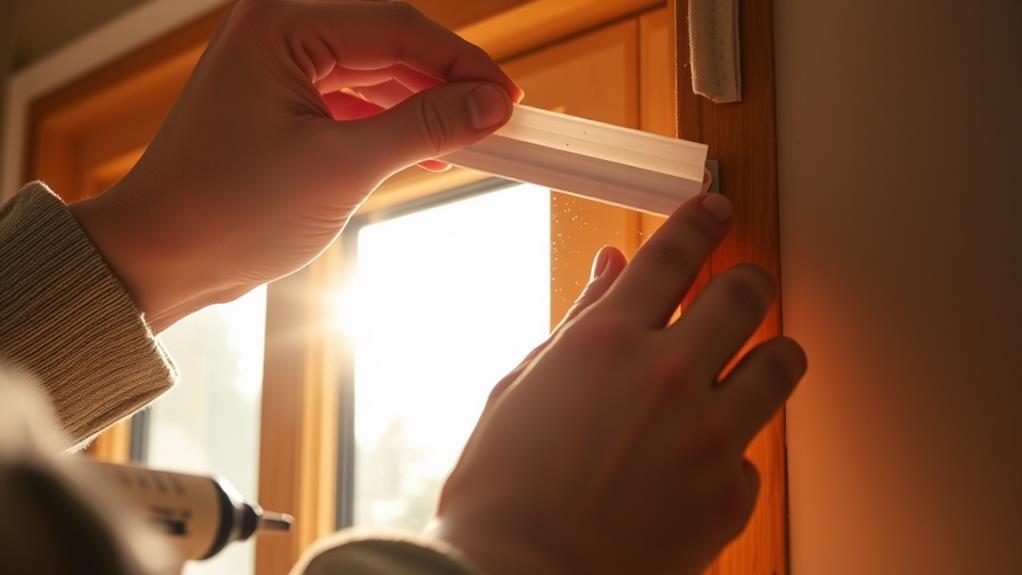
In light of identifying air leaks, sealing windows and doors should be your next priority. These areas are common culprits for energy loss and can significantly impact your home's comfort and efficiency.
Start by inspecting the weatherstripping around your doors and windows. If it's worn or damaged, replace it with new, high-quality weatherstripping to create a tight seal.
For windows, apply caulk to seal gaps between the frame and the wall. Use silicone caulk for exterior applications and latex caulk for interior use. Don't forget to check for gaps around window air conditioning units and seal them as well.
For doors, install door sweeps at the bottom to prevent drafts. You can also use foam tape to seal gaps around the door frame.
Consider adding storm windows or plastic window film for additional insulation during colder months. For older, drafty windows, you might want to invest in replacement windows with double or triple panes for improved energy efficiency.
Remember to check for gaps around electrical outlets and switch plates on exterior walls, and use foam gaskets to seal them. By addressing these common air leak sources, you'll significantly improve your home's energy efficiency and comfort.
Addressing Attic and Basement Leaks
Attics and basements often harbor significant air leaks that can compromise your home's energy efficiency. To identify leaks in these areas, start by inspecting the attic floor and basement ceiling for gaps around pipes, ductwork, and electrical wiring. Look for dirty insulation, which can indicate air movement.
In the attic, check for light coming through roof boards and examine the intersection of walls and the attic floor.
To seal attic leaks, use expanding foam for larger gaps and caulk for smaller ones. Pay special attention to the chimney flashing and areas where walls meet the attic floor. Don't forget to insulate and weatherstrip the attic hatch.
In the basement, focus on the rim joist area where the foundation meets the wood framing. Use rigid foam insulation cut to fit between joists, and seal edges with caulk or foam.
For both areas, ensure proper ventilation to prevent moisture buildup. Install baffles in the attic to maintain airflow, and use a dehumidifier in the basement if necessary. By addressing these often-overlooked spaces, you'll significantly improve your home's overall energy performance and comfort.
Caulking and Weatherstripping Basics
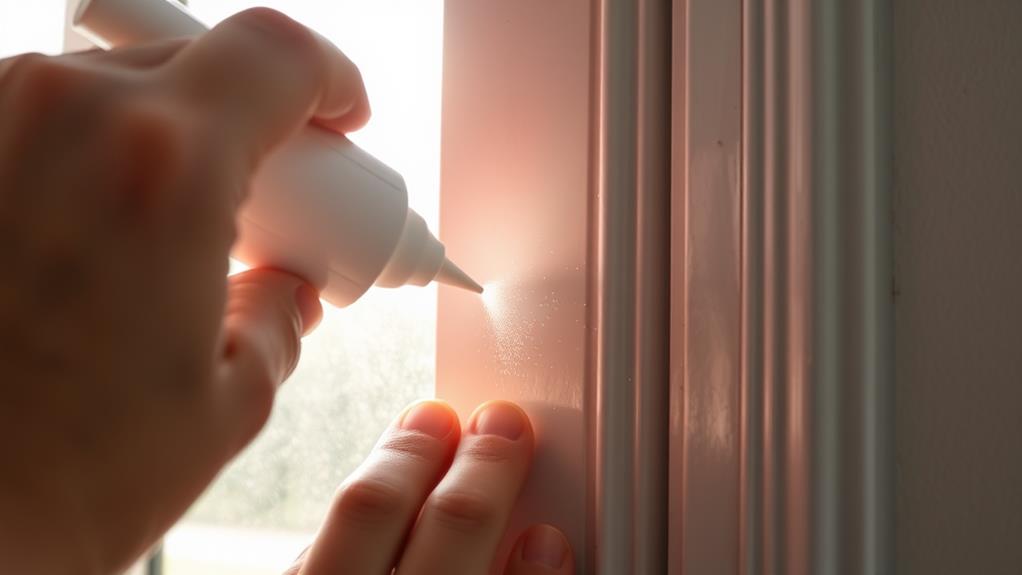
Caulking and weatherstripping are two of the most effective tools in your arsenal for sealing air leaks around your home. These methods are relatively inexpensive and can significantly improve your home's energy efficiency.
Caulk is a flexible sealant used to fill gaps and cracks in stationary building components. You'll want to apply it around window and door frames, baseboards, and where different materials meet. Choose the right type of caulk for each job: silicone for areas exposed to moisture, latex for interior dry areas, and polyurethane for exterior use.
Weatherstripping, on the other hand, is designed for movable components like doors and operable windows. It comes in various forms, including adhesive-backed foam tape, V-strip, and door sweeps. When selecting weatherstripping, consider durability, ease of installation, and how visible it'll be once installed.
Before applying either caulk or weatherstripping, clean the surfaces thoroughly and ensure they're dry. For caulking, cut the nozzle at a 45-degree angle and apply steady pressure as you move along the crack. With weatherstripping, measure carefully and follow the manufacturer's instructions for proper installation. Regular maintenance of these seals will help maximize their effectiveness over time.
Professional Energy Audit Benefits
While DIY methods like caulking and weatherstripping can significantly improve your home's energy efficiency, a professional energy audit takes things to the next level. An expert will use specialized equipment to detect air leaks you might miss, including infrared cameras to spot temperature differences and blower door tests to measure air infiltration.
They'll also assess your insulation, HVAC system, and overall energy consumption patterns.
You'll receive a comprehensive report detailing your home's energy performance and specific recommendations for improvements. This tailored advice can help you prioritize upgrades and make informed decisions about where to invest your money for the best energy-saving results. Professional auditors can often identify issues that aren't obvious to the untrained eye, such as hidden air leaks or inefficient appliances.
Conclusion
You've now got the tools to become an air leak detective extraordinaire! By following these steps, you'll seal up your home tighter than Fort Knox. Remember, every crack you find and fix means more comfort and lower energy bills. Don't hesitate to call in the pros for a thorough energy audit if you're unsure. With a little effort, you'll transform your drafty house into a cozy, efficient sanctuary.
