

Faux wainscoting is a cost-effective alternative to traditional wainscoting that adds visual interest and character to plain walls. This decorative technique involves applying molding, trim, or panels directly to the wall surface, creating the illusion of authentic wainscoting without extensive carpentry work. It's highly customizable, allowing homeowners to choose from various styles, heights, and colors to suit their interior design preferences. Faux wainscoting is easier to install and maintain than its traditional counterpart, making it an attractive option for DIY enthusiasts and budget-conscious homeowners alike. By exploring different materials and installation techniques, you can transform your space with elegant, timeless appeal.
Understanding Faux Wainscoting
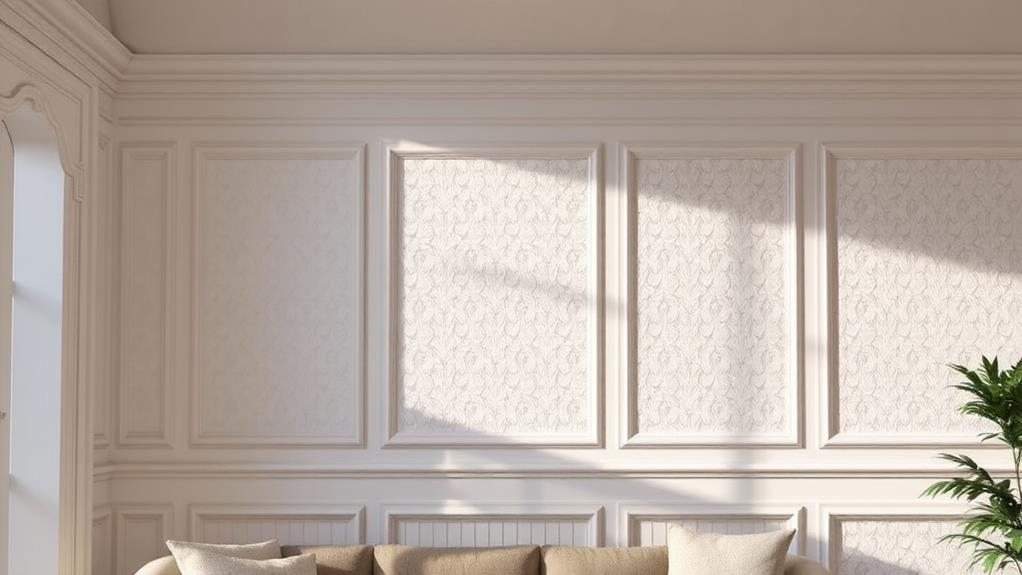
Faux wainscoting is a cost-effective and versatile alternative to traditional wainscoting that creates the illusion of decorative paneling on walls. This technique involves applying molding, trim, or other decorative elements directly to the wall surface to mimic the appearance of authentic wainscoting without the need for extensive carpentry work or expensive materials.
Unlike traditional wainscoting, which typically consists of wood panels installed on the lower portion of walls, faux wainscoting can be achieved using a variety of materials and methods. Common approaches include using pre-fabricated panels, applying picture frame molding, or creating geometric patterns with thin strips of wood or MDF. The chosen design can be painted to match or contrast with the existing wall color, further enhancing the visual impact.
Faux wainscoting offers several advantages over its traditional counterpart. It is generally less expensive, easier to install, and can be customized to suit various architectural styles and personal preferences. Additionally, it can be applied to walls of any height, allowing for greater flexibility in design. This technique is particularly useful for renters or homeowners looking to add architectural interest to their spaces without making permanent structural changes.
Benefits of Faux Wainscoting
Several compelling benefits make faux wainscoting an attractive option for homeowners and interior designers alike. First and foremost, it offers a cost-effective way to add architectural interest and visual appeal to plain walls. Compared to traditional wainscoting, faux alternatives are significantly less expensive and easier to install, making them accessible to a wider range of budgets.
Faux wainscoting is also highly versatile, allowing for customization in terms of style, height, and color to suit various interior design schemes. It can be easily painted or stained to match existing decor or create a striking contrast. Additionally, this decorative element adds depth and dimension to rooms, making them appear more spacious and well-designed.
Another advantage is its low maintenance requirements. Unlike real wood, faux wainscoting is typically resistant to moisture, warping, and insect damage, ensuring long-lasting beauty with minimal upkeep. It can also help protect walls from scuffs and marks in high-traffic areas. Finally, faux wainscoting is an excellent option for renters or those who frequently redecorate, as it can be easily removed or changed without causing permanent damage to the underlying wall surface.
Materials and Tools Needed
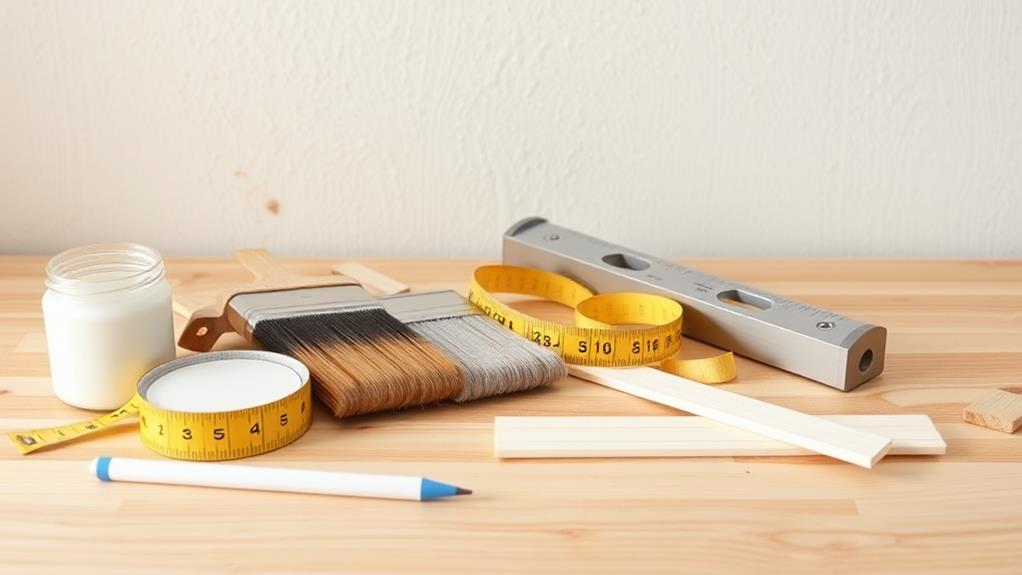
To create faux wainscoting, one must gather the necessary materials and tools before beginning the project. The primary materials include medium-density fiberboard (MDF) panels, wood trim, construction adhesive, wood filler, and paint. MDF panels serve as the base for the wainscoting, while wood trim creates the decorative frame effect. Construction adhesive ensures secure attachment to the wall, and wood filler helps smooth out any imperfections. Paint is essential for achieving the desired finish.
Essential tools for this project include a measuring tape, level, pencil, miter saw, nail gun, sandpaper, and paintbrushes or rollers. The measuring tape and level ensure precise placement and alignment of the panels and trim. A pencil is used for marking cutting lines and placement points. The miter saw allows for accurate cutting of the MDF panels and trim pieces, while a nail gun secures them to the wall. Sandpaper is necessary for smoothing surfaces and edges, and paintbrushes or rollers are used for applying paint and achieving a professional finish. Having these materials and tools on hand will help ensure a successful faux wainscoting installation.
Design Styles and Options
Various design styles and options are available when creating faux wainscoting, allowing homeowners to customize their space according to their preferences and existing decor. Traditional styles include raised panel, flat panel, and beadboard designs.
Raised panel wainscoting features recessed panels with decorative molding, creating a classic, elegant look. Flat panel designs offer a more contemporary appearance with simple, clean lines. Beadboard wainscoting consists of narrow vertical planks, ideal for cottage or farmhouse-style interiors.
Modern interpretations of wainscoting include geometric patterns, asymmetrical designs, and mixed material combinations. Homeowners can experiment with different heights, ranging from chair rail height (32-36 inches) to three-quarter wall height (72 inches).
Color choices also play a crucial role in the overall aesthetic. Painting the wainscoting the same color as the wall creates a subtle, cohesive look, while contrasting colors add visual interest and definition. Textured finishes, such as faux wood grain or distressed effects, can further enhance the authenticity of the faux wainscoting.
Measuring and Planning
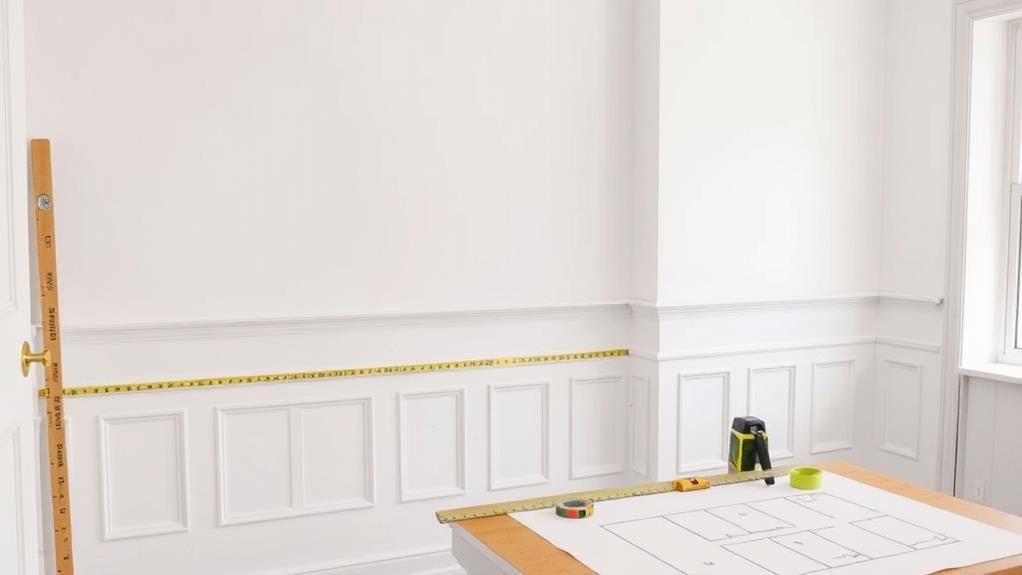
Precision is paramount when measuring and planning for faux wainscoting installation. Begin by measuring the entire length of the walls to be covered, accounting for doors, windows, and any obstacles. Determine the desired height of your wainscoting, typically ranging from 32 to 42 inches, depending on ceiling height and personal preference.
Calculate the number of panels needed based on your chosen design and wall dimensions. Allow for a 1/8-inch gap between panels for expansion. Measure and mark the location of studs along the wall, as these will serve as anchor points for installation. Create a detailed sketch of your layout, including panel placement and any electrical outlets or switches that need to be accommodated.
Consider the baseboard and chair rail moldings, ensuring they complement your chosen panel style. Purchase materials with a 10% overage to account for mistakes or irregular cuts. Pre-paint or stain all components before installation to achieve a more professional finish. Gather necessary tools, including a level, tape measure, pencil, saw, and nail gun. Proper planning and accurate measurements will significantly streamline the installation process and result in a polished, cohesive look.
Preparing Your Walls
Proper wall preparation is essential for a successful faux wainscoting installation. Begin by thoroughly cleaning the walls to remove any dirt, dust, or grease. Use a mild detergent solution and rinse with clean water, allowing the surface to dry completely.
Next, inspect the walls for any imperfections such as cracks, holes, or uneven areas. Fill these with spackling compound and sand smooth once dry.
For optimal adhesion of the faux wainscoting materials, lightly sand the entire wall surface to create a slightly rough texture. This step is particularly important if the walls have a glossy finish. After sanding, wipe down the walls with a tack cloth to remove any residual dust.
If your walls have existing baseboards, decide whether to remove them or work around them. Removing baseboards can create a cleaner look but requires more effort. If keeping them, ensure they're securely attached and fill any gaps with caulk.
Installation Techniques
The cornerstone of successful faux wainscoting lies in mastering key installation techniques. Begin by marking a level line around the room at the desired height for your wainscoting. Use a laser level for precision.
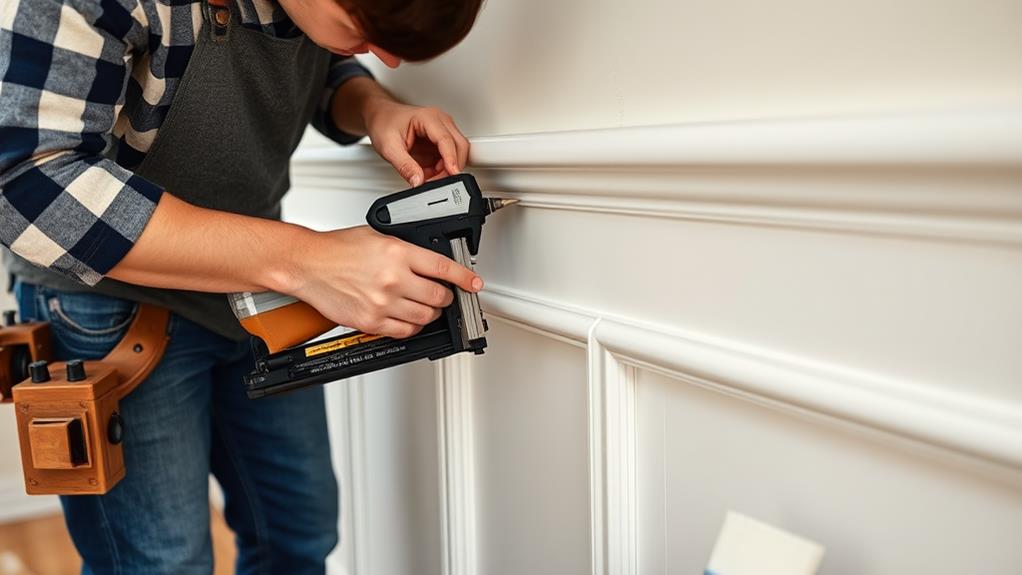
Next, apply a thin bead of construction adhesive to the back of each panel or board. Press the pieces firmly against the wall, ensuring they align with your level line.
For added stability, use finishing nails to secure the panels. Fill nail holes with wood putty and sand smooth once dry. When installing multiple panels, maintain consistent spacing between them. Use spacers or pennies to achieve uniform gaps. For corners, miter the edges at a 45-degree angle for a seamless fit.
If using individual boards, start at the bottom and work your way up, using a level to check each row. Install a chair rail or decorative molding along the top edge to complete the look. For a painted finish, caulk all seams and joints before priming and painting. Sand between coats for a smooth, professional appearance. With attention to detail and proper technique, your faux wainscoting will rival the real thing.
Painting and Finishing Touches
Elevating your faux wainscoting project to its full potential hinges on the painting and finishing touches. After installation, proper preparation is crucial. Sand any rough edges or imperfections, then clean the surface thoroughly to ensure paint adherence.
Choose a paint finish that complements your room's style. Semi-gloss or satin finishes are popular for wainscoting, as they're durable and easy to clean. For a traditional look, opt for white or cream. Bold colors can create a modern, dramatic effect. Apply primer first, then use a foam roller for smooth coverage on flat surfaces and an angled brush for detailed areas.
Consider adding decorative elements like chair rail molding or panel molding to enhance the authentic look. These can be painted to match or contrast with the wainscoting. For a polished appearance, caulk any gaps between the wainscoting and existing walls or trim.
Maintenance and Care
Maintaining your faux wainscoting ensures its longevity and preserves its aesthetic appeal. Regular dusting with a soft, dry cloth or feather duster is essential to prevent dirt buildup.
For deeper cleaning, use a slightly damp cloth with mild soap and water, taking care not to oversaturate the surface. Avoid harsh chemicals or abrasive cleaners that may damage the paint or finish.
Inspect your faux wainscoting periodically for any signs of wear, chipping, or peeling. Touch up small imperfections promptly with matching paint to prevent further damage. If you've applied a protective topcoat, consider reapplying it every few years to maintain its protective properties.
In high-traffic areas, be cautious of scuffs and scratches from furniture or other objects. Use felt pads on furniture legs to minimize potential damage. If your faux wainscoting includes decorative molding, pay special attention to these areas during cleaning, as they can collect dust and debris more easily.
For painted faux wainscoting, be prepared to refresh the paint every 5-7 years, depending on wear and tear. This will help maintain its crisp appearance and protect the underlying structure.
Troubleshooting Common Issues
Despite careful installation and maintenance, faux wainscoting may occasionally present issues that require troubleshooting. Common problems include peeling or bubbling panels, visible seams, and discoloration.
To address peeling, carefully lift the affected area, apply additional adhesive, and press firmly back into place. For bubbling, create a small incision in the bubble, inject adhesive, and use a roller to smooth out the air.
Visible seams can be minimized by applying paintable caulk along the edges and smoothing with a damp finger. Once dry, touch up with matching paint. Discoloration may occur due to sun exposure or moisture. In such cases, consider repainting the affected areas or applying a UV-resistant clear coat to prevent further fading.
If panels become damaged beyond repair, they can be individually replaced without dismantling the entire installation. Carefully remove the damaged panel, clean the surface, and install a new one using the same techniques as the original installation. For persistent issues or extensive damage, consult a professional to assess the underlying cause and recommend appropriate solutions.
Frequently Asked Questions
Can Faux Wainscoting Be Installed Over Existing Textured Walls?
Yes, faux wainscoting can be installed over existing textured walls. However, it's important to properly prepare the surface by cleaning, sanding, and potentially applying a thin layer of joint compound to create a smoother base for installation.
How Does Faux Wainscoting Affect Home Resale Value?
Faux wainscoting can positively impact home resale value by enhancing visual appeal and perceived quality. While not as valuable as genuine wainscoting, it still adds character and elegance to interiors, potentially attracting more buyers and increasing overall property value.
Is Faux Wainscoting Suitable for Bathrooms or High-Humidity Areas?
While moisture-rich environments pose challenges, thoughtfully implemented faux wainscoting can indeed grace bathroom walls. Opt for water-resistant materials and proper sealing to ensure longevity. With careful planning, this elegant touch can enhance even high-humidity spaces.
Can Faux Wainscoting Be Removed Without Damaging the Underlying Wall?
Removing faux wainscoting typically causes minimal damage to underlying walls. Most installations use adhesives or nails that can be carefully detached. However, proper removal techniques and touch-up work may be necessary to restore the wall's original condition.
Are There Building Codes or Regulations to Consider When Installing Faux Wainscoting?
Like a ship navigating treacherous waters, faux wainscoting installation must navigate regulations. Generally, building codes focus on structural elements, not decorative features. However, local ordinances may have specific requirements. Always consult your local building department before proceeding with installation.
Conclusion
Faux wainscoting furnishes a fantastic finish for frugal homeowners, fostering a fresh, fashionable façade without financial folly. This decorative device delivers depth and dimension to dull dwellings, dramatically transforming spaces with simple steps and supplies. By mastering measurement, meticulous installation, and artful application of paint, any area can acquire an air of aristocratic allure. With proper preservation, this practical paneling persists as a perennial favorite, providing perpetual pleasure and polished presentation in personal and professional environments alike.