
A post-storm DIY roof inspection starts with safety precautions, including proper equipment and avoiding hazardous conditions. Begin with a ground-level assessment, checking for fallen debris and visible damage. Inspect interior spaces for water stains or leaks. Examine gutters and downspouts for clogs or detachment. Use binoculars to inspect shingles for damage or missing pieces. Look for structural issues like sagging or cracks. Document all findings with photos and detailed notes. Address immediate concerns with temporary fixes if possible. For significant damage or complex issues, contact a professional roofer. This checklist provides a solid foundation for maintaining your roof's integrity after severe weather.
Safety First
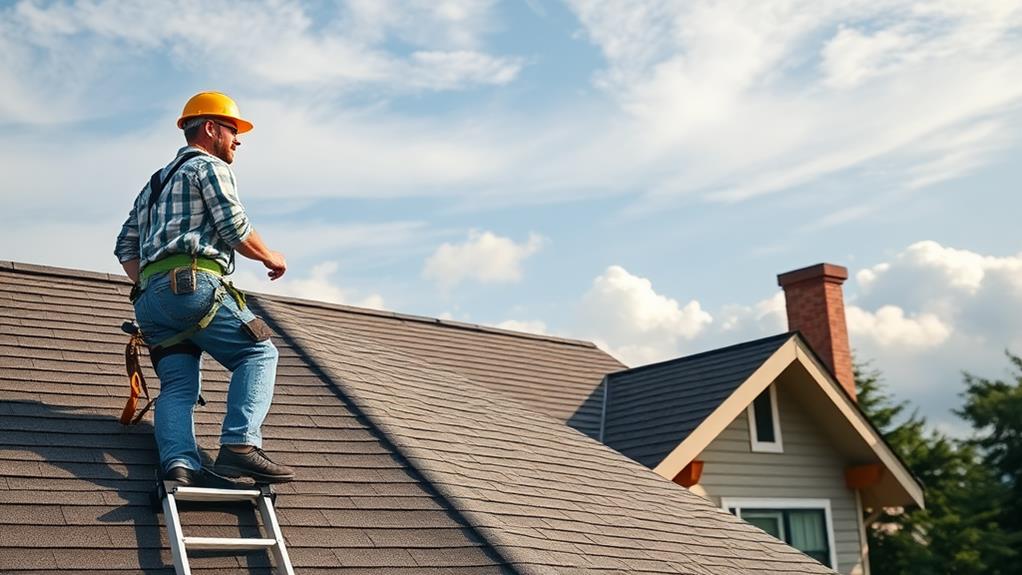
Safety precautions are paramount when conducting a DIY roof inspection. Before ascending to your roof, ensure you have the proper equipment, including a sturdy ladder, non-slip shoes, and a safety harness if available. Always maintain three points of contact while climbing and avoid inspecting the roof during wet, windy, or icy conditions.
Be mindful of power lines and keep a safe distance from them. If your roof has a steep pitch or is particularly high, consider hiring a professional instead.
For those proceeding with the inspection, walk carefully to avoid damaging shingles or slipping. Stay away from the roof's edge and be cautious around skylights or other weak spots.
Inform someone of your plans and have them present during the inspection as a safety precaution. Carry a fully charged mobile phone in case of emergencies. If you encounter any signs of structural damage or feel unsafe at any point, descend immediately and contact a professional roofer. Remember, your safety is more important than identifying roof damage, so exercise extreme caution throughout the entire process.
Ground-Level Assessment
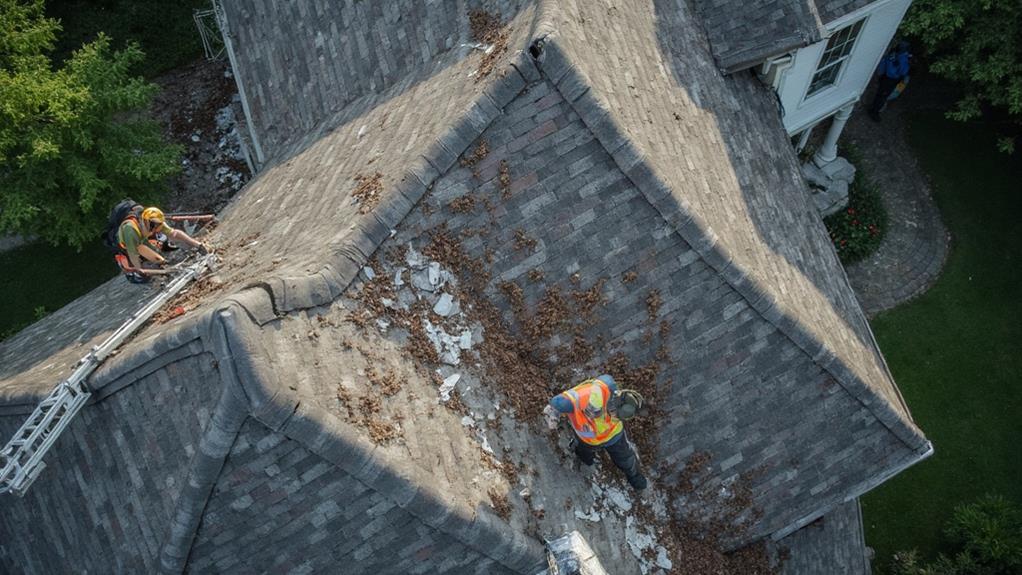
Before ascending to the roof, a thorough ground-level assessment can provide valuable insights into your roof's condition. Begin by walking around your property, carefully examining the perimeter of your home. Look for any fallen shingles, tiles, or other roofing materials that may have been dislodged during the storm. These can indicate potential damage to your roof's surface.
Pay close attention to your gutters and downspouts. Check for any debris, such as leaves or small branches, that may have accumulated. Clogged gutters can lead to water backup and potential roof damage. Also, inspect the ground near downspouts for any granules from asphalt shingles, which may suggest roof deterioration.
Use binoculars to scan the roof's surface from the ground. Look for any visible signs of damage, such as missing or curled shingles, damaged flashing around chimneys or vents, or sagging areas. Check for any changes in the roof's appearance, such as discoloration or patches that look different from the surrounding area. These could indicate water damage or areas where repairs may be necessary. If you notice any significant issues during this ground-level assessment, consider contacting a professional roofer for a more thorough inspection.
Check Interior Spaces
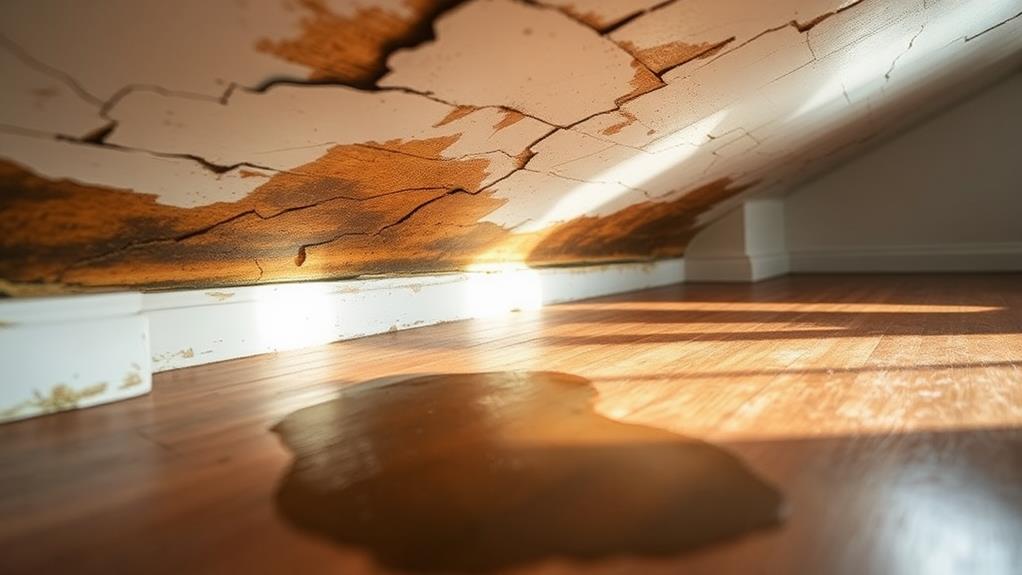
The interior of your home can reveal crucial information about your roof's condition. After a storm, thoroughly inspect your attic or the uppermost floor for signs of water intrusion. Look for water stains, damp spots, or discoloration on ceilings and walls. These indicators often point to roof leaks or damaged shingles.
Pay close attention to areas around chimneys, vents, and skylights, as these are common entry points for water. Check for peeling paint or bubbling wallpaper, which can suggest moisture problems. Inspect wooden beams and rafters for signs of rot or mold growth, as these issues may indicate long-term water exposure.
Use a flashlight to examine dark corners and crevices, and feel for any soft or spongy areas in the wood. If you notice a musty odor, this could be a sign of mold or mildew caused by water infiltration. Document any findings with photographs and notes for future reference or professional assessment.
Lastly, check your indoor humidity levels. Unusually high humidity can suggest poor roof ventilation, potentially leading to moisture-related problems in your attic and living spaces.
Examine Gutters and Downspouts
Properly functioning gutters and downspouts are essential for protecting your roof and home's foundation from water damage. After a storm, inspect these components for signs of wear, damage, or blockages that could impede water flow.
Begin by checking for debris accumulation in gutters, such as leaves, twigs, and granules from shingles. Clear any obstructions to ensure proper drainage. Look for sagging or detached sections of guttering, which may indicate loose fasteners or damaged hangers. Examine downspouts for dents, cracks, or separation from the gutter system.
Verify that downspouts direct water away from your home's foundation, ideally extending at least 4-5 feet. Check for proper slope in gutters, ensuring water flows toward downspouts. Look for signs of overflow or water stains on the exterior walls, which may indicate undersized or clogged gutters.
Inspect gutter seams and corners for leaks or separation. Test downspouts by running water through them to confirm unobstructed flow. Address any issues promptly to prevent water damage to your roof, siding, and foundation. Regular maintenance of gutters and downspouts is crucial for preserving your home's structural integrity and preventing costly repairs.
Inspect Shingles

Shingles serve as the first line of defense against the elements, making their inspection a critical component of any DIY roof assessment. Begin by visually examining the shingles from the ground using binoculars. Look for signs of damage, such as curling, cracking, or missing shingles. Pay close attention to areas around chimneys, vents, and other roof penetrations, as these are common trouble spots.
If it's safe to do so, use a ladder to get a closer look at the roof's surface. Check for granules in the gutters or at the base of downspouts, as excessive granule loss indicates aging shingles. Inspect for any areas where shingles appear lifted or separated, as this can lead to water infiltration. Look for dark streaks or algae growth, which can degrade shingles over time.
Note any soft spots or areas that feel spongy when walked on, as these may indicate underlying rot or water damage. Document any issues you find with photos and detailed notes. If you encounter significant damage or feel uncomfortable performing the inspection, it's best to contact a professional roofing contractor for a thorough assessment and potential repairs.
Look for Structural Damage
Identifying structural damage is a crucial step in any DIY roof inspection. After examining the shingles, focus on potential structural issues that may have been caused by severe weather or long-term wear. Look for sagging areas on the roof, which can indicate weakened support beams or trusses. Check for any visible cracks or splits in the roof decking, especially near chimneys, vents, and skylights.
Inspect the attic for signs of water infiltration, such as damp insulation, water stains on the underside of the roof decking, or mold growth. These issues can point to underlying structural problems. Examine the roof's flashing around chimneys, vents, and other protrusions for signs of damage or separation, which can lead to leaks and further structural deterioration.
Pay attention to the roof's edges and eaves, looking for any signs of rot or decay in the fascia boards or soffits. These areas are particularly vulnerable to water damage and can compromise the roof's overall integrity. If you notice any significant structural issues during your inspection, it's essential to consult a professional roofing contractor for a thorough assessment and necessary repairs.
Document Findings
A thorough roof inspection's final step involves meticulously documenting all findings. This process is crucial for maintaining an accurate record of your roof's condition and identifying potential issues that may require professional attention.
Begin by creating a detailed report that includes the date of inspection, weather conditions, and any recent storms or events that prompted the inspection.
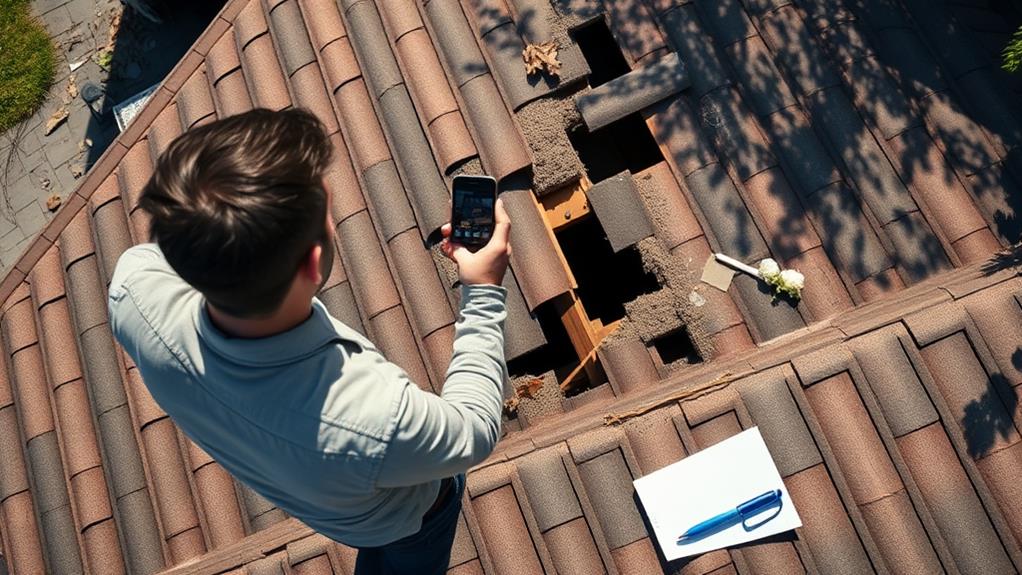
Describe each area of the roof systematically, noting the condition of shingles, flashing, gutters, and any structural elements. Include specific measurements and locations of damage or areas of concern. Take clear, high-resolution photographs to supplement your written observations, ensuring each image is labeled with its corresponding location on the roof.
For any damage found, categorize it as minor, moderate, or severe, and estimate the extent of the affected area. Note any immediate repairs needed and potential long-term issues that may require monitoring. If you've identified signs of water infiltration or structural damage, document these findings separately, as they may necessitate urgent professional assessment.
Keep this documentation in a safe place and update it with each subsequent inspection, creating a comprehensive history of your roof's condition over time.
Address Immediate Concerns
Once the inspection is complete and findings are documented, it's crucial to address any immediate concerns identified during the process. Prioritize issues that pose an immediate threat to the structural integrity of your roof or could lead to water infiltration. These may include large holes, significant gaps in flashing, or areas where shingles are completely missing.
For minor issues like small leaks or isolated damaged shingles, temporary repairs can be made using roofing cement or tarp coverings. However, these are stop-gap measures and should not be considered permanent solutions. More extensive damage, such as large areas of missing shingles, compromised structural elements, or signs of sagging, require professional attention promptly.
Contact a licensed roofing contractor for a thorough assessment and repairs if you've identified significant issues or if you're unsure about the severity of the damage. They can provide expert advice on whether repairs are sufficient or if a full roof replacement is necessary. Remember, addressing problems quickly can prevent further damage and potentially save you money in the long run by avoiding more extensive repairs later.
When to Call Professionals
While DIY roof inspections can be helpful, certain situations demand the expertise of professional roofers. If you encounter any of the following issues during your inspection, it's time to call in the experts:
- Multiple or large missing shingles
- Significant sagging or dips in the roof structure
- Extensive water damage or leaks inside the home
- Widespread granule loss on shingles
- Visible holes or punctures in the roof surface
- Damaged or separated flashing around chimneys, vents, or skylights
- Signs of mold or rot in the attic or roof decking
- Age-related deterioration (roofs over 20 years old)
- Complex roof designs or materials requiring specialized knowledge
Professional roofers have the tools, experience, and safety equipment to thoroughly assess and address these issues. They can identify underlying problems that may not be apparent to untrained eyes and provide accurate estimates for necessary repairs. Additionally, attempting to fix major roof issues without proper training can lead to further damage or personal injury. In cases of storm damage, professional assessments are often required for insurance claims.
Frequently Asked Questions
How Often Should I Conduct a Roof Inspection?
Roof inspections should be conducted at least twice a year, typically in spring and fall. Additionally, inspect after severe weather events or storms. Regular inspections help identify potential issues early, preventing costly damage and extending your roof's lifespan.
Can I Use a Drone for Roof Inspections?
Yes, drones can be effectively used for roof inspections. They provide a safe, efficient method to assess hard-to-reach areas and capture high-resolution images. However, proper training, licensing, and adherence to local regulations are essential when operating drones for this purpose.
What's the Best Time of Day to Inspect a Roof?
The best time to inspect a roof is typically mid-morning to early afternoon when there's ample natural light. Avoid early morning due to potential dew or frost, and late afternoon when shadows may obscure details.
Are There Specific Tools I Need for a DIY Roof Inspection?
Contrary to popular belief, specialized tools aren't always necessary for a basic roof inspection. However, binoculars, a sturdy ladder, flashlight, and smartphone camera can greatly enhance your assessment. Safety gear like non-slip shoes and gloves is also crucial.
How Long Does a Typical DIY Roof Inspection Take?
A typical DIY roof inspection typically takes between 30 minutes to 2 hours, depending on the roof's size, complexity, and accessibility. Factors like the homeowner's experience, thoroughness, and any visible damage can also influence the duration.
Conclusion
A thorough DIY roof inspection following a storm is crucial for maintaining home integrity and preventing costly damages. This comprehensive checklist empowers homeowners to identify potential issues swiftly, from ground-level assessments to meticulous shingle examinations. While minor concerns can be addressed immediately, recognizing when professional intervention is necessary is paramount. By diligently documenting findings and addressing problems promptly, homeowners can safeguard their property against a tsunami of future complications, ensuring long-term structural stability and peace of mind.