Transforming outdated countertops doesn't have to be expensive. Several budget-friendly options can breathe new life into kitchen and bathroom surfaces. Painting countertops with specialized paints or applying epoxy coatings can create a fresh look. Peel-and-stick tiles and contact paper offer easy-to-install alternatives that mimic high-end materials. For a more substantial change, consider a concrete overlay or adding butcher block sections. Creating a faux marble effect or resurfacing with tile can provide an upscale appearance without the hefty price tag. Incorporating decorative trim is another simple way to update countertop edges. These affordable hacks can dramatically improve the aesthetics of your space, with many more creative solutions awaiting exploration.
Paint Your Countertops
Countertop transformation can be achieved through a simple yet effective method: painting. This budget-friendly approach can dramatically alter the appearance of outdated or worn surfaces in kitchens and bathrooms. Specialized countertop paints are available in a variety of colors and finishes, allowing homeowners to mimic the look of more expensive materials like granite or marble.
Before painting, thorough preparation is crucial. Clean the surface thoroughly, repair any damage, and sand it to ensure proper paint adhesion. Apply a primer designed for countertops, followed by multiple thin coats of the chosen paint. For added durability and a professional finish, consider using a clear epoxy topcoat.
While painted countertops may not be as long-lasting as solid surface materials, they offer a cost-effective solution for temporary updates or rental properties. With proper care and maintenance, painted countertops can last several years. Keep in mind that this DIY project requires patience and attention to detail to achieve the best results. Always follow manufacturer instructions and consider seeking professional advice for more complex applications or surfaces.
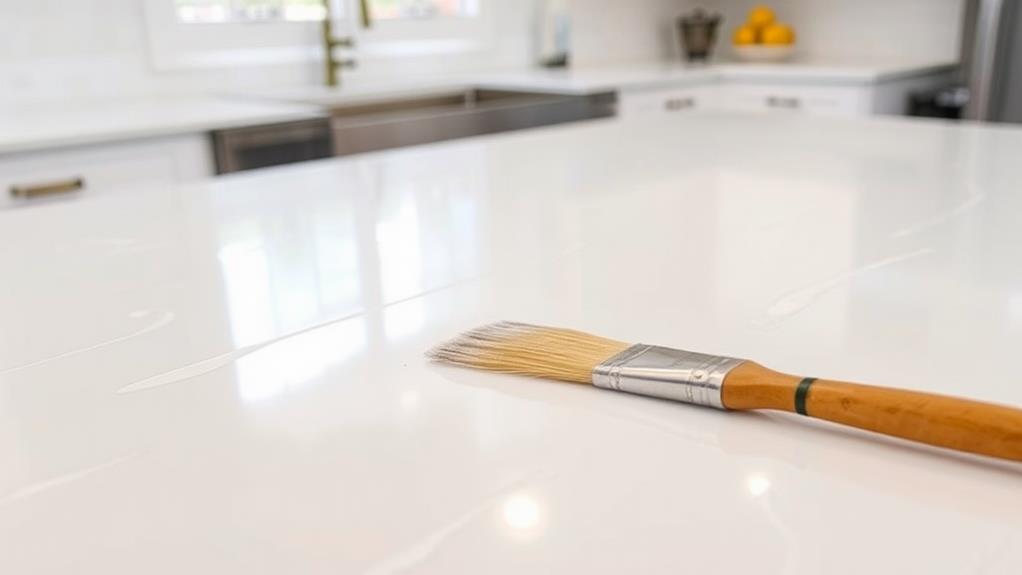
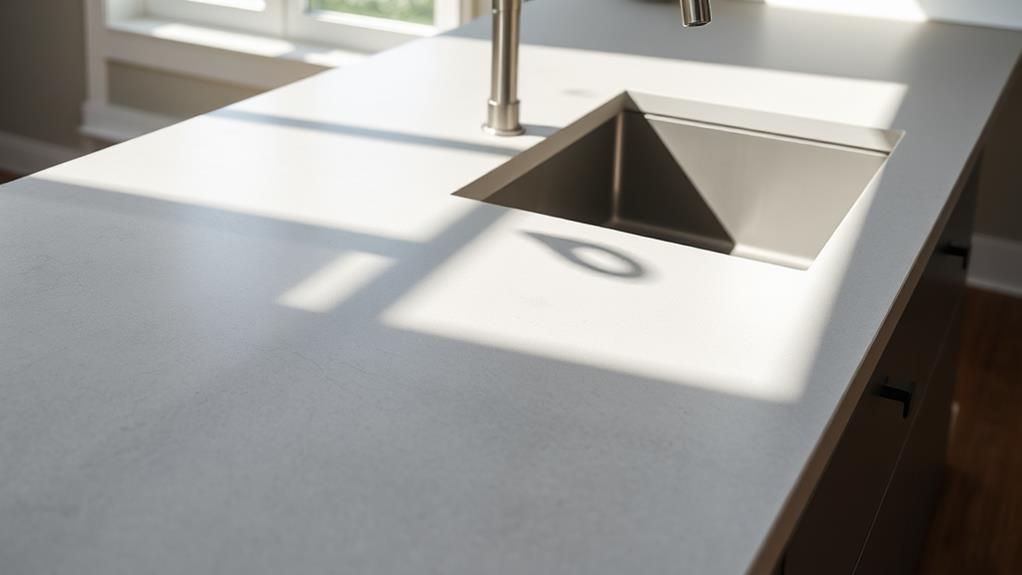
Apply Epoxy Coating
For a stunning and durable countertop transformation, applying an epoxy coating offers a high-gloss, professional finish. This versatile solution can be used on various surfaces, including laminate, wood, and concrete, providing a smooth, seamless appearance that resembles natural stone or marble.
To apply epoxy, begin by thoroughly cleaning and sanding the countertop surface. Repair any cracks or imperfections, then apply a primer designed for epoxy adhesion. Mix the epoxy resin and hardener according to the manufacturer's instructions, and pour it onto the countertop. Use a spreader to distribute the epoxy evenly, working quickly to avoid premature curing.
For added visual interest, incorporate metallic pigments or create swirled patterns before the epoxy sets. Allow the coating to cure for at least 24 hours, then apply a second coat if desired. Once fully cured, the epoxy surface will be resistant to heat, stains, and scratches, making it an ideal choice for busy kitchens and bathrooms.
While epoxy application requires precision and attention to detail, it's a cost-effective alternative to replacing countertops entirely. With proper preparation and technique, DIY enthusiasts can achieve professional-looking results that will last for years.
Install Peel-and-Stick Tiles
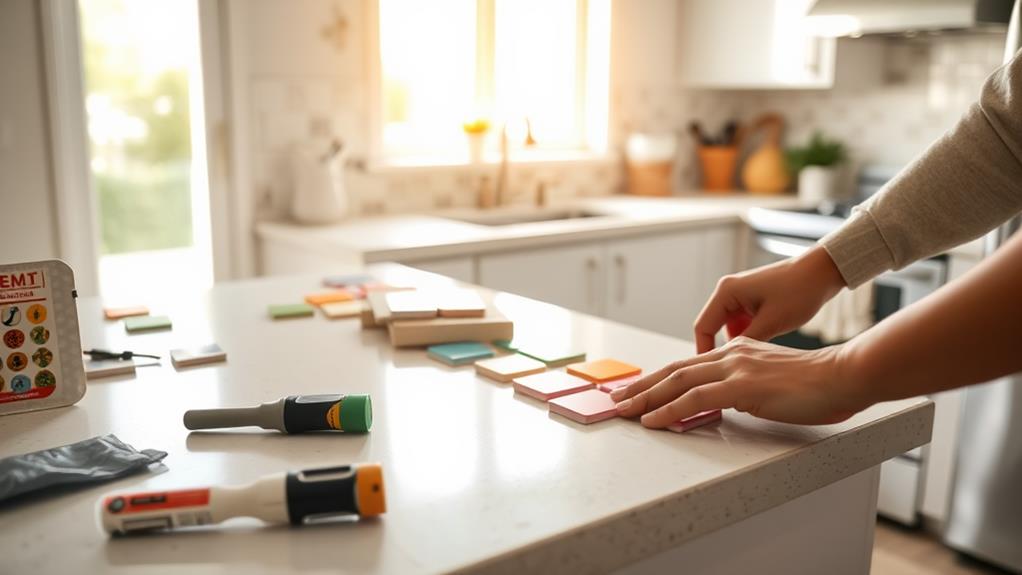
While epoxy coatings offer a durable solution, peel-and-stick tiles present a quick and budget-friendly alternative for updating countertops. These adhesive tiles come in various materials, including vinyl, metal, and glass, mimicking the appearance of more expensive surfaces like granite, marble, or ceramic.
To install peel-and-stick tiles, begin by thoroughly cleaning and drying the existing countertop surface. Measure and plan the tile layout, ensuring a balanced design. Cut tiles as needed using a utility knife or scissors. Remove the backing and carefully apply each tile, starting from one corner and working your way across the surface. Use a rolling pin or credit card to smooth out air bubbles and ensure proper adhesion.
While peel-and-stick tiles offer an affordable makeover, they may not be as long-lasting as other options. However, they can be easily replaced or removed if desired. For best results, choose high-quality tiles with strong adhesive backing and follow manufacturer instructions carefully. This DIY solution works well for rental properties or temporary updates, providing a fresh look without significant investment or permanent changes to the existing countertop.
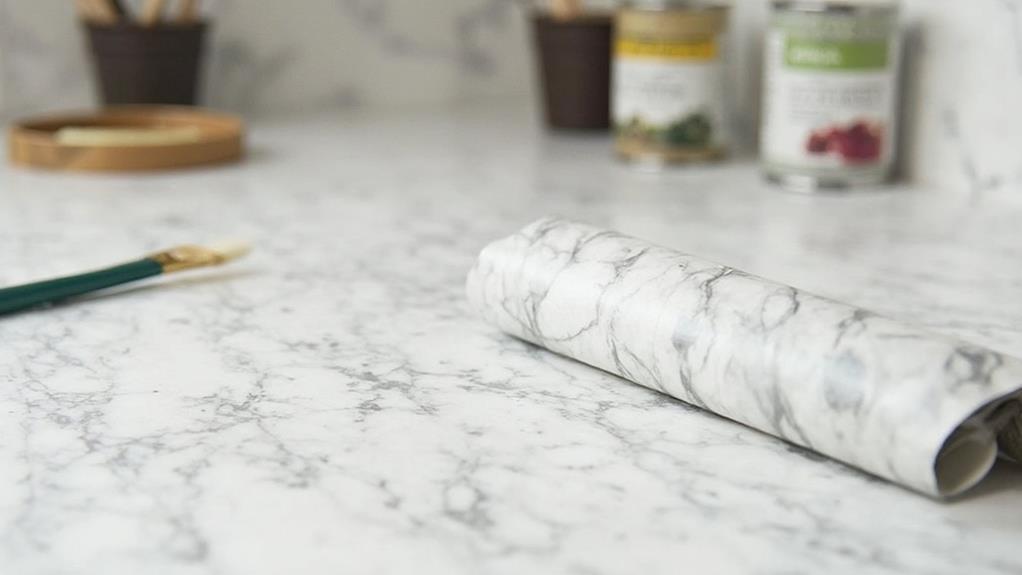
Use Contact Paper
Another popular and cost-effective option for transforming countertops is the use of contact paper. This versatile material, also known as self-adhesive vinyl, comes in a wide variety of colors, patterns, and textures, allowing homeowners to mimic the look of expensive surfaces like marble, granite, or wood at a fraction of the cost.
To apply contact paper, start by thoroughly cleaning and drying the countertop surface. Measure and cut the contact paper to size, leaving a slight overhang. Carefully peel off the backing and apply the paper from one end to the other, smoothing out air bubbles as you go. Use a credit card or squeegee to ensure proper adhesion and eliminate any remaining bubbles. Trim excess material with a utility knife for a clean finish.
While contact paper is not a permanent solution, it can last for several years with proper care. It's important to avoid cutting directly on the surface and to clean it gently with non-abrasive cleaners. This affordable hack is particularly useful for renters or those looking for a temporary update before a more extensive renovation.
Try Concrete Overlay
Concrete overlays offer a durable and customizable solution for transforming existing countertops. This cost-effective method involves applying a thin layer of concrete over existing surfaces, including laminate, tile, or even old concrete. The process begins with thorough cleaning and preparation of the existing countertop, followed by the application of a bonding agent to ensure proper adhesion.
Once the surface is prepped, a specially formulated concrete mix is applied in thin layers, typically 1/4 to 1/2 inch thick. This overlay can be tinted to achieve various colors and can be stamped or textured to create unique patterns and finishes. After curing, the surface is sealed to enhance durability and stain resistance.
Concrete overlays provide numerous benefits, including increased heat resistance, scratch resistance, and a modern aesthetic. They can mimic the look of more expensive materials like natural stone at a fraction of the cost. While DIY kits are available, professional installation is recommended for optimal results. Proper maintenance, including periodic resealing, will ensure the longevity of the concrete overlay and keep your countertops looking fresh for years to come.
Refinish With Rustoleum
For homeowners seeking an affordable and straightforward countertop transformation, Rustoleum's countertop refinishing products offer a viable solution. These specially formulated paints and coatings can be applied directly to existing laminate, wood, or metal surfaces, providing a durable and attractive finish that mimics the look of stone or other high-end materials.
The process typically involves thorough cleaning and light sanding of the existing surface, followed by the application of a base coat and decorative chips or stone effects. A clear topcoat is then applied to seal and protect the new finish. Rustoleum's products come in a variety of colors and styles, allowing homeowners to customize their countertops to match their desired aesthetic.
While not as long-lasting as natural stone or solid surface materials, Rustoleum refinishing can extend the life of existing countertops for several years at a fraction of the cost of replacement. The application process is DIY-friendly, though proper preparation and attention to detail are crucial for achieving professional-looking results. Homeowners should be aware that this solution may not be suitable for heavily damaged surfaces or those exposed to extreme heat or moisture.
Add Butcher Block Sections
Incorporating butcher block sections into existing countertops can significantly enhance both the functionality and aesthetic appeal of a kitchen. This affordable update provides a dedicated cutting surface while adding warmth and texture to the overall design. To implement this hack, measure and cut a section of your existing countertop, ensuring precise dimensions for a seamless fit.
Choose a butcher block material that complements your kitchen's style, such as maple, oak, or walnut. Install the butcher block section using construction adhesive and secure it with brackets underneath for added stability. Seal the edges where the butcher block meets the existing countertop with silicone caulk to prevent moisture intrusion.
Maintain your new butcher block section by regularly oiling it with food-grade mineral oil or beeswax to protect the wood and enhance its natural beauty. This treatment also helps prevent staining and bacterial growth. When cleaning, avoid harsh chemicals and excessive water exposure. Instead, use a mild soap solution and dry thoroughly after each use.
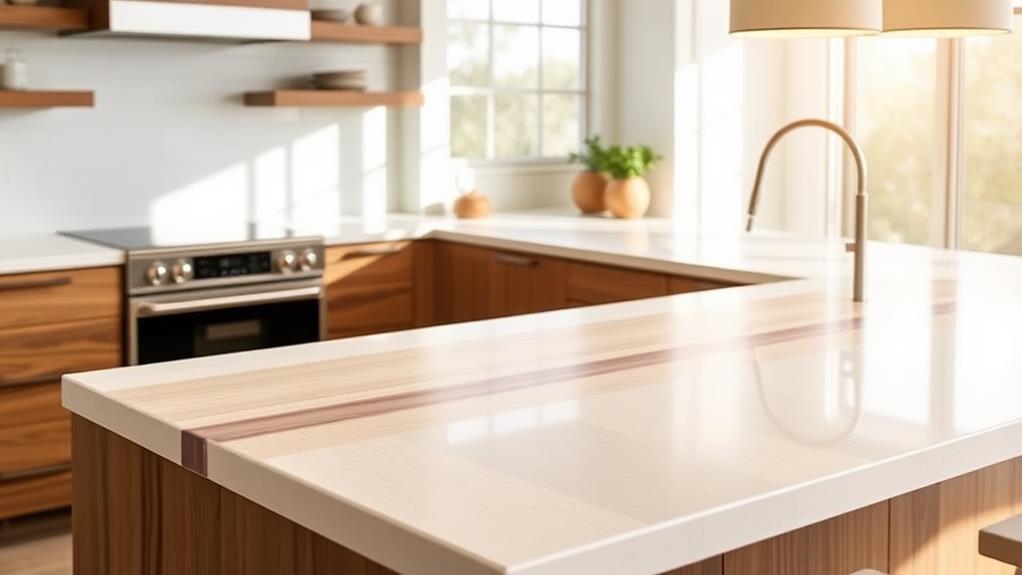
Create Faux Marble Effect
Occasionally, homeowners desire the luxurious look of marble countertops without the associated high costs. Creating a faux marble effect is an affordable alternative that can transform existing surfaces into elegant focal points. This technique involves painting and layering to mimic the natural veining and depth of real marble.
To achieve this look, start with a clean, smooth surface. Apply a base coat of white or off-white paint, then use a feather or sponge to create soft, irregular veins in shades of gray or beige. Blend the colors gently, allowing them to overlap and create depth. Once dry, apply a clear epoxy resin to seal the surface and add a glossy finish that resembles polished stone.
For a more realistic effect, consider using speciality marble-effect paint kits or hiring a professional faux finish artist. These options can provide more intricate veining patterns and color variations. Remember to properly seal and maintain the faux marble surface to ensure its longevity and durability in high-traffic areas like kitchens and bathrooms. With careful application and attention to detail, a faux marble countertop can be a convincing and cost-effective upgrade to your space.
Resurface With Tile
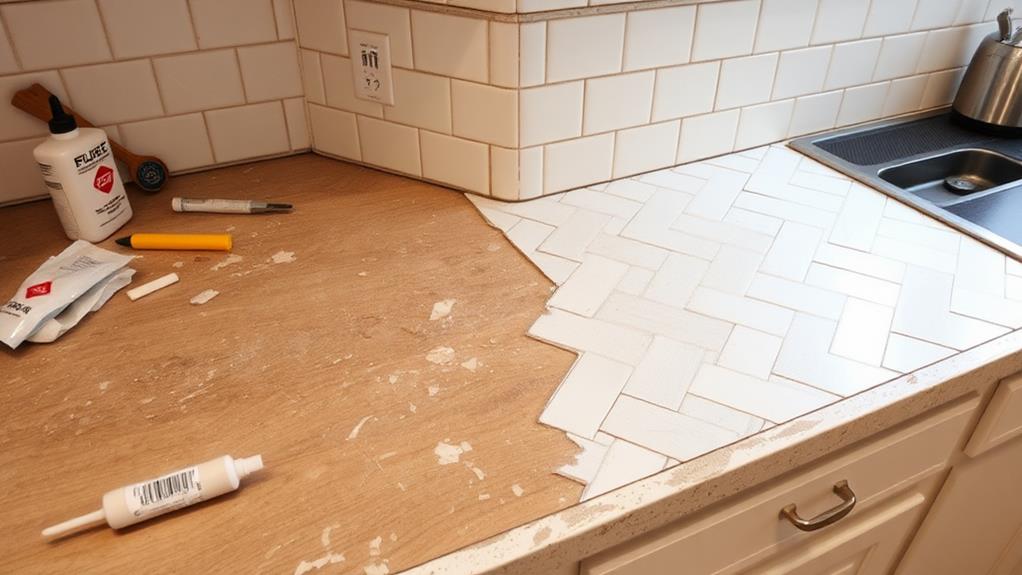
Resurfacing countertops with tile offers a versatile and cost-effective solution for updating dated surfaces. This approach allows homeowners to transform their kitchen or bathroom without the expense of complete replacement. Tile comes in various materials, colors, and sizes, providing endless design possibilities to suit any style or budget.
To begin, thoroughly clean and sand the existing countertop surface. Apply a layer of cement board or backer board to create a stable foundation for the tiles. Use a notched trowel to spread thin-set mortar evenly, then carefully place the tiles according to your chosen pattern. Ensure proper spacing with tile spacers for consistent grout lines.
After the mortar sets, apply grout between the tiles, wiping away excess with a damp sponge. Once dry, seal the grout to protect against stains and moisture. For added durability, consider using epoxy grout, which is more resistant to staining and cracking.
When selecting tiles, consider factors such as durability, heat resistance, and ease of cleaning. Porcelain and ceramic tiles are popular choices for their strength and low maintenance. For a luxurious look, natural stone tiles like granite or marble can be used, though they require more upkeep.
Incorporate Decorative Trim
Decorative trim can elevate the appearance of countertops, adding a polished and custom look to your kitchen or bathroom. This affordable update involves installing molding or edge strips along the countertop's perimeter, effectively transforming its profile and enhancing its overall aesthetic appeal.
Various materials are available for decorative trim, including wood, metal, and plastic. Wood trim offers a classic, warm look and can be painted or stained to match existing cabinetry. Metal options like stainless steel or brass provide a modern, sleek appearance. Plastic trim is budget-friendly and comes in a wide range of colors and styles.
Installation typically involves cutting the trim to size, applying adhesive, and securing it to the countertop edge. For a seamless look, consider using corner pieces and end caps. Some trims can be installed over existing edges, while others may require removing the current edging first.
When selecting decorative trim, consider the countertop material, overall kitchen or bathroom style, and desired maintenance level. Properly installed trim not only enhances aesthetics but can also protect countertop edges from wear and tear, potentially extending the surface's lifespan.
Frequently Asked Questions
How Long Do DIY Countertop Updates Typically Last Before Needing Replacement?
The longevity of DIY countertop updates varies depending on the method used and maintenance. Generally, quality applications can last 2-5 years, while some may endure up to 10 years with proper care. Regular sealing and gentle cleaning extend lifespan.
Can These Methods Be Applied to Outdoor Kitchen Countertops?
By Jove! Many DIY countertop methods can indeed be applied to outdoor kitchen surfaces. However, it's crucial to select materials and finishes that can withstand exposure to the elements, such as UV rays, moisture, and temperature fluctuations.
Are There Eco-Friendly Options for Updating Countertops?
Yes, there are eco-friendly options for updating countertops. These include recycled glass surfaces, bamboo, reclaimed wood, and concrete made with sustainable aggregates. Low-VOC sealants and adhesives can also be used for a more environmentally conscious renovation.
How Do Updated Countertops Affect Home Resale Value?
Updated countertops can significantly increase home resale value. Modern, high-quality surfaces in kitchens and bathrooms are attractive to potential buyers, often providing a strong return on investment and helping properties sell faster in competitive markets.
What Tools Are Essential for Most DIY Countertop Renovation Projects?
90% of DIY renovators consider a measuring tape essential. For most DIY countertop projects, key tools include: measuring tape, circular saw, sander, level, caulk gun, adhesive, and safety gear like goggles and gloves. Proper planning and preparation are crucial.
Conclusion
While these countertop hacks offer affordable alternatives to full replacements, skeptics may argue that DIY solutions lack durability. However, proper preparation and application can yield long-lasting results. By carefully selecting and executing these budget-friendly options, homeowners can significantly enhance their kitchen and bathroom aesthetics without incurring substantial costs. These techniques provide an opportunity to experiment with styles and materials, potentially informing future renovation decisions. Ultimately, these affordable updates offer a practical compromise between dated surfaces and expensive overhauls.