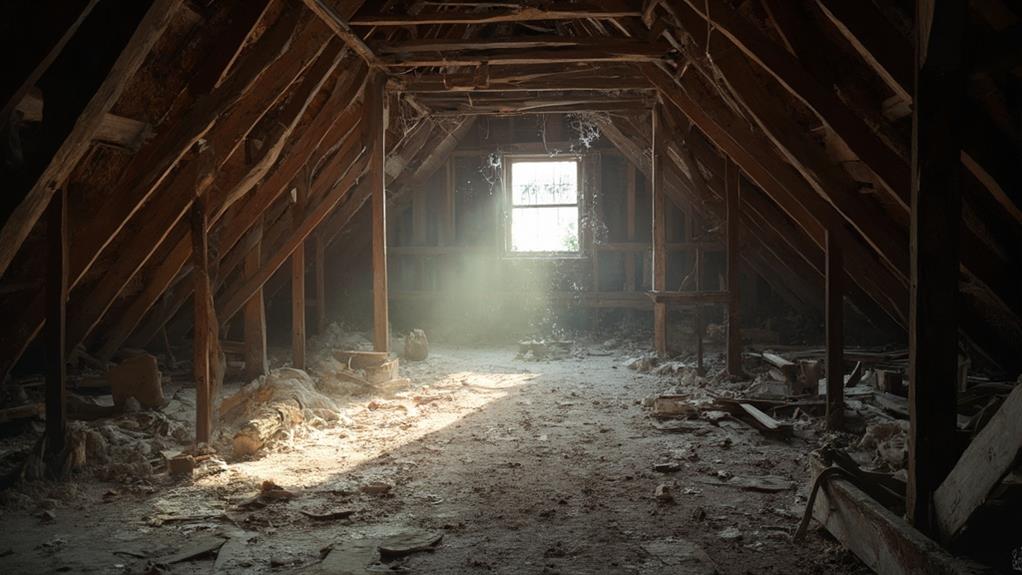
Conducting a thorough attic inspection is crucial for identifying hidden roof structure damage. Start by ensuring safe access and using proper safety equipment. Look for signs of water damage, including stains, warping, and rot in wooden structures. Inspect trusses and rafters for sagging, cracking, or misalignment. Check ventilation and insulation for proper distribution and potential air leaks. Be alert for electrical hazards like exposed wiring or outdated systems. Document your findings with detailed notes and photographs. If you encounter extensive damage, mold growth, or complex structural issues, it's best to consult a professional. Mastering these inspection techniques will help protect your home's integrity.
Safety First: Attic Access
Before entering an attic, ensure proper safety measures are in place. Proper attic access requires careful preparation and adherence to safety protocols.
Begin by locating a stable, sturdy ladder that can safely support your weight. Ensure the ladder is positioned on a level surface and extends at least three feet above the attic opening for secure entry and exit.
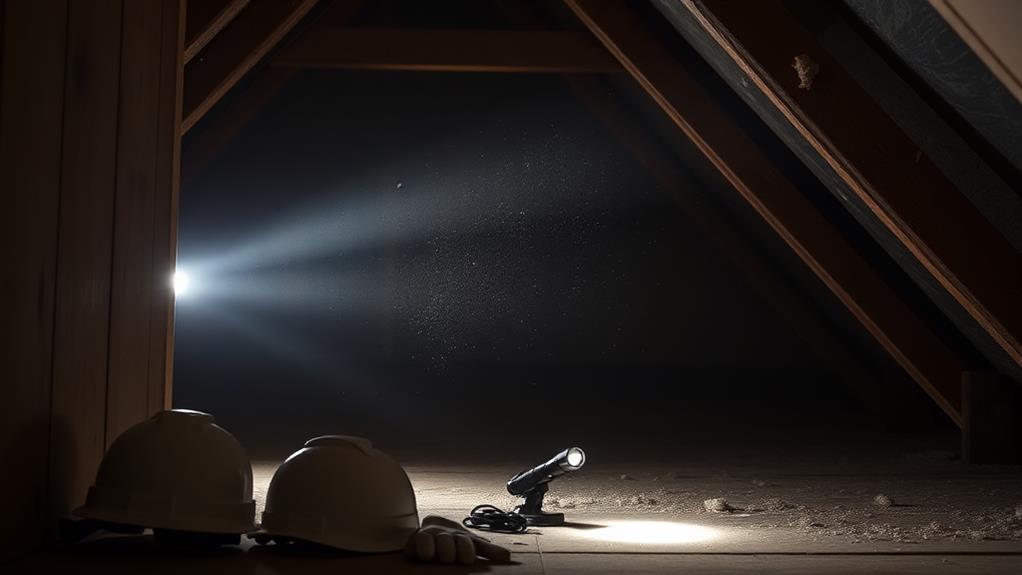
Wear appropriate personal protective equipment, including a respirator mask to guard against dust and insulation particles, safety goggles to protect your eyes, and thick gloves to prevent cuts or splinters. Don a long-sleeved shirt and pants to minimize skin exposure to insulation fibers.
Prior to entry, assess the attic's lighting conditions. Bring a powerful flashlight or headlamp to illuminate dark corners and ensure clear visibility throughout the inspection. If possible, use a cordless work light for hands-free illumination.
Check for potential hazards like exposed nails, loose boards, or weak spots in the flooring. Use sturdy boards or plywood sheets to create a safe walking path across joists. Be cautious of electrical wiring, ductwork, and other obstacles that may impede movement or pose safety risks during the inspection.
Essential Tools for Inspection
With safety precautions in place, gathering the right tools becomes the next step in conducting a thorough attic inspection. Essential equipment includes a powerful flashlight or headlamp to illuminate dark corners and crevices. A dust mask and safety goggles protect against airborne particles, while sturdy gloves shield hands from splinters and sharp objects.
A moisture meter is crucial for detecting hidden water damage or leaks. A digital camera or smartphone helps document findings for future reference or professional consultation. A tape measure aids in assessing insulation depth and overall dimensions. For navigating tight spaces, a telescoping inspection mirror proves invaluable.
Other useful tools include a multi-tool or utility knife for probing suspicious areas, and a notebook or tablet for recording observations. A infrared thermometer can identify temperature inconsistencies that may indicate insulation issues or air leaks. Lastly, a sturdy ladder is essential for safely accessing the attic space. By assembling this toolkit, homeowners and inspectors can conduct a comprehensive examination of the attic, identifying potential problems before they escalate into costly repairs.
Signs of Water Damage
Water damage in attics can lead to significant structural issues if left unaddressed. When inspecting an attic, look for telltale signs of water infiltration. Dark stains or discoloration on wooden beams, rafters, or sheathing are primary indicators of moisture problems. These stains may appear as streaks or patches and often have a darker outer edge.
Check for warped or buckled wood, which suggests prolonged exposure to moisture. Inspect the insulation for signs of compression, mold growth, or water spots. Damp or moldy insulation loses its effectiveness and can promote further decay. Look for rusted nail heads or metal fasteners, as these indicate the presence of moisture.
Examine the underside of the roof decking for signs of rot, such as softness or sponginess when probed gently. Pay close attention to areas around chimneys, vents, and where different roof planes intersect, as these are common entry points for water. Efflorescence, a white powdery substance on masonry surfaces, indicates water seepage through brick or concrete. Lastly, be alert for musty odors, which often accompany hidden water damage and mold growth in attic spaces.
Identifying Structural Issues
During an attic inspection, identifying structural issues is crucial for maintaining the integrity of the entire building. Key areas to examine include roof trusses, rafters, and support beams. Look for signs of sagging, cracking, or warping in these structural elements. Pay close attention to joints and connection points, as these are often the first areas to show signs of stress or failure.
Inspect for any visible gaps between framing members or areas where the roof deck appears to be separating from the supporting structure. Check for any makeshift repairs or alterations that may have compromised the original design. Deterioration caused by wood-destroying insects or fungi should also be noted, as these can significantly weaken structural components.
Assess the overall alignment of the roof structure, looking for any noticeable dips or irregularities in the roofline. Examine load-bearing walls for signs of settling or shifting, which can impact the attic's structural integrity. If you encounter any unusual odors, particularly musty smells, investigate further as they may indicate hidden structural issues. Document all findings thoroughly, and consider consulting a structural engineer for professional assessment if significant problems are detected.
Ventilation and Insulation Check
Proper ventilation and insulation are essential components of a well-functioning attic space. During an attic inspection, carefully assess the ventilation system to ensure adequate airflow. Look for intake vents along the eaves and exhaust vents near the roof's peak. Check that these vents are unobstructed and functioning correctly. Inadequate ventilation can lead to moisture buildup, promoting mold growth and wood rot.
Examine the insulation's condition and distribution. Ensure it covers the entire attic floor evenly, without gaps or compressed areas. Pay attention to the insulation's R-value, which measures its thermal resistance. Different climate zones require specific R-values for optimal energy efficiency. Look for signs of water damage or pest infestation in the insulation, as these issues can compromise its effectiveness.
Assess the vapor barrier, typically a plastic sheet beneath the insulation, which prevents moisture from entering the attic space. Ensure it's intact and properly installed. Check for any air leaks around fixtures, chimneys, or access points, as these can reduce energy efficiency and allow moisture to enter. Address any issues promptly to maintain a healthy, energy-efficient attic environment.
Detecting Pest Infestations
Attics can be prime locations for various pest infestations, making their detection a crucial part of any thorough inspection. Common pests include rodents, bats, birds, and insects like termites or carpenter ants. Look for telltale signs such as droppings, nests, gnaw marks on wood or wiring, and unusual odors. Pay close attention to dark corners, insulation, and areas near entry points like vents or gaps in the roofline.
Inspect wooden structures for evidence of termite damage, including hollow-sounding wood, mud tubes, or discarded wings. For rodents, check for chewed materials, greasy rub marks along walls, and nesting materials. Bats may leave guano deposits and staining on rafters. Listen for scratching noises or observe any live pests during daytime inspections.
Use a flashlight to thoroughly examine all areas, including behind stored items and in hard-to-reach spaces. Document any findings with photographs and notes. If an infestation is suspected, consider consulting a professional pest control expert for a more detailed assessment and appropriate treatment recommendations. Regular inspections can help catch infestations early, preventing extensive damage and ensuring a healthier living environment.
Electrical Hazards to Look For

Electrical hazards in attics pose significant risks to both the home's safety and its occupants. During an attic inspection, it's crucial to identify potential electrical issues that could lead to fires or electrocution. Look for exposed wiring, frayed or damaged cables, and improper connections. Outdated knob-and-tube wiring, common in older homes, is a particular concern due to its inability to handle modern electrical loads.
Check for overloaded circuits, which may be indicated by warm junction boxes or discolored insulation. Inspect for improperly spliced wires or those secured with the wrong type of fasteners. Ensure that all electrical boxes are properly covered and that wires are not pinched or compressed by building materials.
Pay attention to any signs of rodent damage to wiring, as this can create dangerous short circuits. Verify that all electrical work in the attic complies with current building codes and standards. Look for proper insulation around recessed lighting fixtures to prevent overheating. If you encounter any aluminum wiring, which was used in some homes during the 1960s and 1970s, recommend a professional inspection due to its potential fire hazard.
Analyzing Roof Trusses and Rafters
Examining roof trusses and rafters is a critical component of any thorough attic inspection. These structural elements form the skeleton of your roof, supporting its weight and maintaining the integrity of your home. When analyzing trusses and rafters, look for signs of damage, deterioration, or improper installation.
Start by checking for any visible cracks, splits, or warping in the wood. These issues can compromise the structural integrity of the roof. Pay close attention to joints and connection points, as these areas are prone to stress and potential failure.
Look for any signs of water damage, such as dark stains, mold, or soft spots in the wood, which may indicate a leak or excessive moisture.
Ensure that trusses and rafters are properly spaced and aligned. Uneven spacing or misalignment can lead to uneven weight distribution and potential roof failure. Check for any DIY modifications or cuts made to trusses, as these can significantly weaken the structure.
Documenting Your Findings

After completing a thorough inspection of your attic's structural elements, the next important step is to document your findings. Create a detailed report that includes the date of inspection, specific areas examined, and any issues discovered. Use clear, descriptive language to explain the condition of roof trusses, rafters, and other structural components.
Include photographs or sketches to visually support your observations. Label these images with location information and brief descriptions. Note any signs of damage, such as water stains, wood rot, or insect infestation. Record measurements of problematic areas and document the extent of any visible deterioration.
Prioritize your findings based on severity, distinguishing between minor concerns and those requiring immediate attention. Include recommendations for repairs or further professional assessment where necessary. Keep this documentation in a safe place and update it after subsequent inspections or repairs. This comprehensive record will prove invaluable for tracking the condition of your attic over time, planning maintenance, and providing information to professionals should more extensive work be required in the future.
When to Call a Professional
Safety should always be the primary concern when inspecting your attic. While homeowners can perform basic inspections, certain situations require professional expertise. Call a licensed inspector or contractor if you encounter any of the following:
- Extensive water damage or active leaks
- Signs of mold growth or musty odors
- Sagging roof decking or visible structural issues
- Electrical wiring problems or exposed wires
- Inadequate insulation or ventilation
- Evidence of pest infestation, such as droppings or nests
Professionals have the necessary tools, knowledge, and experience to accurately assess these complex issues. They can identify potential hazards that may not be apparent to untrained eyes and provide detailed recommendations for repairs or improvements.
Additionally, consider hiring a professional if you're uncomfortable working in confined spaces, have mobility issues, or lack proper safety equipment. Attic inspections often require navigating narrow walkways and uneven surfaces, which can be dangerous without proper precautions.
Remember that addressing problems early can prevent more extensive and costly damage in the future. If you're unsure about the severity of an issue, it's always better to err on the side of caution and consult a professional.
Frequently Asked Questions
How Often Should I Inspect My Attic?
Regular attic inspections are recommended at least twice a year, typically in spring and fall. However, it's advisable to check after severe weather events or if you notice any signs of water damage or pest activity inside your home.
Can I Inspect My Attic During Winter Months?
As cold as it may seem, winter inspections are indeed possible. You can inspect your attic during winter months, but take precautions against freezing temperatures. Ensure proper lighting and wear warm clothing to safely navigate the space.
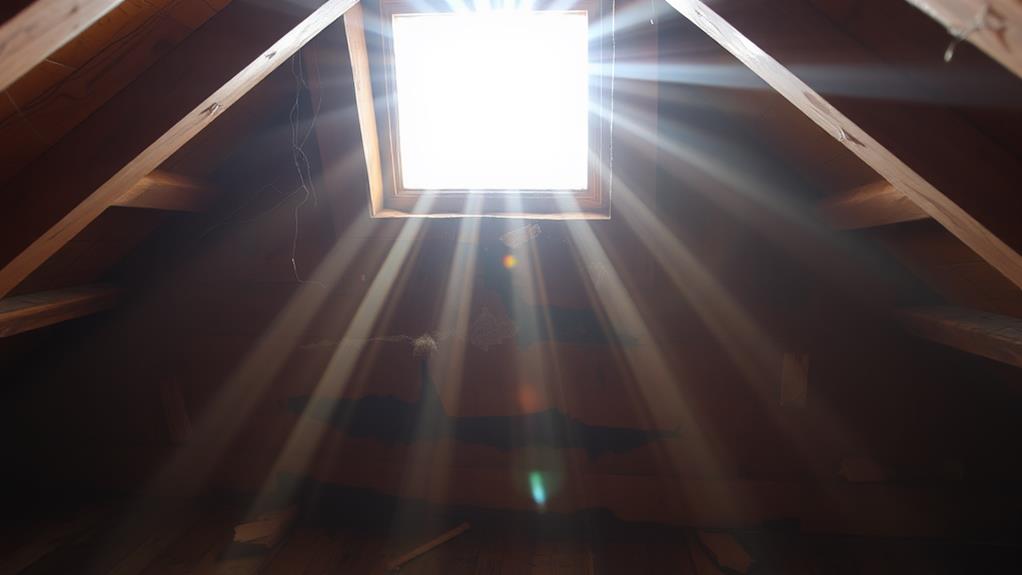
What's the Best Time of Day for an Attic Inspection?
The best time for an attic inspection is during daylight hours, preferably mid-morning or early afternoon. Natural light helps identify potential issues more effectively. If using artificial lighting, ensure it's bright enough to illuminate all areas thoroughly.
Are There Any Specific Certifications Required for Professional Attic Inspectors?
Darkness looms, yet expertise shines. Professional attic inspectors often hold certifications from organizations like ASHI, InterNACHI, or NAHI. While not always mandatory, these credentials demonstrate specialized knowledge and adherence to industry standards, enhancing credibility and client trust.
How Long Does a Typical DIY Attic Inspection Take?
A typical DIY attic inspection can take anywhere from 30 minutes to 2 hours, depending on the size of the attic, accessibility, and the thoroughness of the inspection. Factors like insulation levels and complexity of the roof structure may affect duration.
Conclusion
Peering into the shadowy recesses of an attic reveals a world of hidden clues. Like a detective piecing together evidence, a thorough inspection uncovers the secrets of a home's upper reaches. From telltale water stains to the silent strain of overburdened trusses, each sign paints a picture of the roof's health. Armed with knowledge and vigilance, homeowners can safeguard their dwelling's crown, ensuring it stands strong against the elements for years to come.