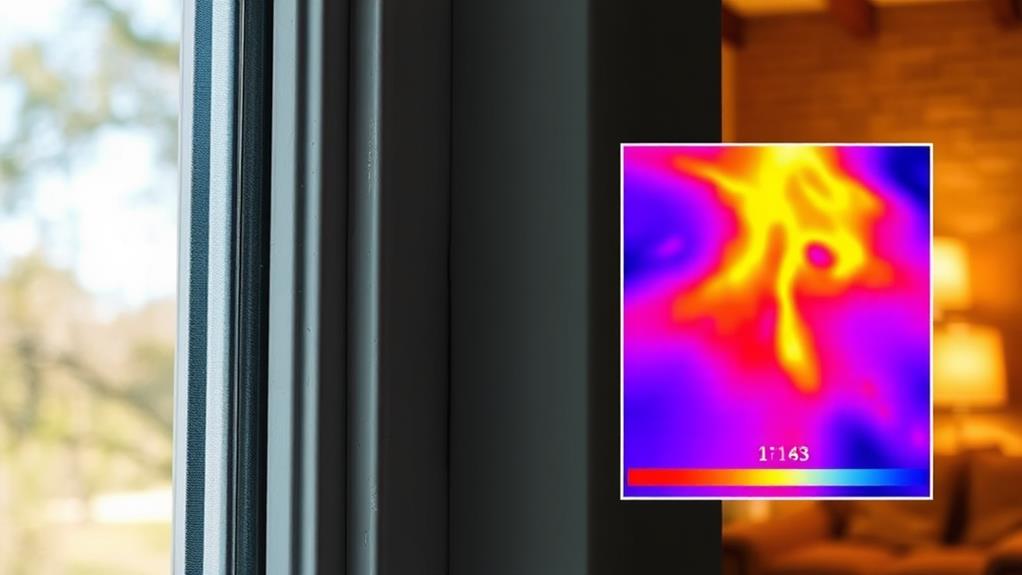
Weatherstripping is a critical component of your home's insulation system. It seals gaps around doors and windows, creating an airtight barrier that prevents drafts and air leaks. By installing proper weatherstripping, you'll reduce energy costs, improve indoor comfort, and protect against moisture intrusion. It can account for up to 30% of your home's heating and cooling expenses, making it especially important in older houses. Various materials like foam tape, rubber, metal, and vinyl are available to suit different needs. Don't overlook less obvious areas like attic hatches and electrical outlets. With the right approach, you'll unlock significant energy savings and a cozier living space.
What Is Weatherstripping?
Weatherstripping is a crucial component of home insulation that seals gaps around doors and windows. It's a flexible material designed to create an airtight barrier, preventing drafts and reducing energy loss. You'll find weatherstripping in various forms, including adhesive-backed foam tape, V-strip metal or plastic, and tubular rubber or vinyl gaskets.
When you install weatherstripping, you're effectively blocking air leaks that can account for up to 30% of your home's heating and cooling costs. It's particularly effective in older homes where doors and windows may have settled or warped over time. You'll want to apply weatherstripping to all exterior doors, windows, and even attic hatches.
To choose the right type, consider the specific area you're sealing and the amount of wear it'll endure. For example, door thresholds require durable materials like metal or vinyl, while window sashes benefit from more flexible options like foam tape. You can easily install most weatherstripping yourself, making it a cost-effective DIY project. Remember to clean the surfaces thoroughly before application to ensure proper adhesion and maximum effectiveness.
Types of Weatherstripping Materials
Now that you understand the importance of weatherstripping, let's explore the various materials available. You'll find several options to choose from, each with its own advantages.
Foam tape is a popular choice due to its ease of application and affordability. It's ideal for irregular-shaped gaps and works well on door and window frames. For a more durable option, consider rubber weatherstripping. It's resistant to temperature changes and can last for years with proper care.
Metal weatherstripping, such as bronze, copper, or stainless steel, offers excellent durability and a sleek appearance. It's perfect for high-traffic areas but may require professional installation. Vinyl weatherstripping is another versatile option that's resistant to moisture and can be easily cut to size.
For door bottoms, you might opt for a door sweep made of plastic, vinyl, or brush-like fibers. These effectively block drafts and are simple to install. Silicone weatherstripping is an excellent choice for extreme temperatures, as it remains flexible in both hot and cold conditions.
When selecting weatherstripping, consider the specific area you're sealing, the climate you live in, and your budget. Each type has its strengths, so choose the one that best suits your needs.
Benefits of Proper Weatherstripping
While the initial cost may seem like an expense, proper weatherstripping offers numerous benefits that make it a wise investment. You'll notice a significant reduction in your energy bills as weatherstripping prevents air leaks, keeping your heated or cooled air inside. This improved insulation leads to a more comfortable living environment, eliminating drafts and maintaining consistent temperatures throughout your home.
Proper weatherstripping also helps protect your home from moisture intrusion, reducing the risk of mold, mildew, and water damage. It acts as a barrier against pests, preventing insects and small rodents from entering through gaps around doors and windows. You'll appreciate the reduction in outside noise, creating a quieter, more peaceful indoor atmosphere.
Common Problem Areas
When it comes to weatherstripping, certain areas of your home are more prone to air leaks and energy loss. You'll want to focus on these common problem areas to maximize your insulation efforts.
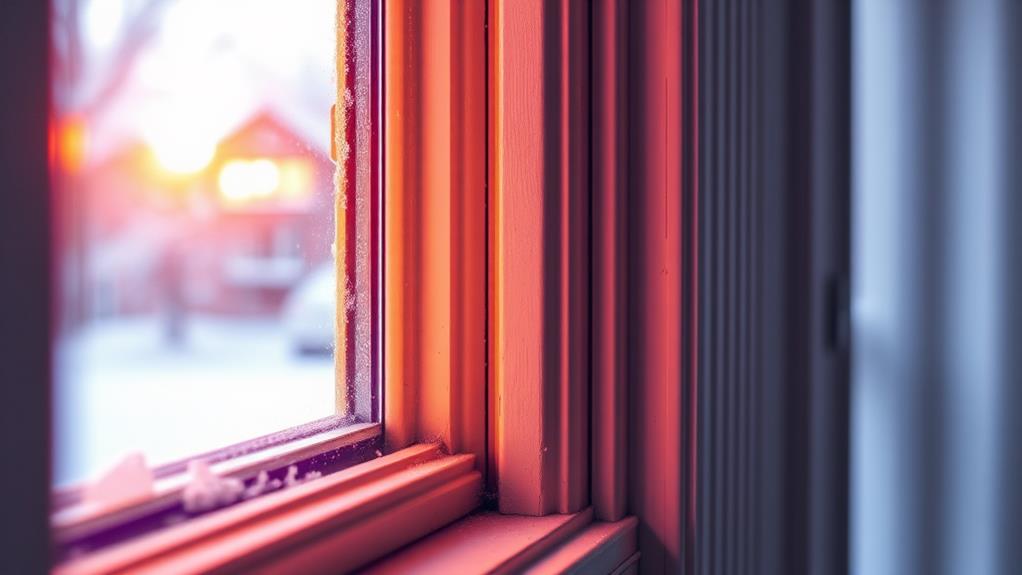
Start with your doors and windows, as they're the most frequent culprits of drafts. Check the edges and bottom of exterior doors, paying special attention to the threshold. For windows, inspect the sashes and frames for gaps. Don't forget about less obvious spots like attic hatches, basement windows, and mail slots.
Moving to your home's structure, examine where different materials meet. Look for gaps between your siding and chimney, as well as where pipes and wires enter your house. Electrical outlets on exterior walls can also be significant sources of air leakage.
In your basement, check the rim joist area where your house sits on the foundation. This spot often has gaps that allow cold air to seep in. Lastly, don't overlook your HVAC system. Ductwork, especially in unconditioned spaces like attics or crawl spaces, can develop leaks over time, reducing your system's efficiency and comfort levels.
DIY Weatherstripping Installation Guide
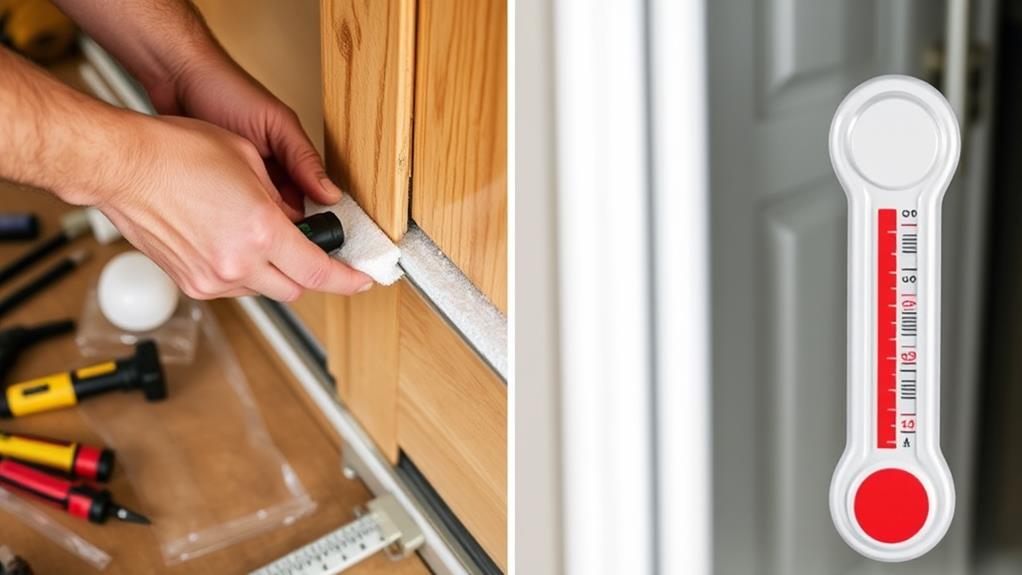
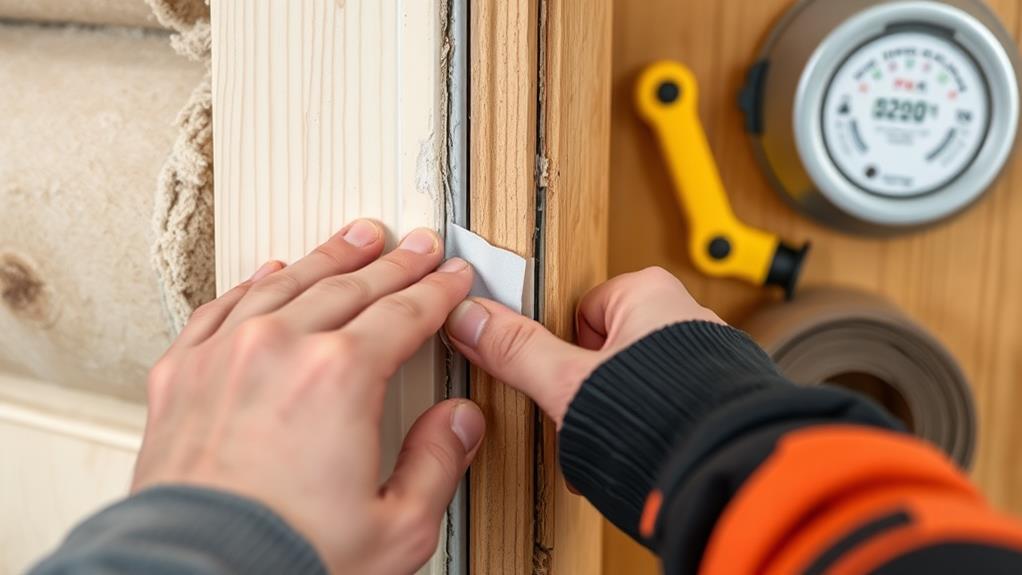
Installing weatherstripping yourself can save money and improve your home's energy efficiency. To begin, measure the areas you'll be weatherstripping, including doors and windows. Purchase the appropriate type of weatherstripping for each location, such as adhesive-backed foam tape for windows or door sweeps for exterior doors.
Clean the surfaces thoroughly before installation to ensure proper adhesion. For doors, start with the top and sides, cutting the weatherstripping to fit precisely. Install the door sweep last, trimming it to match the door's width.
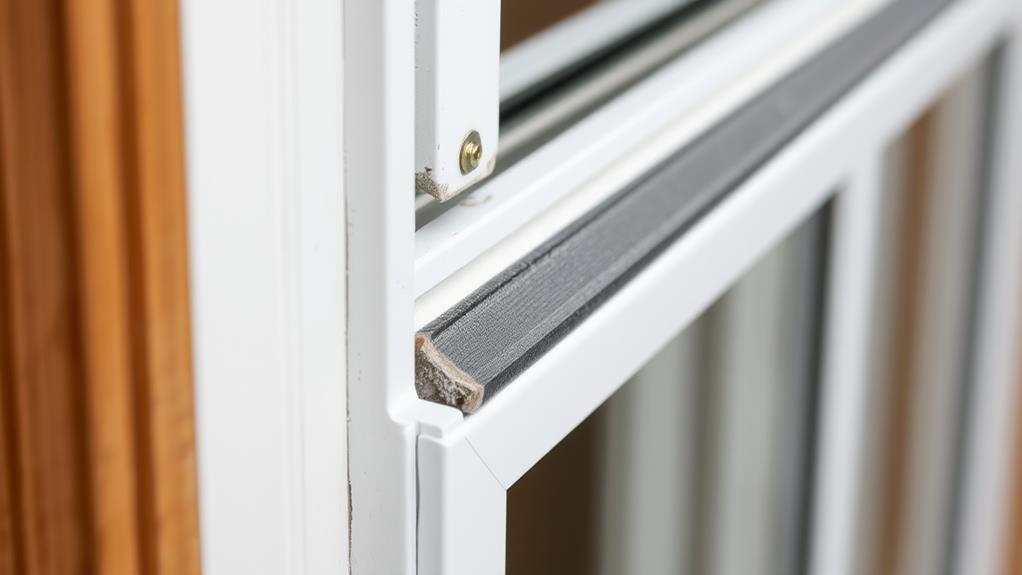
For windows, apply the foam tape around the frame where the sash meets it when closed. When installing V-strip weatherstripping, nail or staple it into place along the sides of the window or door frame. For sliding windows or doors, use pile weatherstripping in the tracks.
Always test the door or window after installation to ensure it closes properly and creates a tight seal. Remember to replace weatherstripping every few years as it wears down. By following these steps, you'll significantly reduce drafts and improve your home's insulation, leading to lower energy bills and a more comfortable living space.
Professional Installation vs. DIY
Homeowners often face a choice between professional installation and DIY approaches for insulation projects. When it comes to weatherstripping, both options have their merits.
Professional installation ensures expert application, precise fitting, and high-quality materials. You'll benefit from the installer's experience, potentially avoiding common mistakes and achieving optimal energy efficiency. Professionals can also identify and address underlying issues you might miss.
On the other hand, DIY weatherstripping can be cost-effective and empowering. You'll have control over the project timeline and can tackle it at your own pace. Many weatherstripping products are designed for easy installation, with adhesive backing or simple tools required. You'll also gain valuable hands-on experience with your home's structure.
Consider your skill level, available time, and budget when deciding. For complex areas or if you're unsure about the best materials, professional help might be worth the investment. However, if you're confident in your abilities and have researched proper techniques, DIY can be a rewarding option. Remember, regardless of your choice, proper weatherstripping is crucial for maximizing your home's energy efficiency and comfort.
Maintenance and Replacement Tips
Longevity is key when it comes to weatherstripping, but even the best materials won't last forever. To maximize your weatherstripping's lifespan, inspect it annually for signs of wear, damage, or gaps. Check for cracks, tears, or areas where the material has become brittle or detached. Pay special attention to high-traffic areas like doorways and frequently opened windows.
Clean your weatherstripping regularly using mild soap and water to remove dirt and debris that can degrade the material over time. Avoid using harsh chemicals or abrasive cleaners, as these can damage the weatherstripping. If you notice minor issues, such as small gaps or loose sections, you can often repair them with weatherstripping adhesive or by adjusting the placement.
When it's time for replacement, choose materials suited to your specific needs and climate. For doors, consider durable options like vinyl or silicone. For windows, foam tape or V-strip weatherstripping work well. Measure carefully before purchasing new weatherstripping to ensure a proper fit. When installing, make sure surfaces are clean and dry for optimal adhesion. By maintaining and replacing your weatherstripping as needed, you'll keep your home well-insulated and energy-efficient for years to come.
Conclusion
You've learned about weatherstripping, but there's more to uncover. As you seal your home, you're not just saving energy; you're creating a sanctuary. What lies beyond those gaps and cracks? Perhaps it's time to look closer. Will you take the next step? The choice is yours. Remember, every draft you eliminate brings you closer to true comfort. Are you ready to transform your living space and redefine your relationship with your home?