
Stencils have emerged as a cost-effective and versatile solution for adding pattern and interest to interior spaces. This trend offers homeowners a quick way to transform walls, furniture, and accessories with customized designs. From geometric shapes to floral motifs, stencils cater to diverse design styles and preferences. With the right tools and techniques, even beginners can achieve professional-looking results. Stenciling provides a low-commitment alternative to wallpaper, allowing for frequent decor changes. The adaptability of stencils extends beyond walls, breathing new life into ordinary items and creating unique statement pieces. Discover how this affordable decorating method can revolutionize your home's aesthetic appeal.
Why Stencils Are Trending
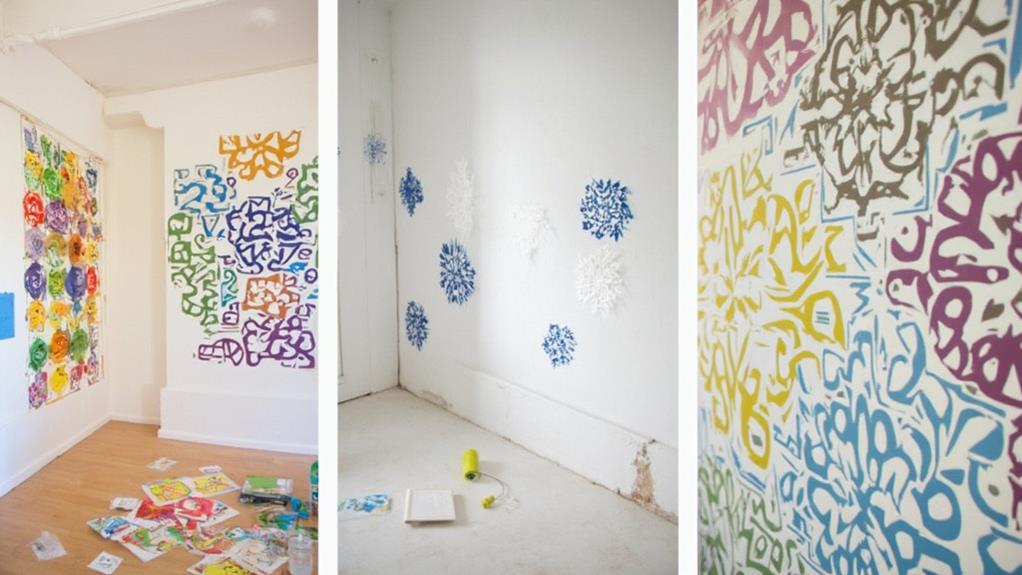
Versatility and cost-effectiveness have propelled stencils to the forefront of interior design trends. These easy-to-use tools offer homeowners and designers a quick, affordable way to transform spaces with intricate patterns and eye-catching designs. Stencils allow for customization of walls, furniture, and even fabrics, providing endless possibilities for personalization.
The resurgence of stencils can be attributed to their adaptability to various design styles, from bohemian to modern minimalist. They offer a low-commitment alternative to wallpaper, allowing for frequent changes in decor without significant expense or effort. Additionally, the DIY-friendly nature of stenciling appeals to those seeking to add a personal touch to their living spaces.
Advancements in stencil materials and designs have contributed to their popularity. Modern stencils are more durable, reusable, and come in a wide range of intricate patterns. This has made it easier for both professionals and amateurs to achieve high-quality, professional-looking results. The trend also aligns with the growing interest in sustainable and budget-conscious design choices, as stencils provide an eco-friendly alternative to traditional wallcoverings and can breathe new life into existing furniture and decor items.
Choosing the Right Stencil Design
When selecting a stencil design, consider the overall aesthetic of your space and the statement you wish to make. Geometric patterns offer a modern, clean look, while floral designs can add a touch of elegance or whimsy.
For a more subtle effect, opt for tone-on-tone stenciling using a slightly darker or lighter shade of your base wall color.
Scale is crucial when choosing a stencil. Large patterns make bold statements and can visually expand a room, while smaller, intricate designs create texture and depth. Consider the size of your wall and furniture placement to ensure the pattern doesn't overwhelm the space.
Repetitive patterns work well for all-over coverage, but feature stencils can create stunning focal points. Think about incorporating borders or ceiling medallions for added interest.
Match the stencil style to your decor – traditional motifs for classic interiors, abstract designs for contemporary spaces.
Remember to test your chosen stencil on a small area or sample board before committing to the entire wall. This allows you to adjust the color, technique, or design if needed, ensuring a successful and satisfying outcome.
Essential Tools for Stenciling Success
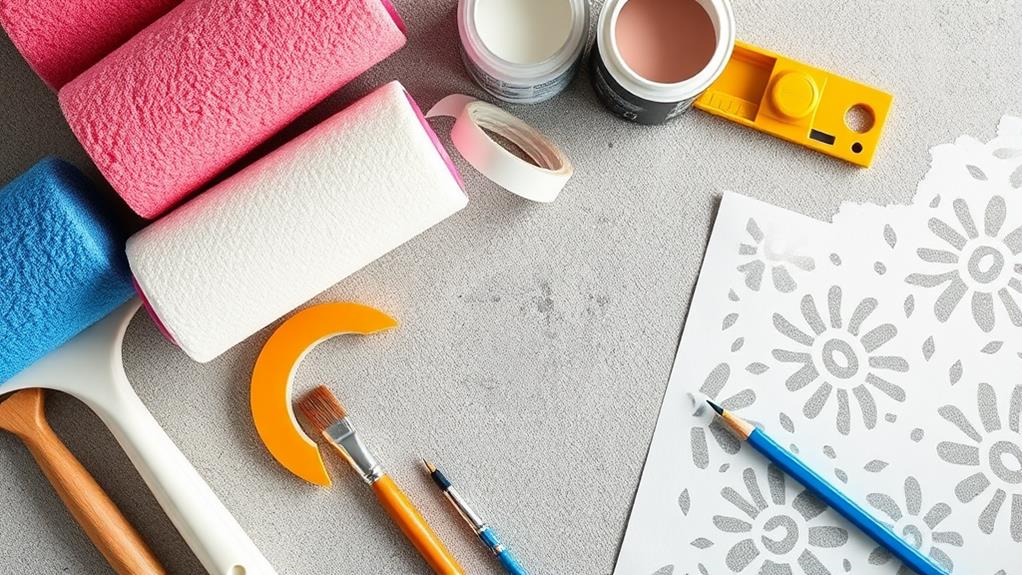
To achieve professional-looking results, having the right tools for stenciling is crucial. Begin with high-quality stencils made of durable materials like Mylar or plastic. These offer crisp edges and can be reused multiple times. A stencil brush with stiff, short bristles is essential for applying paint evenly without seepage. Foam rollers are ideal for larger areas, providing smooth coverage.
Painter's tape is indispensable for securing stencils and creating clean borders. Low-tack variants are preferable to prevent damage to underlying surfaces. A small spray bottle filled with water helps keep paint from drying too quickly on the stencil. For precision work, invest in a set of stencil swivel knives to cut custom designs.
To ensure proper paint consistency, have a palette or paper plate on hand for mixing. A lint-free cloth is useful for blotting excess paint from brushes and cleaning up smudges. Finally, a level and measuring tape are crucial for achieving straight, evenly spaced patterns. With these tools at your disposal, you'll be well-equipped to tackle any stenciling project with confidence and skill.
Preparing Your Walls
Proper preparation is the foundation of any successful stenciling project. Before you begin, ensure your walls are clean, smooth, and free of imperfections. Start by washing the walls with a mild detergent solution to remove dirt, dust, and grease. Allow them to dry completely.
Next, inspect the surface for any cracks, holes, or uneven areas. Fill these with spackling compound and sand smooth once dry. For textured walls, consider applying a thin layer of joint compound to create a flat surface, then sand it down.
Prime the walls if necessary, especially if you're working with a dark or uneven base color. This step helps the stencil paint adhere better and provides a consistent background. Choose a primer that's compatible with your wall paint and the stencil paint you'll be using.
Stenciling Techniques for Beginners
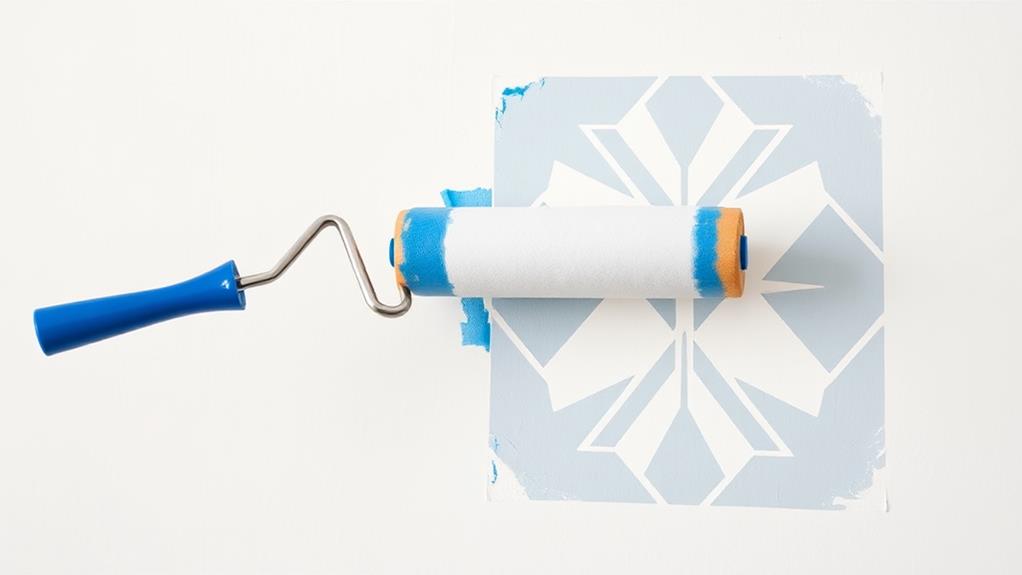
Several key techniques can help beginners achieve successful stenciling results. First, secure the stencil firmly to the wall using painter's tape or spray adhesive to prevent paint bleeding. Load the brush or roller with minimal paint to avoid seepage under the stencil edges. Use a dabbing or stippling motion rather than brushing strokes to apply paint evenly.
For crisp lines, remove the stencil carefully while the paint is still wet. Clean the stencil between applications to maintain pattern clarity. When working with large patterns, use registration marks to align the stencil correctly for continuous designs. Consider using a level to ensure straight, even placement across the wall.
Experiment with different paint consistencies and application tools. Foam rollers provide smooth coverage, while stencil brushes offer more control for detailed work. For textured effects, try dry brushing or using multiple colors within the same pattern. Start in an inconspicuous area to practice technique and color combinations before tackling more visible spaces. With patience and attention to detail, beginners can create professional-looking stenciled designs that add personality and visual interest to any room.
Creating Accent Walls With Stencils
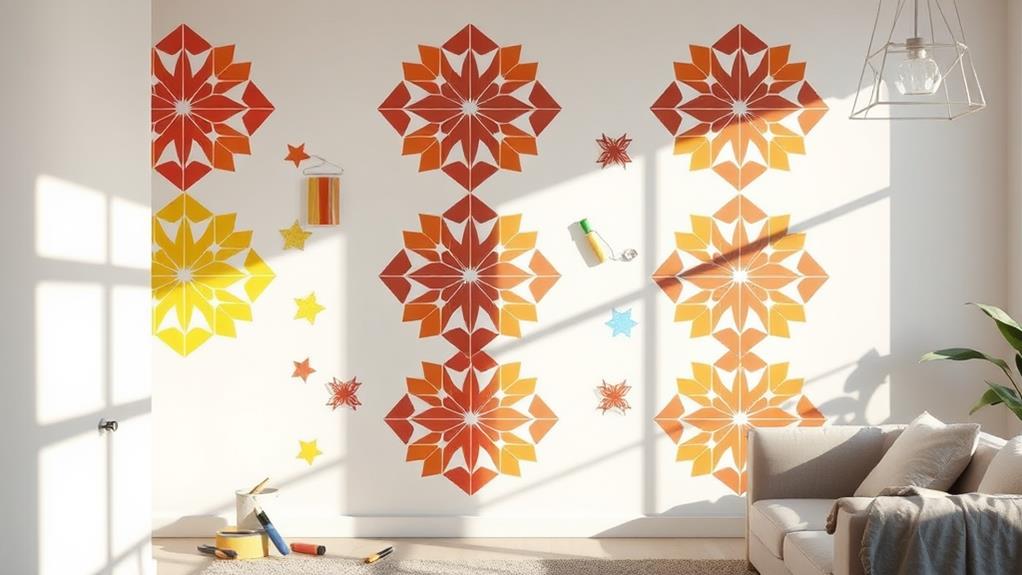
Accent walls created with stencils offer a cost-effective way to add visual interest and personality to any room. This technique allows homeowners to achieve a high-end, custom look without the expense of wallpaper or professional painting services. To create a successful stenciled accent wall, choose a focal point in the room, such as the wall behind a bed or sofa.
Select a stencil design that complements your existing decor and the room's overall style. Large-scale patterns work well for creating dramatic impact, while smaller, repeating designs can add subtle texture. Consider using metallic paints or contrasting colors to make the stenciled pattern pop against the base wall color.
Before starting, properly prepare the wall by cleaning, sanding, and priming if necessary. Use painter's tape to protect adjacent surfaces and ensure clean edges. Apply the stencil using a foam roller or stencil brush, working from top to bottom and being careful not to oversaturate the paint. For a seamless look, use registration marks to align the stencil as you move across the wall. Allow adequate drying time between coats and remove the stencil carefully to avoid smudging.
Stenciling Furniture and Accessories
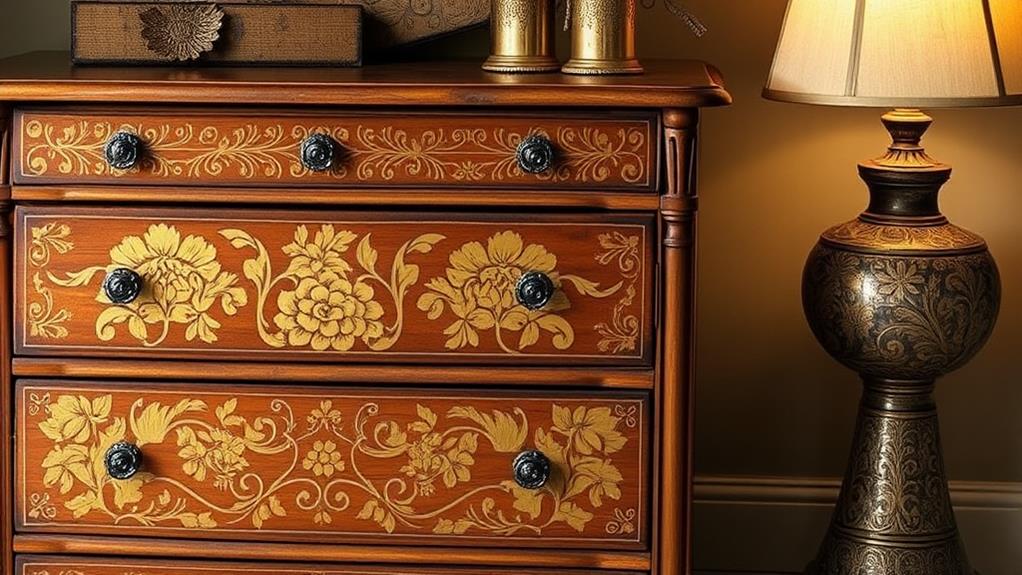
Stenciling furniture and accessories offers a versatile and budget-friendly approach to revitalize existing pieces or create custom decor. This technique allows homeowners to transform ordinary items into unique statement pieces that reflect their personal style. From dressers and side tables to lampshades and throw pillows, almost any surface can be enhanced with stenciled designs.
To begin, select a stencil pattern that complements your decor and gather necessary supplies, including paint, brushes, and painter's tape. Prepare the surface by cleaning and sanding if needed, then secure the stencil in place. Apply paint using a dabbing motion with a foam roller or stencil brush, being careful not to oversaturate the stencil. Remove the stencil carefully and allow the paint to dry completely before applying additional layers or colors.
For furniture, consider stenciling drawer fronts, tabletops, or chair backs to add visual interest. Accessories like picture frames, trays, and storage boxes can be easily customized with stenciled patterns. Experiment with different color combinations and layering techniques to achieve depth and dimension in your designs. Remember to seal painted surfaces on frequently used items to ensure durability and longevity of your stenciled creations.
Mixing Patterns and Colors
Through the art of mixing patterns and colors, homeowners can create visually dynamic and personalized spaces without breaking the bank. This technique allows for endless creativity and expression, transforming ordinary rooms into captivating environments.
To successfully mix patterns and colors, start with a cohesive color palette. Choose a dominant color and two to three complementary hues. Incorporate patterns of varying scales, such as large floral prints paired with small geometric designs. Balance bold patterns with solid colors to prevent visual overwhelm.
Consider the 60-30-10 rule: use the dominant color for 60% of the space, a secondary color for 30%, and an accent color for 10%. This creates a harmonious and balanced look. Experiment with different textures to add depth and interest, such as combining smooth fabrics with rougher materials like burlap or woven textiles.
Don't be afraid to mix seemingly disparate patterns, like stripes with polka dots or florals with plaids. The key is to maintain a common color thread throughout. Remember that throw pillows, area rugs, and curtains are affordable ways to introduce pattern and color without committing to permanent changes.
Maintaining Your Stenciled Surfaces
While mixing patterns and colors can create vibrant spaces, stenciled surfaces offer another affordable way to add visual interest to your home. To ensure the longevity of your stenciled designs, proper maintenance is crucial. Begin by allowing the paint to cure fully before cleaning or touching the surface, typically 24 to 48 hours after application. Use a soft, dry cloth for regular dusting to prevent particle buildup.
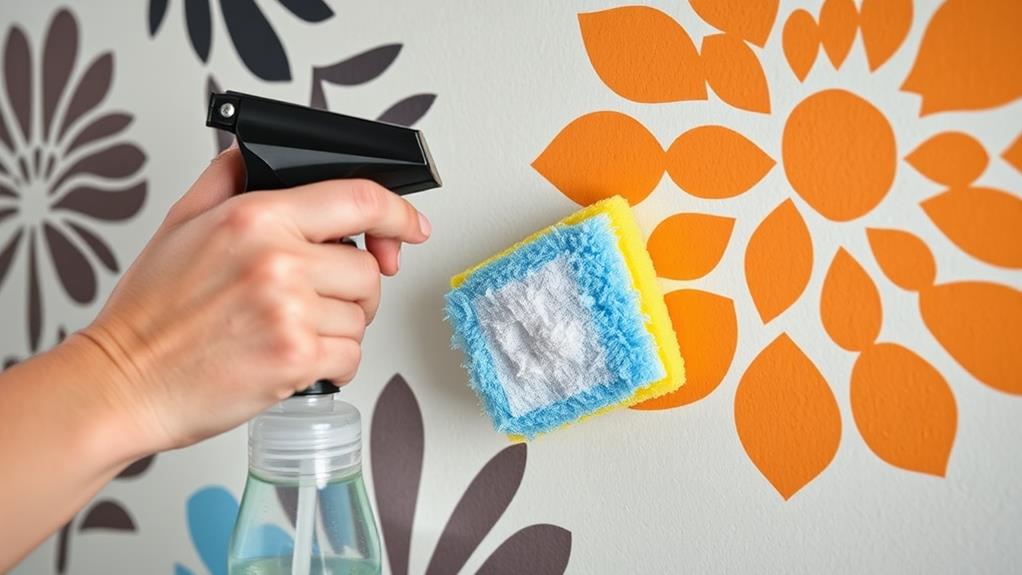
For more thorough cleaning, opt for a mild, non-abrasive cleaner and a soft sponge or cloth. Avoid harsh chemicals or scrubbing tools that could damage the design. When cleaning walls, work from bottom to top to prevent streaking. For floors, use a damp mop and avoid excessive water. In high-traffic areas, consider applying a clear protective sealant over the stenciled design to enhance durability.
Periodically inspect your stenciled surfaces for signs of wear or fading. Touch up small areas as needed using the original stencil and paint colors. By following these maintenance tips, you can preserve the beauty of your stenciled surfaces and enjoy their visual impact for years to come.
Inspiring Stencil Ideas
One can find inspiration for stencil designs in countless places, from nature to geometric patterns and everything in between. For a classic look, consider damask or floral patterns on accent walls or furniture. Geometric shapes like hexagons, chevrons, or moroccan tiles can add a modern touch to any space. Nature-inspired stencils featuring leaves, trees, or birds bring an organic element indoors.
For a personalized touch, create custom stencils using monograms, meaningful quotes, or family names. In children's rooms, playful designs like stars, animals, or fairy tale characters can spark imagination. In kitchens and dining areas, food-themed stencils or vintage-inspired designs can enhance the ambiance.
Don't limit stenciling to walls; consider applying patterns to floors, ceilings, or fabric items like curtains and pillows. Layering different stencil designs can create depth and visual interest. Experiment with ombre effects or metallic paints for added sophistication. For a subtle approach, use tone-on-tone stenciling with slight variations in sheen or texture. Remember, stencils can be used to mimic expensive wallpapers or intricate tile work at a fraction of the cost.
Frequently Asked Questions
Can Stencils Be Used on Textured Walls?
Yes, stencils can be used on textured walls, but the results may not be as crisp as on smooth surfaces. Applying a light coat of joint compound or using specialized textured wall stencils can help achieve better outcomes.
How Long Does It Take for Stenciled Paint to Fully Dry?
Sarah stenciled her living room wall on Saturday morning. Typically, stenciled paint dries to the touch within 1-2 hours, but full curing can take 24-48 hours. Factors like humidity, paint type, and application thickness affect drying time.
Are There Eco-Friendly or Low-Voc Stencil Paints Available?
Yes, eco-friendly and low-VOC stencil paints are readily available. Many manufacturers now offer water-based, non-toxic options that minimize environmental impact and reduce harmful emissions. These paints provide excellent coverage and durability while maintaining a safer painting experience.
Can Stencils Be Used on Ceilings or Floors?
Sky's the limit with stencils! They can indeed be used on ceilings and floors, transforming these often-overlooked surfaces. Proper preparation and technique are key for successful application, especially on high-traffic areas or textured surfaces. Consider durability requirements when selecting paints.
What's the Best Way to Remove a Stenciled Design Without Damaging Walls?
To remove a stenciled design without damaging walls, try gentle methods first. Use a mixture of warm water and dish soap, or apply a commercial adhesive remover. For stubborn designs, consider sanding lightly or repainting the entire wall.
Conclusion
Stenciling offers a cost-effective way to transform spaces with pattern and visual interest. By mastering basic techniques and embracing creativity, even novice decorators can achieve professional-looking results. As the icing on the cake, stenciling provides endless customization options for walls, furniture, and accessories. With proper maintenance, these affordable design elements can stand the test of time, making stenciling a smart investment for those looking to refresh their living spaces without breaking the bank.