
DIY sliding doors offer an affordable and stylish solution for maximizing space in any home. These versatile installations come in various styles, including barn doors, pocket doors, and bypass doors, each with unique benefits. By choosing the right materials and hardware, homeowners can create custom sliding doors tailored to their specific needs and aesthetic preferences. With proper planning, measuring, and the right tools, even novice DIYers can successfully install sliding doors. These space-saving alternatives not only enhance functionality but also add visual interest to any room. Exploring different customization options and maintenance techniques can help ensure long-lasting, beautiful results for your sliding door project.
Benefits of Sliding Doors
With sliding doors, homeowners can enjoy a range of practical and aesthetic benefits. These space-saving solutions are ideal for areas where traditional swinging doors would be impractical or take up too much room. Sliding doors maximize floor space, making them perfect for small apartments, closets, or room dividers in open-concept layouts.
One of the primary advantages of sliding doors is their versatility. They can be customized to fit various openings and come in a wide array of materials, including wood, glass, and metal. This flexibility allows homeowners to match their existing décor or create a striking focal point in any room.
Sliding doors also offer improved accessibility, especially for those with mobility issues. The smooth, effortless operation requires less physical effort than traditional doors, making them an excellent choice for universal design principles. Additionally, these doors can provide better insulation and soundproofing when properly installed, contributing to energy efficiency and a quieter living environment.
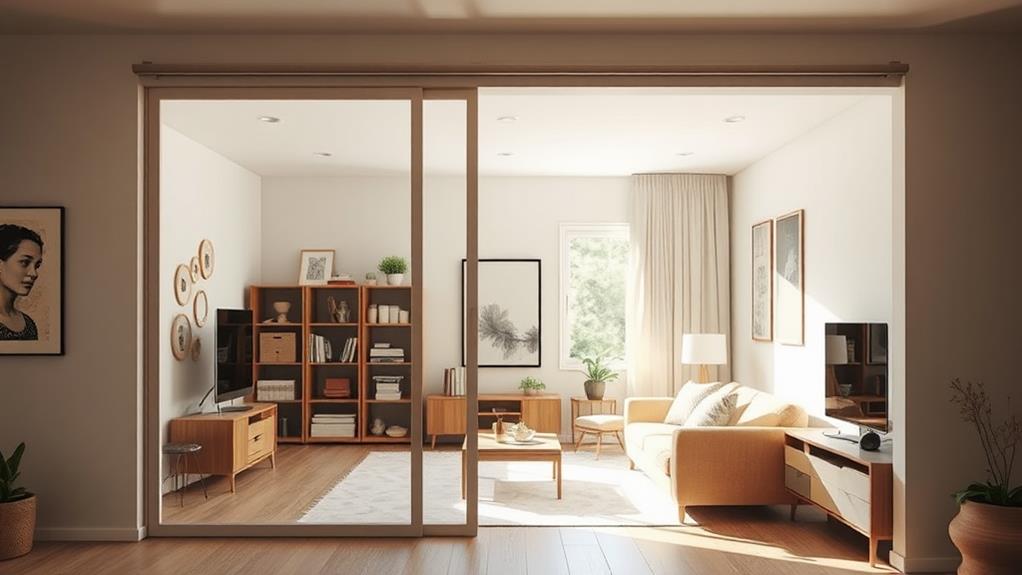
From a design perspective, sliding doors can create a seamless transition between indoor and outdoor spaces, perfect for patios or balconies. They allow for unobstructed views and ample natural light, enhancing the overall ambiance of a home.
Types of DIY Sliding Doors
DIY enthusiasts have a variety of sliding door options to choose from when embarking on a home improvement project. The most common types include barn doors, pocket doors, and bypass doors.
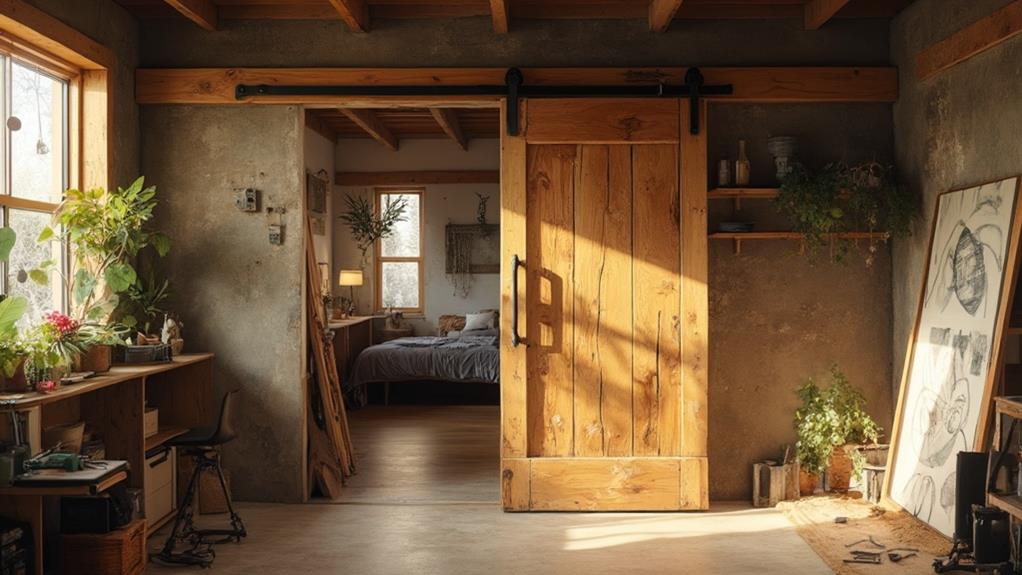
Barn doors are popular for their rustic charm and versatility. They hang from a track mounted above the doorway and slide along the wall. These doors can be made from various materials, including wood, metal, or glass, and come in single or double-panel designs.
Pocket doors slide into a compartment hidden within the adjacent wall, making them ideal for small spaces. They require more extensive construction work but offer a seamless look when open. Pocket doors can be crafted from wood, glass, or composite materials.
Bypass doors consist of two or more panels that slide past each other on parallel tracks. They're commonly used for closets and wardrobes but can also serve as room dividers. DIY bypass doors can be made using lightweight materials like hollow-core doors or repurposed materials such as old windows or shutters.
French sliding doors combine the elegance of traditional French doors with the space-saving benefits of sliding mechanisms. These can be custom-built or adapted from existing French doors by adding sliding hardware.
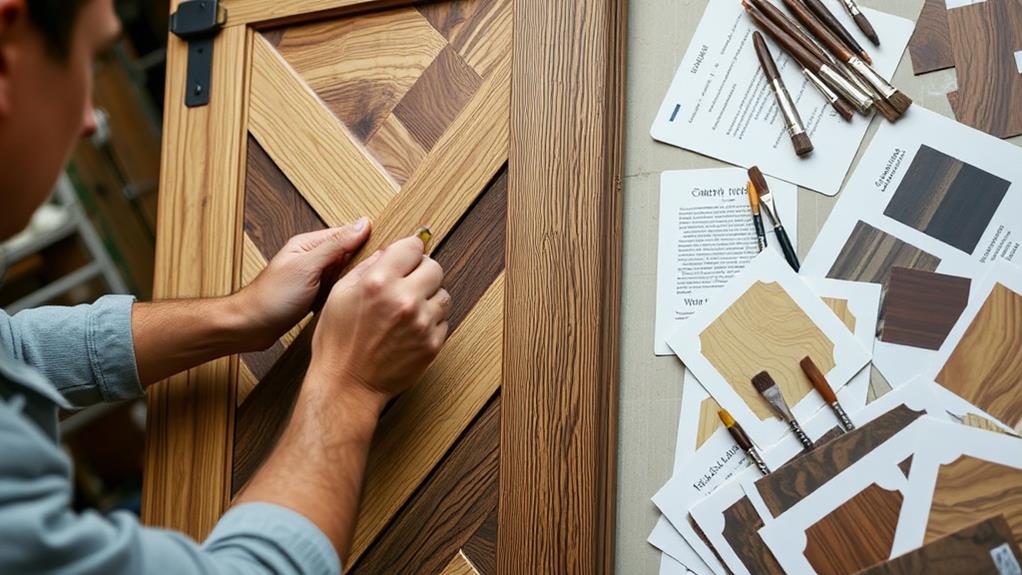
Choosing the Right Materials
Selecting appropriate materials for your DIY sliding door project can make or break the final result. The choice of materials depends on factors such as the door's intended use, location, and aesthetic preferences.
For interior doors, lightweight options like hollow-core wood, MDF, or even repurposed materials like old barn wood can be suitable. Exterior sliding doors require more durable materials that can withstand weather conditions, such as solid wood, metal, or fiberglass.
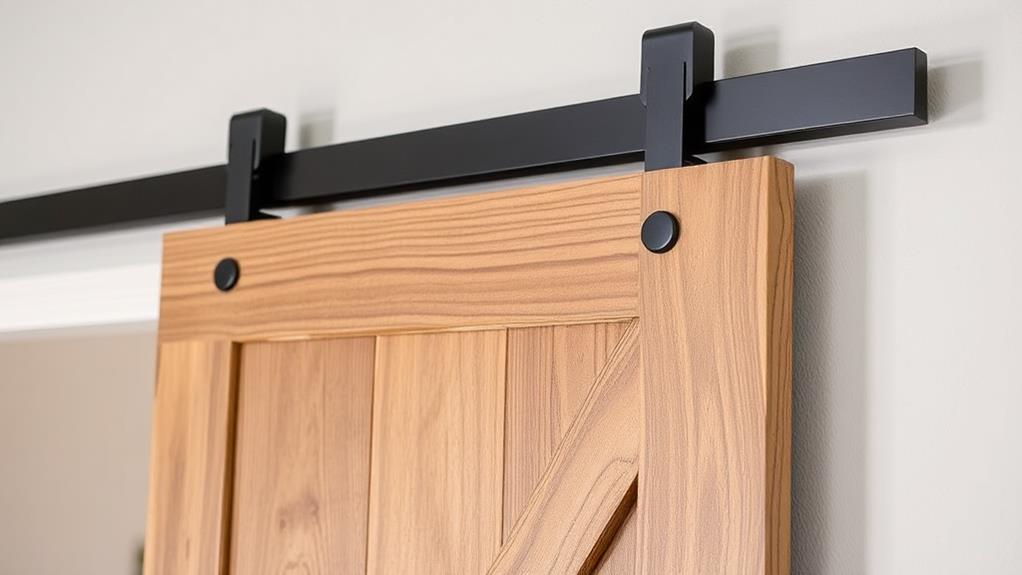
The track system is crucial for smooth operation. Choose between top-hanging or bottom-rolling systems, considering the weight of your door and the structure of your opening. Aluminum tracks are popular for their durability and affordability, while stainless steel offers a more premium option. For the rollers, ball-bearing wheels provide smoother operation and longevity.
Hardware selection is equally important. Opt for high-quality handles, locks, and stoppers that complement your door's style and provide necessary functionality. Consider soft-close mechanisms for added safety and convenience. Finally, don't forget about weatherstripping for exterior doors to ensure proper insulation and protection against the elements.
Tools and Equipment Needed
A successful DIY sliding door project requires a well-equipped toolkit. Essential power tools include a circular saw or table saw for cutting the door and track materials, a drill with various bits for creating pilot holes and mounting hardware, and an electric sander for smoothing edges. A jigsaw may be necessary for intricate cuts or notches.
Hand tools are equally important. You'll need a tape measure, level, square, and pencil for accurate measurements and markings. A hammer, screwdrivers (both flathead and Phillips), and a set of wrenches are crucial for assembly and hardware installation. Pliers and wire cutters can be useful for handling metal components or electrical work if incorporating lighting.
Safety equipment is non-negotiable. Protect yourself with safety glasses, work gloves, and a dust mask. If working with heavy materials, steel-toed boots are recommended. A sturdy ladder or step stool may be necessary for reaching higher areas during installation.
Additional tools may include clamps for holding pieces in place, a stud finder for locating wall supports, and a utility knife for various cutting tasks. Having these tools readily available will ensure a smoother, more efficient DIY sliding door installation process.
Measuring and Planning Your Project
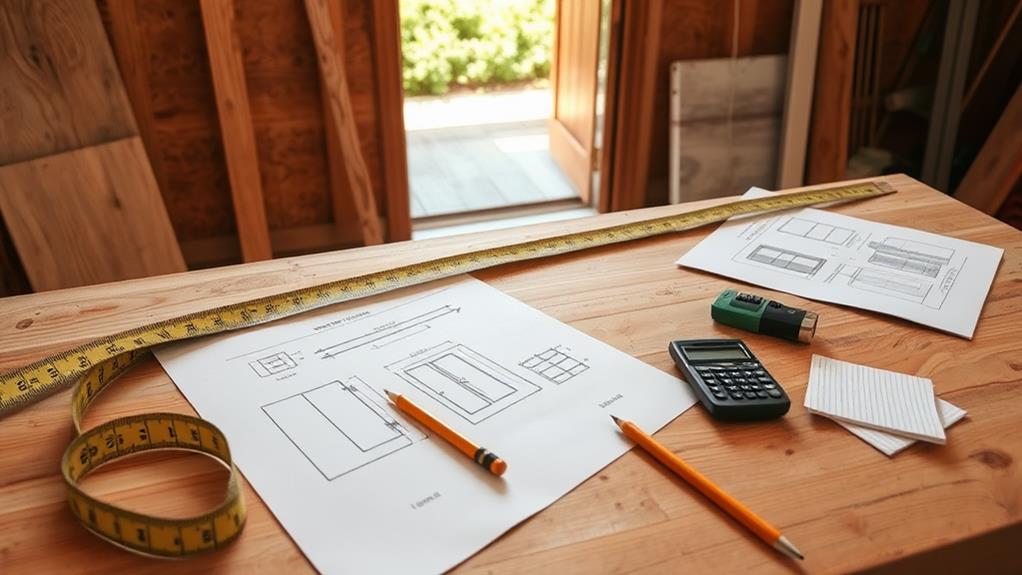
Before embarking on your sliding door project, accurate measurement and thorough planning are crucial steps. Begin by measuring the opening where the sliding door will be installed. Take measurements for height, width, and depth, ensuring you account for any trim or molding. Record these dimensions precisely, as they'll determine the size of your door panels and track system.
Next, decide on the door style and material that best suits your space and aesthetic preferences. Consider factors such as weight capacity of the track system and the overall look you want to achieve. Calculate the overlap needed for the doors to fully close, typically about 1-2 inches on each side.
Sketch a detailed plan of your project, including the placement of the track, door panels, and any additional hardware. This visual aid will help you identify potential issues and make necessary adjustments before construction begins. Consider the direction of the door's movement and ensure there's adequate clearance for it to slide smoothly.
Step-by-Step Installation Guide
With your measurements and plan in hand, it's time to begin the installation process. Start by attaching the track to the header board, ensuring it's level and secure.
Next, install the header board above the door opening, using a stud finder to locate solid support. Attach the floor guide at the bottom of the opening, aligning it with the track above.
Prepare your door panels by installing the rollers on the top edge. Carefully lift each door panel and hang it on the track, adjusting the rollers as needed for smooth operation. Test the doors' movement and make any necessary adjustments to ensure they glide effortlessly.
Install door stops at both ends of the track to prevent the doors from sliding off. Add any desired handles or pulls to the door panels for easy gripping.
Finally, check for any gaps between the doors and the opening, and install weatherstripping if needed to improve insulation and reduce noise.
Throughout the installation process, double-check your measurements and use a level frequently to ensure everything is properly aligned. With careful attention to detail, your DIY sliding doors will provide an attractive and functional space-saving solution for your home.
Customizing Your Sliding Door
Personalizing your sliding door can transform it from a functional element into a stunning focal point of your space. Consider various customization options to enhance both its aesthetics and functionality.
Paint or stain the door to match your room's color scheme or create a contrasting statement piece. For a unique touch, apply decorative vinyl decals, wallpaper, or even create a chalkboard surface.
Hardware selection is crucial in defining the door's style. Choose from sleek modern handles, rustic barn door pulls, or elegant vintage knobs to complement your interior design. Experiment with different track styles, such as exposed industrial tracks or concealed systems for a seamless look.
For added privacy and light control, install frosted glass panels or incorporate built-in blinds. Alternatively, consider using textured or patterned glass for a decorative effect. If you prefer a solid door, add molding or trim to create depth and visual interest.
To maximize functionality, integrate storage solutions like built-in shelves or hanging organizers on the door's surface. Finally, consider adding soft-close mechanisms for smooth and quiet operation, enhancing the overall user experience of your customized sliding door.
Troubleshooting Common Issues
While customizing your sliding door can enhance its appeal, it's important to address common issues that may arise during installation or use. One frequent problem is misalignment, which can cause the door to stick or not close properly. This can often be resolved by adjusting the rollers or realigning the track.
Another issue is gaps between the door and the frame, which may allow drafts or compromise privacy. Weather stripping or additional trim can help seal these gaps effectively.
Noisy operation is another common complaint. Lubricating the rollers and track with silicone spray can often reduce squeaking and grinding sounds. If the door is difficult to slide, check for obstructions in the track or worn-out rollers. Cleaning the track regularly and replacing damaged rollers can improve smooth operation.
For pocket doors, jamming inside the wall cavity is a potential problem. Ensure the pocket is properly framed and free of debris. If the door comes off its track, carefully lift it back into place and tighten any loose hardware. By addressing these issues promptly, you can maintain the functionality and longevity of your DIY sliding door.
Maintenance and Care Tips
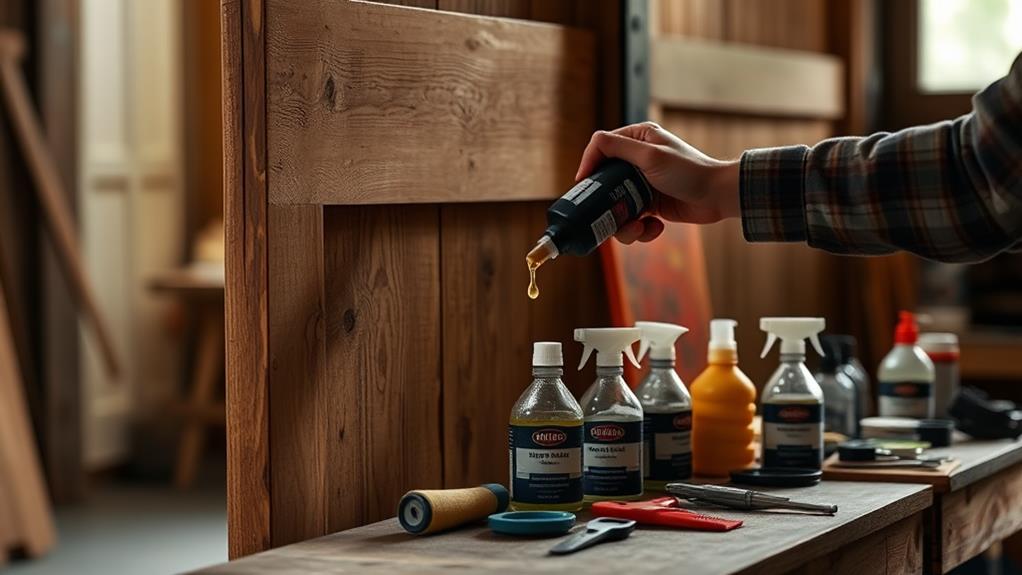
Regular maintenance is crucial for ensuring the longevity and smooth operation of your DIY sliding doors. To keep them functioning optimally, clean the tracks monthly using a vacuum or soft brush to remove dust and debris. Apply a silicone-based lubricant to the rollers and tracks every three to six months, depending on usage frequency.
Inspect the door hardware regularly, tightening any loose screws or bolts. Check the weatherstripping annually and replace it if worn or damaged to maintain energy efficiency. For wooden doors, apply a fresh coat of paint or sealant every few years to protect against moisture and wear.
Clean glass panels with a non-abrasive glass cleaner and soft cloth to prevent scratches. For other door materials, use appropriate cleaners and follow manufacturer recommendations. Adjust the door alignment periodically to ensure smooth sliding and prevent gaps.
Address any issues promptly to prevent further damage. If you notice unusual noises, resistance when sliding, or visible damage, investigate and repair immediately. By following these maintenance tips, you can extend the life of your DIY sliding doors and keep them operating efficiently for years to come.
Inspiring DIY Sliding Door Ideas
DIY sliding doors offer endless possibilities for creative and functional home design. From rustic barn doors to modern glass partitions, homeowners can customize their spaces to suit their unique style and needs. One popular idea is repurposing old wooden pallets to create a weathered, farmhouse-style sliding door. This cost-effective option adds character and warmth to any room.
For a more contemporary look, consider using reclaimed metal or industrial materials to construct a sleek sliding door. Corrugated metal sheets or perforated steel panels can create an eye-catching focal point while providing privacy. Another innovative approach is to incorporate chalkboard paint into your sliding door design, turning it into a functional writing surface for notes, reminders, or artistic expression.
For those seeking a natural, organic feel, consider using bamboo or rattan to create a lightweight sliding screen. These materials offer excellent ventilation and filtered light, perfect for separating spaces without completely closing them off. Lastly, for a truly unique touch, experiment with unconventional materials like recycled glass bottles, colorful resin panels, or even living plant walls to create a one-of-a-kind sliding door that doubles as a work of art.
Frequently Asked Questions
Can Sliding Doors Be Installed on Uneven Floors?
Sliding doors can be installed on uneven floors, but adjustments are necessary. Professional installers can use shims, floor leveling compounds, or adjustable bottom tracks to ensure proper alignment and smooth operation of the doors despite floor irregularities.
Are DIY Sliding Doors Suitable for Bathroom Use?
According to a recent survey, 72% of homeowners prefer sliding doors in bathrooms. DIY sliding doors can be suitable for bathroom use, offering space-saving benefits and a modern aesthetic. However, consider moisture resistance and privacy when selecting materials and designs.
How Much Weight Can a Typical DIY Sliding Door Support?
The weight capacity of a typical DIY sliding door varies depending on the hardware and installation method used. Generally, a well-constructed sliding door can support between 100 to 300 pounds, with some heavy-duty systems capable of handling even more.
Can Sliding Doors Be Soundproofed Effectively?
Sliding doors can be soundproofed effectively, efficiently, and economically. By incorporating sound-absorbing materials, sealing gaps, and using specialized hardware, these doors can significantly reduce noise transmission. Proper installation and maintenance further enhance their sound-blocking capabilities, creating quieter, more peaceful spaces.
Are There Child-Safety Options Available for DIY Sliding Doors?
Yes, child-safety options are available for sliding doors. These include childproof locks, door guards, and finger-pinch protectors. Additionally, soft-close mechanisms and impact-resistant glass can enhance safety. Always follow manufacturer guidelines and prioritize regular maintenance for optimal protection.
Conclusion
DIY sliding doors offer an affordable, space-saving solution for home improvement projects. By following proper planning, material selection, and installation techniques, homeowners can successfully create custom sliding doors tailored to their needs. Regular maintenance ensures longevity and smooth operation. For instance, a family in Seattle transformed their cramped home office into a versatile workspace by installing a reclaimed barn wood sliding door, effectively doubling the usable floor space when opened. This project demonstrates the practical and aesthetic benefits of DIY sliding door installations.