
Lighting makeovers offer a cost-effective way to transform any space. DIY enthusiasts can revamp old lampshades, install dimmer switches, or create custom pendant lights. Upcycling everyday objects into unique lamps adds personal flair. Painting existing fixtures or adding smart bulbs modernizes outdated lighting. Crafting wire cage lamps, incorporating string lights, and modernizing chandeliers provide creative options. Repurposing vintage glass containers as lamp bases or pendants adds charm. These projects range from simple updates to more complex transformations, allowing homeowners to tailor their lighting to their style and budget. Exploring these DIY techniques can illuminate endless possibilities for home improvement.
Revamping Old Lampshades
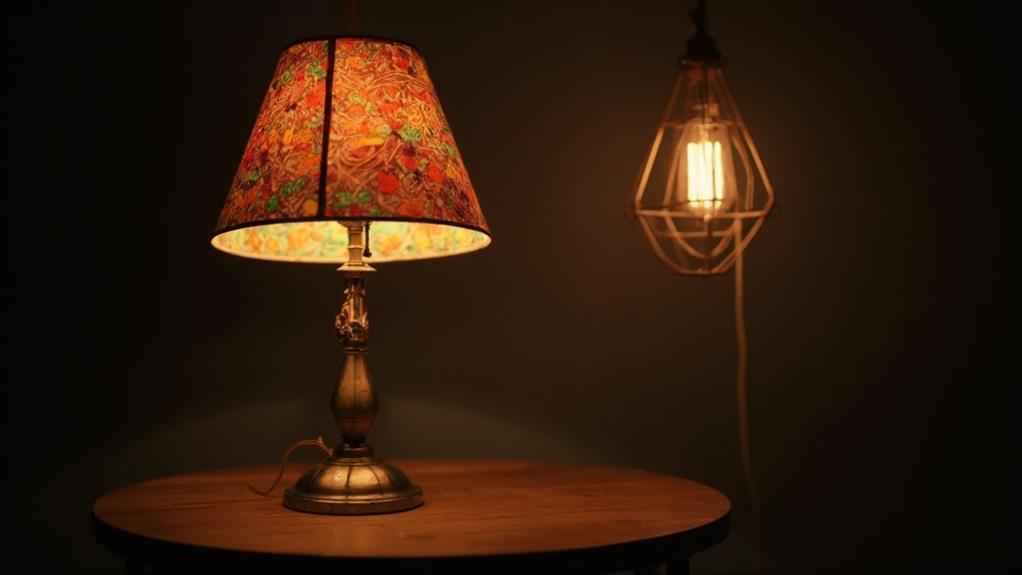
Breathing new life into outdated lampshades is an excellent way to refresh your home's lighting without breaking the bank. With a few simple techniques and materials, you can transform tired lampshades into stylish focal points.
Begin by cleaning the shade thoroughly and assessing its condition. For fabric shades, consider recovering them with new fabric or wallpaper. Use spray adhesive to ensure a smooth application, and trim excess material carefully.
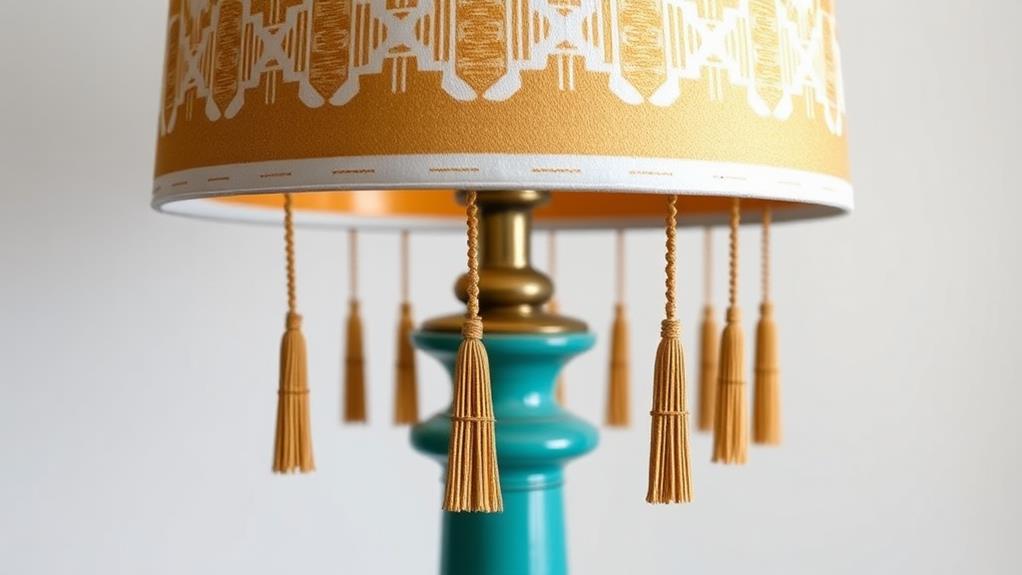
For paper or plastic shades, painting offers a quick update. Choose spray paint designed for fabric and plastic, applying thin, even coats. Stencils or painter's tape can create interesting patterns or color blocks. Alternatively, embellish shades with ribbon, trim, or decorative elements like beads or sequins. Secure these additions with fabric glue for a lasting finish.
For a more dramatic change, replace the entire shade. Measure your lamp base carefully to ensure a proper fit, and explore various shapes and materials to complement your decor. Consider unconventional options like woven baskets, vintage tins, or even repurposed items for a unique touch. With creativity and minimal investment, revamping old lampshades can significantly impact your room's ambiance and style.
Installing Dimmer Switches
While updating lampshades can enhance a room's aesthetics, installing dimmer switches offers both visual appeal and functional benefits. Dimmer switches allow you to control the intensity of your lighting, creating ambiance and saving energy. This DIY project is relatively simple and can be completed in under an hour with basic tools.
Before starting, ensure you have the correct dimmer switch for your lighting type (incandescent, LED, or CFL). Turn off the power at the circuit breaker and remove the existing switch plate. Disconnect the wires from the old switch, noting their positions. Connect the dimmer switch according to the manufacturer's instructions, typically involving attaching the ground wire and connecting the other wires to their corresponding terminals.
Once the dimmer is securely wired, carefully tuck the wires back into the electrical box and mount the switch. Attach the new switch plate, restore power, and test the dimmer. For optimal performance, use bulbs specifically designed for dimming. Remember to never exceed the maximum wattage rating of your dimmer switch. This simple upgrade can dramatically transform your lighting experience, offering versatility and energy efficiency in any room.
Creating Custom Pendant Lights
Custom pendant lights can transform a space, adding both personality and functionality to your home decor. Creating your own pendant lights allows you to tailor the design to your specific aesthetic and budget.
To begin, choose a base for your pendant, such as a glass jar, woven basket, or metal shade. Next, select a pendant light kit, which typically includes the cord, socket, and ceiling canopy.
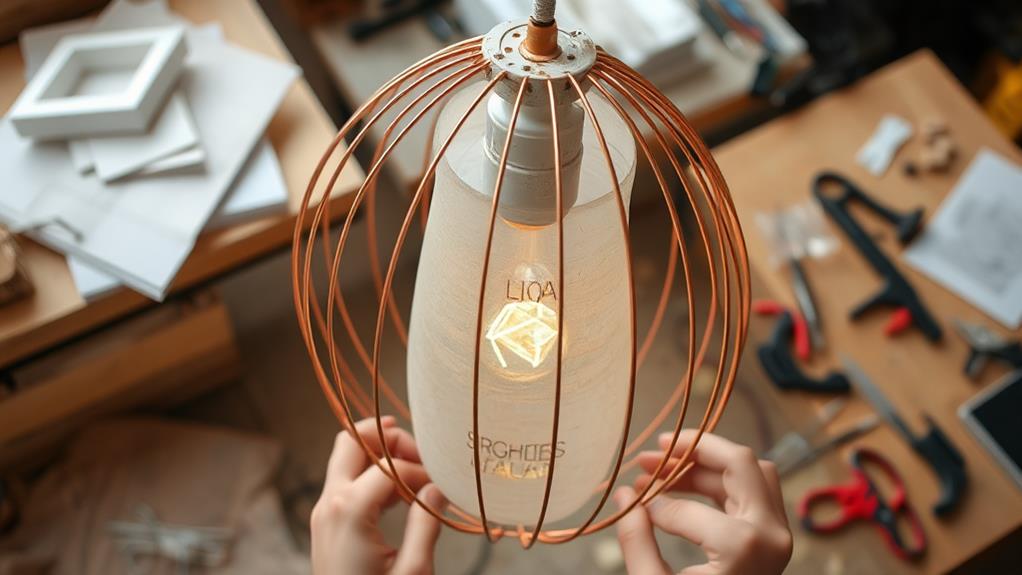
For a simple project, repurpose an existing object by drilling a hole for the cord and assembling the light kit according to the manufacturer's instructions. More advanced DIYers can create unique shades using materials like copper wire, wood veneer, or even concrete. Always ensure proper ventilation for heat dissipation and use appropriate wattage bulbs for your chosen shade material.
Consider the room's purpose when designing your pendant. For task lighting, opt for clear glass or open-bottom shades. For ambient lighting, choose materials that diffuse light, such as frosted glass or fabric. Experiment with different heights and groupings to achieve the desired effect.
Remember to follow local electrical codes and safety guidelines when installing your custom pendant lights.
Upcycling Everyday Objects
Transforming ordinary household items into unique lighting fixtures is an innovative and cost-effective way to update your home's decor. This eco-friendly approach not only reduces waste but also adds character to your living spaces. Common objects like mason jars, teapots, colanders, and wine bottles can be repurposed into eye-catching lamps with minimal effort and expense.
To create a DIY upcycled lamp, start by thoroughly cleaning and preparing your chosen object. Drill a hole for the electrical cord, ensuring safety precautions are followed. Install a socket kit and secure it properly within the object. Choose a complementary lampshade or leave the bulb exposed for an industrial look.
Vintage items like old cameras, musical instruments, or typewriters make for conversation-starting table lamps. For pendant lights, consider using old birdcages, woven baskets, or repurposed light globes.
When upcycling, pay attention to the object's material and structure to ensure it can safely support the weight of electrical components. Always use UL-listed parts and follow local electrical codes. With creativity and some basic DIY skills, you can transform everyday objects into stunning, one-of-a-kind lighting fixtures that reflect your personal style.
Painting Existing Light Fixtures
A fresh coat of paint can breathe new life into outdated light fixtures, offering a cost-effective alternative to replacement. This DIY approach allows homeowners to transform their lighting without breaking the bank.
To begin, carefully remove the fixture and disassemble it if possible. Clean the surface thoroughly with a degreaser to ensure proper paint adhesion.
Choose a paint suitable for the fixture's material, such as spray paint for metal or acrylic for wood. Primer is essential for most surfaces to improve paint durability. Apply thin, even coats, allowing each layer to dry completely before adding the next. For a unique finish, consider textured or metallic paints.
When painting, pay attention to intricate details and hard-to-reach areas. Use painter's tape to protect electrical components and any parts you don't want painted. For glass shades, removable frosted glass spray can create a modern look.
Once the paint is fully cured, reassemble the fixture and reinstall it. This simple update can dramatically change the appearance of your lighting, complementing your home's decor and personal style.
Adding Smart Bulbs
Smart bulb technology has revolutionized home lighting, offering unprecedented control and customization options. These innovative bulbs can be easily integrated into existing fixtures, transforming ordinary lamps into dynamic, programmable light sources. Most smart bulbs connect to home Wi-Fi networks and can be controlled via smartphone apps or voice assistants.
When adding smart bulbs to your fixtures, consider the following:
- Compatibility: Ensure the bulb's base matches your fixture's socket type.
- Wattage equivalency: Choose bulbs that provide appropriate brightness levels.
- Color temperature options: Many smart bulbs offer adjustable white light from warm to cool tones.
- RGB capabilities: Some bulbs can produce millions of colors for mood lighting.
- Hub requirements: Certain brands need a central hub for operation.
Installation is typically straightforward: simply replace existing bulbs with smart alternatives. Once connected to your network, you can set schedules, create scenes, and even sync lights with music or movies. Advanced features may include energy monitoring, dimming without special switches, and integration with other smart home devices. By incorporating smart bulbs, you can significantly enhance the functionality and ambiance of your lighting setup without major renovations.
Crafting Wire Cage Lamps
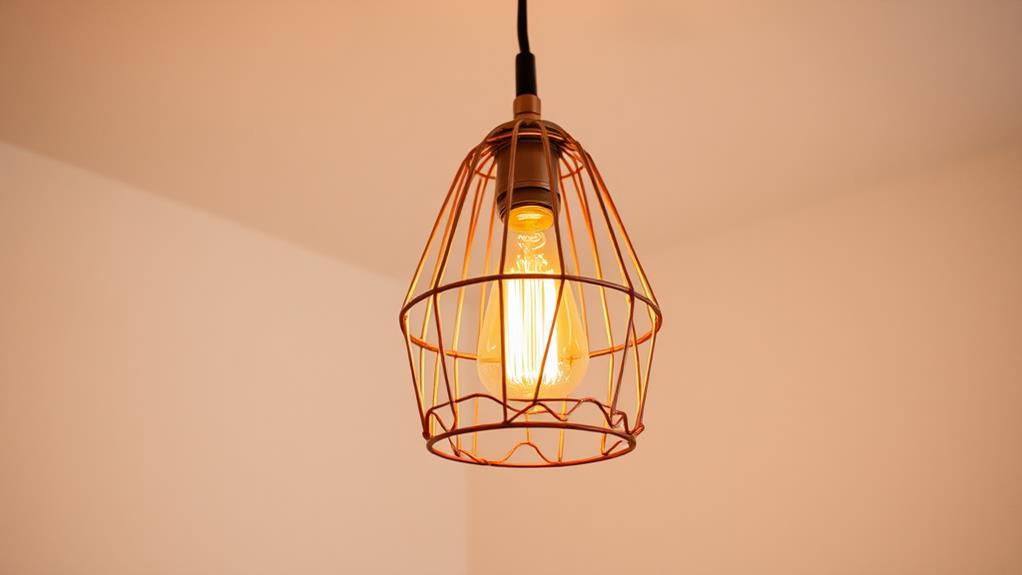
Wire cage lamps frequently add an industrial or vintage flair to interior spaces while providing a unique DIY project for lighting enthusiasts. These fixtures can be crafted using readily available materials, including wire mesh, pliers, and a light socket kit.
To begin, select a wire mesh with an appropriate gauge and pattern for your desired aesthetic. Cut the mesh to size, ensuring it's large enough to encase the bulb and socket while leaving room for heat dissipation.
Shape the wire mesh into a cylindrical or spherical form, securing the edges with thin wire or by bending the mesh itself. Attach the light socket to one end of the cage, making sure it's securely fastened. Install the bulb and test the wiring before finalizing the assembly. For added safety, consider incorporating a metal base plate to cover any exposed wiring.
Customize your wire cage lamp by experimenting with different mesh patterns, finishes, or even combining multiple cages for a more complex design. These DIY fixtures can be used as pendant lights, table lamps, or wall sconces, offering versatility in both form and function. With careful craftsmanship, wire cage lamps can become striking focal points in any room.
Incorporating String Lights
While wire cage lamps offer an industrial aesthetic, string lights provide a softer, more whimsical approach to DIY lighting projects. These versatile illuminators can transform any space, creating a cozy ambiance or adding a festive touch. To incorporate string lights effectively, consider both indoor and outdoor applications.
For indoor use, drape string lights along walls, around windows, or across ceilings to create a warm glow. Combine them with sheer curtains for a dreamy effect, or weave them through houseplants for a magical forest feel. In bedrooms, string lights can serve as gentle night lighting when wrapped around headboards or hung in geometric patterns above the bed.
Outdoor spaces benefit greatly from string lights as well. Pergolas, patios, and decks can be illuminated by zigzagging lights overhead or wrapping them around posts and railings. For a more permanent solution, install string lights under eaves or along fences. Choose weatherproof options for outdoor use, and consider solar-powered varieties for energy efficiency. Experiment with different bulb shapes, sizes, and colors to achieve the desired atmosphere, whether it's a romantic dining area or a lively entertaining space.
Modernizing Chandelier Designs
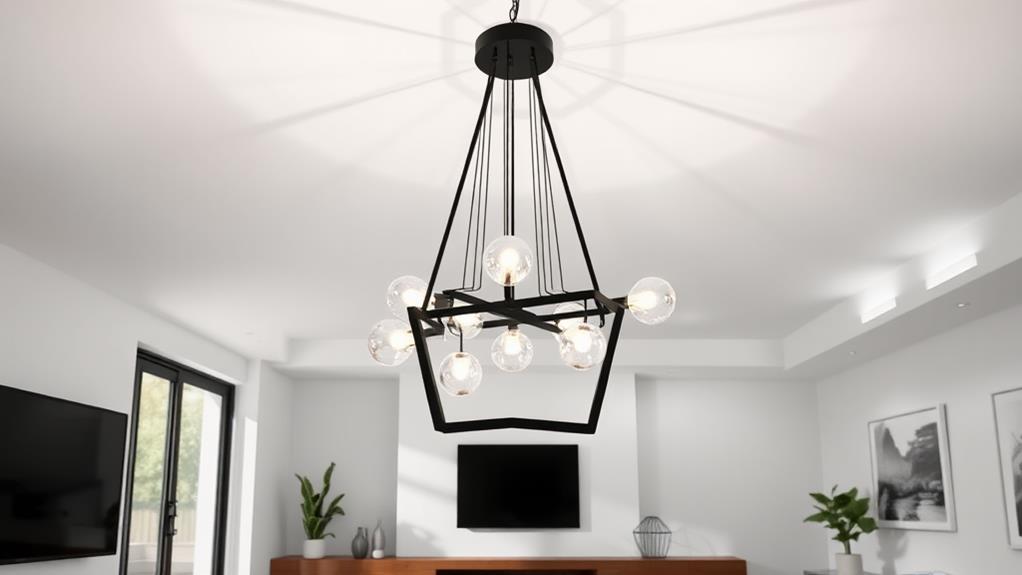
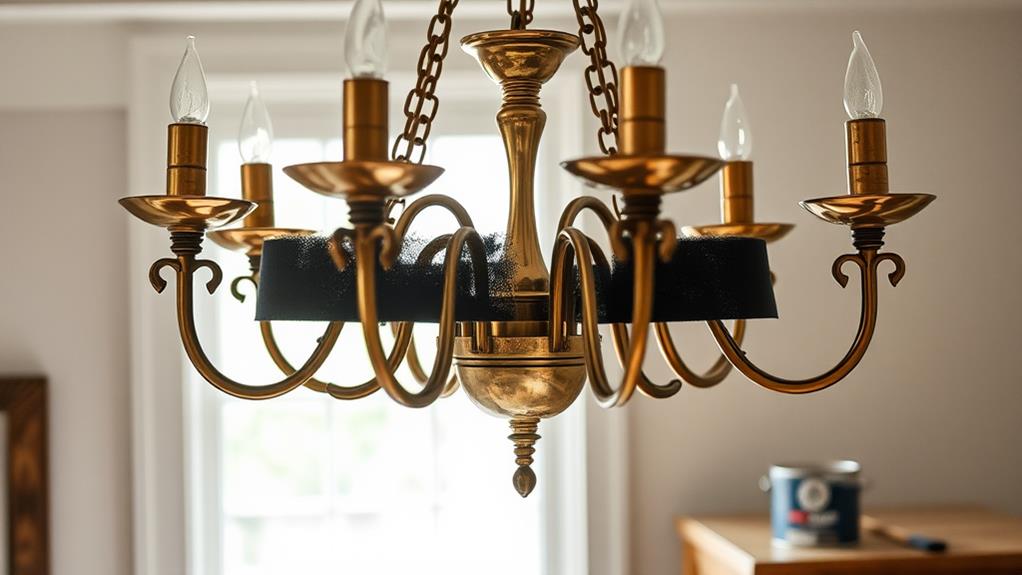
With the resurgence of interest in statement lighting, modernizing chandelier designs has become a popular DIY project for homeowners looking to update their spaces. Traditional crystal chandeliers can be transformed into contemporary focal points through simple modifications and creative techniques.
One approach involves stripping away ornate elements and replacing them with sleek, minimalist components. Removing excess crystal drops and swapping out candle-style bulbs for modern LED alternatives instantly updates the fixture's appearance. Spray painting the chandelier frame in matte black, brushed gold, or a bold color can dramatically alter its aesthetic.
Another method focuses on reimagining the chandelier's silhouette. Adding geometric shapes, such as metal rings or wire frames, creates a more angular and modern profile. Incorporating unexpected materials like wooden beads, rattan, or even macramé can infuse the chandelier with a bohemian or industrial flair.
For a truly unique look, consider repurposing unconventional objects as chandelier bases. Mason jars, wine bottles, or vintage birdcages can serve as imaginative foundations for custom light fixtures. By combining these DIY techniques with carefully chosen modern elements, homeowners can breathe new life into outdated chandeliers and create stunning, personalized lighting solutions for their spaces.
Repurposing Vintage Glass Containers
Repurposing vintage glass containers offers an eco-friendly and creative approach to DIY lighting projects. By transforming old jars, bottles, and other glass vessels into unique lamp bases or pendant lights, you can add character and charm to your home decor while reducing waste.
To begin, select a suitable glass container, ensuring it's sturdy enough to support electrical components. Clean the container thoroughly and remove any labels or residue.
Next, drill a hole in the container's base or lid to accommodate the electrical cord. Install a lamp kit, which typically includes a socket, cord, and switch. Secure the socket inside the container and thread the cord through the drilled hole.
For added safety, use a rubber grommet to protect the cord where it exits the container. Choose an appropriate bulb that complements the container's shape and size. LED bulbs are ideal for their energy efficiency and low heat output.
Finally, select a lampshade that enhances the overall design, or leave the bulb exposed for an industrial look.
When working with electricity, always follow proper safety precautions and consult local regulations. With creativity and care, repurposed glass containers can become stunning, one-of-a-kind lighting fixtures that illuminate your space while showcasing your personal style.
Frequently Asked Questions
How Do I Calculate the Correct Wattage for My Updated Light Fixture?
To calculate the correct wattage for your updated light fixture, determine the fixture's maximum wattage rating, consider the room's size and purpose, and factor in the desired brightness level. Choose bulbs that collectively meet these requirements without exceeding the fixture's capacity.
What Safety Precautions Should I Take When Working With Electrical Components?
When working with electrical components, always turn off power at the circuit breaker, use insulated tools, wear rubber-soled shoes, and avoid touching bare wires. Test for live currents, and if unsure, consult a licensed electrician for safety.
Can I Mix Different Lighting Styles in the Same Room?
Picture a room where sleek modern lamps dance alongside vintage chandeliers. Mixing lighting styles can create a visually captivating space. Embrace eclectic combinations by balancing different elements, considering scale, and maintaining a cohesive color palette for a harmonious ambiance.
How Do I Choose the Right Color Temperature for My Lighting?
Choosing the right color temperature for lighting depends on the room's function and desired ambiance. Consider cooler temperatures (5000K-6500K) for task-oriented spaces, warmer temperatures (2700K-3000K) for relaxation areas, and mid-range (3500K-4100K) for multipurpose rooms.
Are There Eco-Friendly Options for Disposing of Old Light Fixtures?
Intrigued by eco-friendly disposal options for old light fixtures? You're in luck! Many recycling centers accept metal, glass, and electronic components. Some manufacturers even offer take-back programs. Local donation centers may also welcome functional fixtures for reuse.
Conclusion
In conclusion, these lighting makeover techniques offer a range of options for transforming interior spaces. From revamping old lampshades to repurposing vintage glass containers, DIY enthusiasts can breathe new life into existing fixtures or create custom designs. The incorporation of modern elements like dimmer switches and string lights, alongside upcycling everyday objects, provides ample opportunities to shed new light on tired decor. These approaches not only enhance aesthetics but also allow for personalized illumination solutions that can truly make a space shine.