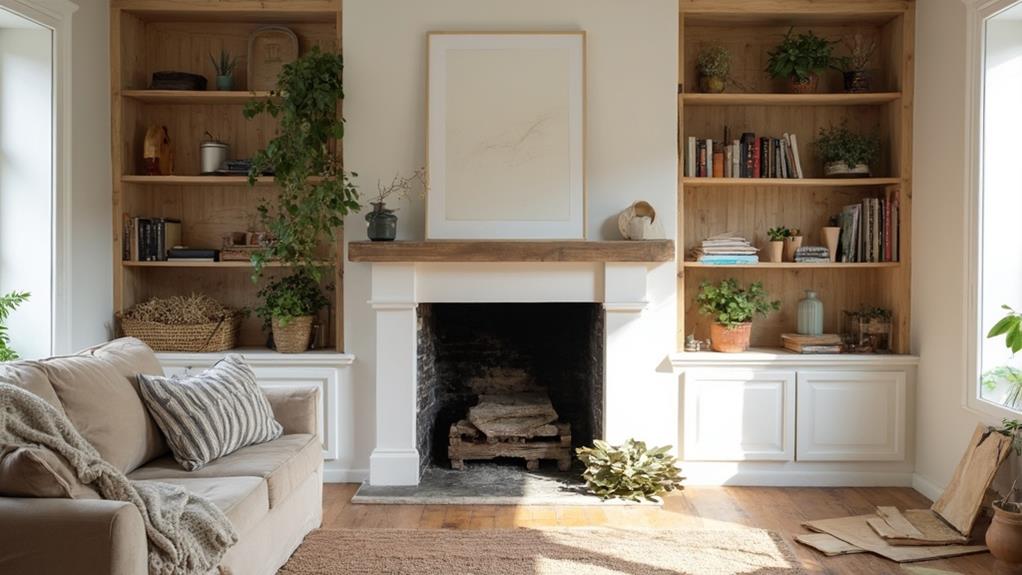
Budget-friendly built-ins offer cost-effective DIY storage solutions for maximizing space and enhancing home functionality. Start by assessing your space and planning your project carefully. Choose durable, affordable materials like plywood or medium-density fiberboard. Basic projects include floating shelves, window seats, and custom bookcases. Repurpose existing furniture by adding shelving or modifying drawers. Transform household items into unique storage pieces. Finish with cohesive colors, decorative hardware, and strategic lighting. Personalize your creations with paint, labels, and stylish accessories. With creativity and careful planning, you can achieve professional-looking built-ins without breaking the bank. The following tips will help you tackle your storage project with confidence.
Assessing Your Space
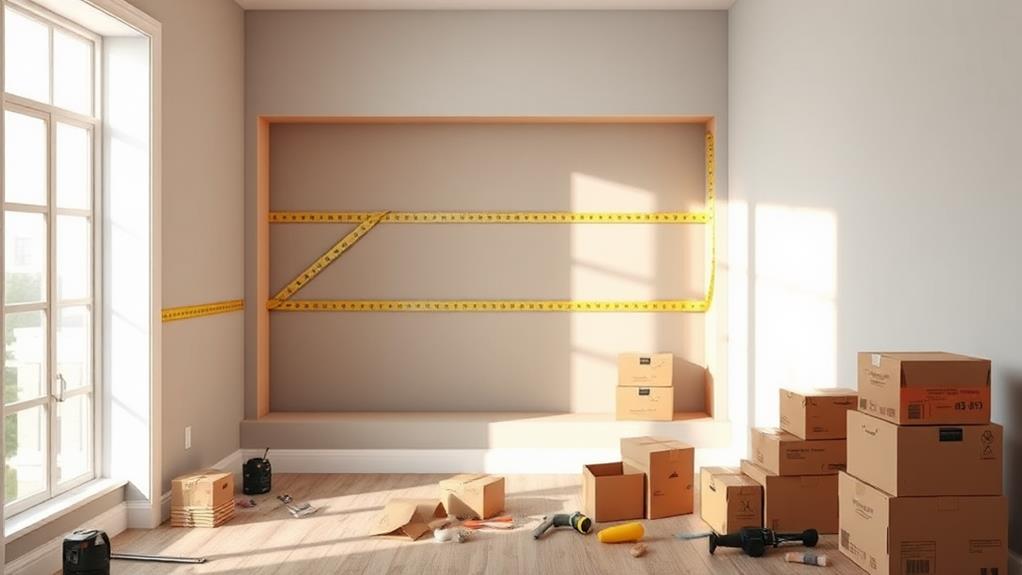
Before embarking on any DIY storage project, a thorough assessment of your available space is crucial. Begin by measuring the dimensions of the room or area where you plan to install built-ins. Take note of any architectural features, such as windows, doors, or sloped ceilings, that may impact your design. Consider the room's primary function and identify the specific storage needs you want to address.
Evaluate existing storage solutions and determine what's working and what isn't. This will help you prioritize your new storage requirements. Analyze traffic flow patterns to ensure your built-ins won't obstruct movement or create awkward spaces. Take into account natural light sources and electrical outlets, as these may influence the placement of your storage units.
Create a detailed floor plan, marking potential locations for your built-ins. Consider vertical space utilization, especially in rooms with high ceilings. Assess the structural integrity of walls and floors where you plan to install heavy units. Finally, determine your budget and skill level to ensure your DIY project is realistic and achievable. This comprehensive assessment will provide a solid foundation for designing and implementing effective storage solutions.
Planning Your Built-In Project
With your space assessment complete, the next step is to develop a comprehensive plan for your built-in project. Begin by sketching your design ideas, taking into account the dimensions and layout of your space. Consider the functionality you require, such as shelving, drawers, or cabinets, and how these elements will fit together.
Next, create a detailed materials list, including lumber, hardware, and finishing supplies. Research cost-effective options that align with your budget while maintaining quality. Determine which tools you'll need and whether you already own them or need to borrow or purchase them.
Break down the project into manageable steps, creating a timeline for each phase. This will help you stay organized and motivated throughout the process. Consider any potential obstacles or challenges you may face, such as working around electrical outlets or dealing with uneven walls.
Choosing Materials and Tools
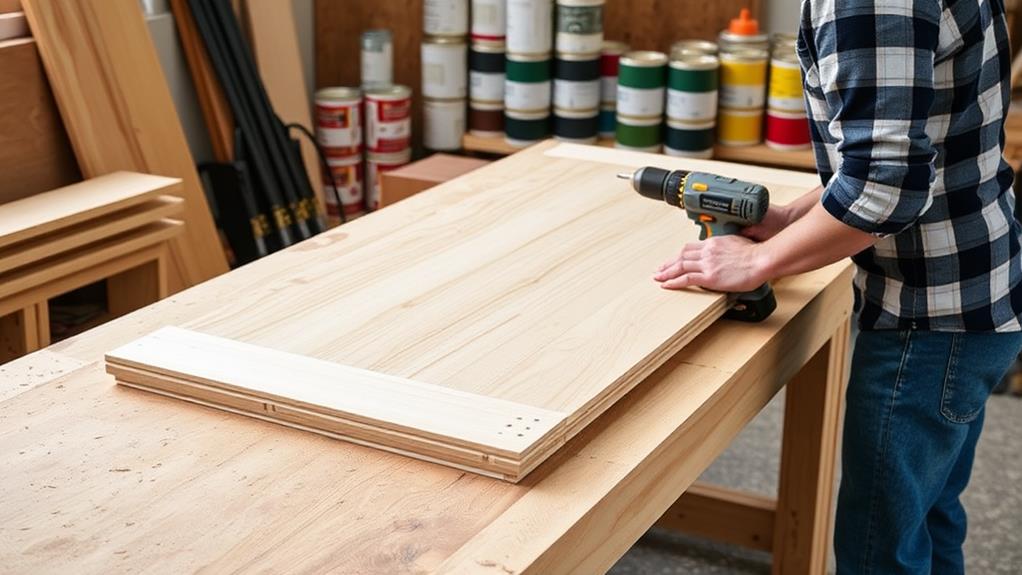
The selection process for materials and tools is crucial to the success of your DIY storage project. Begin by choosing durable, cost-effective materials that suit your design and budget. Medium-density fiberboard (MDF) is a popular choice for built-ins due to its affordability and smooth finish.
Alternatively, plywood offers strength and a natural wood grain appearance. For a more upscale look, consider solid wood, though it comes at a higher price point.
Essential tools for your project include a circular saw or table saw for cutting boards, a drill for creating pilot holes and attaching hardware, and a level to ensure proper alignment. A nail gun can speed up the assembly process, while a sander helps achieve a smooth finish. Don't forget measuring tools like a tape measure and square.
When selecting hardware, opt for durable hinges, drawer slides, and handles that complement your overall design. Consider using adjustable shelf pins for versatility in your storage configuration. Lastly, choose appropriate fasteners, such as wood screws and finishing nails, to securely assemble your built-ins.
Basic Floating Shelf Installation
Frequently, floating shelves provide an elegant and space-saving storage solution for any room. Installing these versatile shelves requires careful planning and precise execution.
Begin by selecting a suitable location and marking the desired position on the wall. Use a stud finder to locate wall studs for secure anchoring. If studs are unavailable, employ heavy-duty wall anchors rated for the shelf's weight capacity.
Measure and drill pilot holes for the mounting bracket, ensuring they are level. Attach the bracket to the wall using appropriate screws and a power drill. For added stability, apply construction adhesive to the bracket's back before securing it. Once the bracket is firmly in place, slide the shelf onto it, following the manufacturer's instructions.
To complete the installation, use a level to check the shelf's alignment and make any necessary adjustments. For a polished look, consider adding trim or molding to conceal the bracket. Finally, allow any adhesive to dry completely before placing items on the shelf. With proper installation, floating shelves can support significant weight while maintaining a sleek, minimalist appearance.
Creating a Window Seat
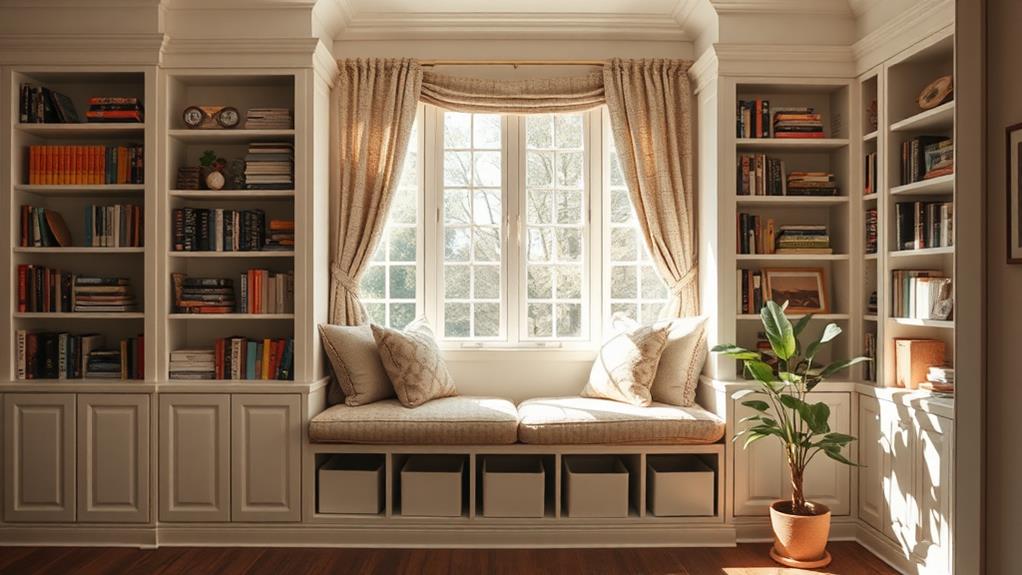
Window seats offer a charming and functional addition to any home, combining storage capacity with a cozy nook for relaxation or reading. Creating a DIY window seat is an achievable project for intermediate-level DIYers, requiring basic carpentry skills and tools.
Begin by measuring the window area and designing the seat to fit the space. Choose sturdy materials like plywood or medium-density fiberboard (MDF) for the frame and seat top. Build the base frame using 2x4s, ensuring it's level and securely anchored to the wall studs. Install the seat top, leaving space for hinges if you plan to incorporate storage underneath.
For built-in storage, add dividers within the base frame to create compartments. Attach cabinet-style doors or lift-top hinges for easy access. Consider adding electrical outlets for device charging. Finish the seat with paint or stain to match your decor, and add cushions for comfort.
Safety is crucial, so ensure the seat can support weight and won't tip. If the window is low, install a safety rail. With careful planning and execution, a DIY window seat can provide both aesthetic appeal and practical storage solutions.
Building Bookcases From Scratch
Building custom bookcases from scratch offers another avenue for creating personalized storage solutions in your home. This DIY project allows you to tailor the dimensions, style, and features to your specific needs and space constraints. Begin by carefully measuring the intended area and sketching a detailed plan, including the number of shelves and their spacing.
Select high-quality materials such as solid wood or medium-density fiberboard (MDF), depending on your budget and desired finish. Cut the pieces to size using a circular saw or have them pre-cut at a home improvement store. Assemble the frame using wood glue and screws, ensuring everything is level and square. Install adjustable shelf supports for flexibility in shelf arrangement.
For a built-in look, secure the bookcase to wall studs and add trim to conceal any gaps. Consider incorporating additional features like crown molding, lighting, or a ladder rail for tall units. Apply wood filler to cover screw holes and sand the entire piece before painting or staining. With patience and attention to detail, you can create a custom storage solution that adds both functionality and character to your living space.
Customizing Existing Furniture
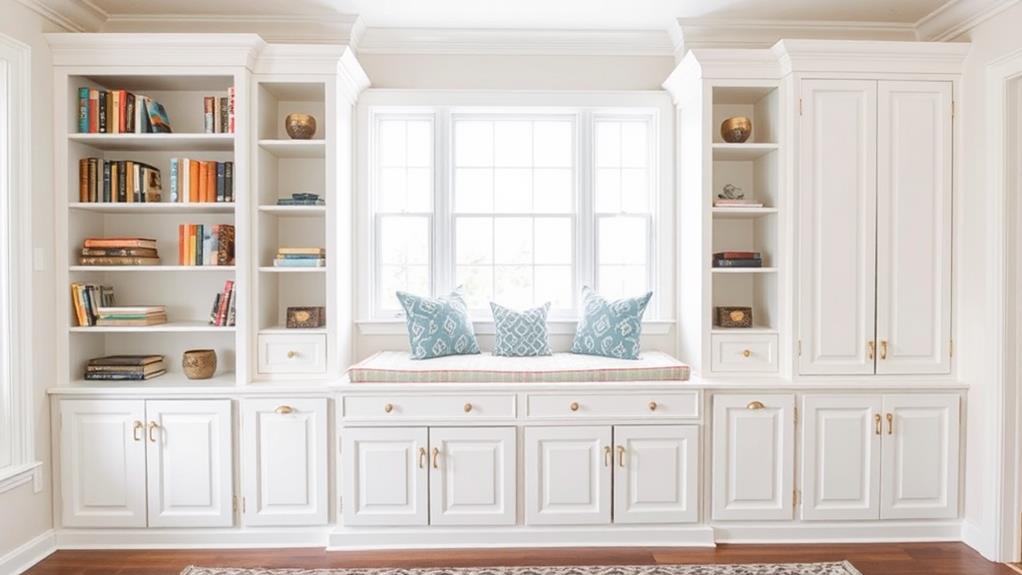
Transforming existing furniture offers a cost-effective and creative approach to enhancing storage capacity in your home. By repurposing or modifying pieces you already own, you can create custom storage solutions tailored to your specific needs without breaking the bank.
One popular technique is to add shelving or cubbies to existing dressers or cabinets. This can be achieved by removing drawers and installing wooden dividers or prefabricated shelf inserts. Another option is to attach floating shelves or brackets to the sides of furniture pieces, instantly increasing their storage potential.
For closet organization, consider adding tension rods, hanging organizers, or over-the-door storage systems to maximize vertical space. Repurpose old ladders as towel racks or bookshelves, or transform wooden crates into modular storage units.
Furniture legs can be replaced with casters to create mobile storage solutions, while decorative baskets or bins can be added to open shelving for a polished look. Paint, new hardware, and creative embellishments can further personalize your customized pieces, ensuring they blend seamlessly with your home's decor while providing much-needed storage space.
Finishing Touches and Styling
The final step in creating DIY storage solutions is to add finishing touches and style your newly organized spaces. This stage is crucial for enhancing the aesthetic appeal and functionality of your storage areas.
Begin by selecting a cohesive color scheme that complements your existing décor. Paint or stain exposed surfaces to achieve a polished look.
Consider adding decorative hardware, such as sleek handles or unique knobs, to elevate the appearance of cabinets and drawers. Incorporate lighting elements, like LED strip lights or puck lights, to illuminate dark corners and showcase your organized items. Use attractive labels or label makers to clearly identify the contents of bins, baskets, and containers.
Style your shelves and open storage areas by grouping similar items together and creating visual interest with varying heights and textures. Incorporate plants, books, or decorative objects to add personality to your storage solutions. Utilize attractive storage containers, such as woven baskets or glass jars, to conceal smaller items while maintaining a cohesive look.
Frequently Asked Questions
How Do I Childproof My DIY Built-Ins?
To childproof DIY built-ins, install safety locks on doors and drawers, secure loose items, cover sharp edges with padding, and anchor tall units to the wall. Use non-toxic materials and finishes, and ensure all hardware is securely fastened.
Can I Install Built-Ins in a Rental Property?
Installing built-ins in a rental property typically requires landlord approval. While some removable options exist, permanent modifications are generally discouraged. Consider freestanding alternatives or temporary solutions that won't damage the property or violate your lease agreement.
What's the Best Way to Incorporate Lighting Into My Built-In Storage?
Illuminating your storage, like a beacon in the night, transforms functionality into ambiance. Incorporate LED strips under shelves, puck lights in cabinets, or sconces above for a professional look. Consider dimmable options to adjust the mood effortlessly.
How Do I Ensure My DIY Built-Ins Are Earthquake-Safe?
To ensure earthquake safety for DIY built-ins, securely anchor them to wall studs using heavy-duty brackets and screws. Use flexible adhesives, incorporate shear walls, and avoid top-heavy designs. Consider consulting a structural engineer for complex installations or high-risk areas.
Can I Create Built-Ins That Are Easily Removable or Transferable?
"Necessity is the mother of invention." Indeed, creating removable or transferable built-ins is possible. Utilize modular designs, freestanding units, or detachable components. Consider using brackets, screws, or interlocking systems for easy disassembly and relocation when needed.
Conclusion
In an ironic twist, the pursuit of budget-friendly built-ins often leads to unexpected expenses and DIY mishaps. However, with careful planning and execution, these storage solutions can transform cluttered spaces into organized havens. The journey from assessing space to adding finishing touches may test one's patience and skills, but the result is a customized, functional masterpiece. Ultimately, the true irony lies in the fact that these "budget-friendly" projects often become priceless additions to the home.
