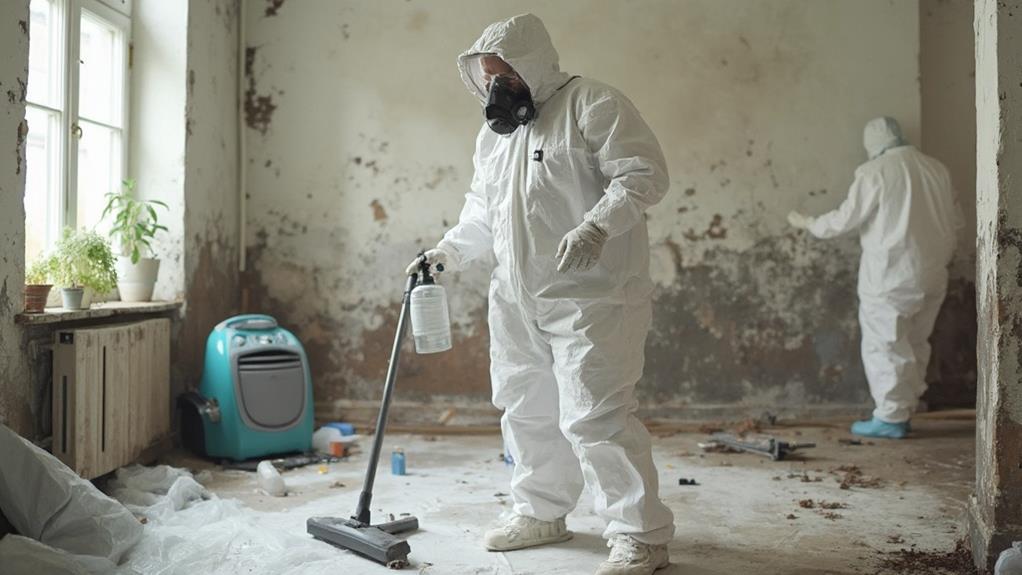
Essential safety gear for DIY mold remediation includes NIOSH-approved respirators, preferably N95 or P100, to filter out airborne particles. Safety goggles protect eyes from spores and debris. Disposable coveralls with elastic wrists, ankles, and a hood provide full-body protection. Nitrile or neoprene gloves and shoe covers prevent contamination spread. Hair covers keep spores out of hair. Cleaning solutions, containment materials like plastic sheeting and duct tape, moisture meters, and proper disposal equipment are also crucial. Using the right safety gear significantly reduces health risks associated with mold exposure. Proper understanding of each item's purpose enhances overall safety during remediation efforts.
Respirators and Face Masks
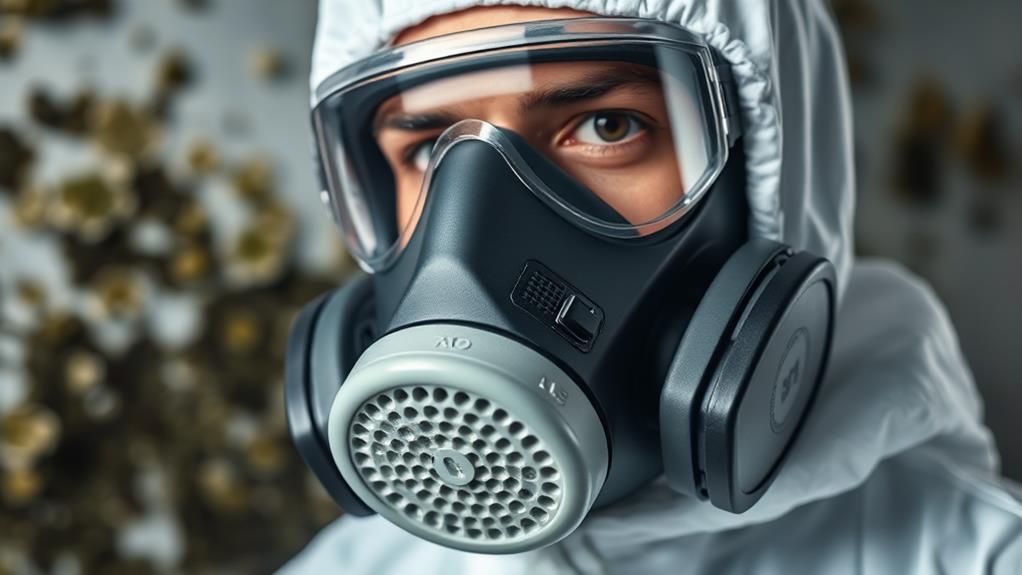
Respirator selection is crucial for DIY mold remediation projects. The most suitable option for mold removal is an N95 respirator, which filters out at least 95% of airborne particles. These respirators are designed to fit snugly against the face, creating a seal that prevents unfiltered air from entering.
For more extensive mold infestations, consider using a half-face or full-face respirator with P100 filters, which offer even greater protection against mold spores and other contaminants.
When choosing a respirator, ensure it fits properly and has been approved by the National Institute for Occupational Safety and Health (NIOSH). Facial hair can interfere with the seal, so a clean-shaven face is recommended for optimal protection. Regular disposable dust masks are inadequate for mold remediation, as they do not provide sufficient filtration or a proper seal.
In addition to respirators, wear goggles or a face shield to protect your eyes from mold spores and cleaning chemicals. For individuals with respiratory conditions or those working in severely contaminated areas, powered air-purifying respirators (PAPRs) may be necessary. Always follow manufacturer instructions for proper use, maintenance, and replacement of filters to ensure maximum protection throughout the remediation process.
Protective Eyewear
When tackling DIY mold remediation, protecting your eyes is just as crucial as safeguarding your respiratory system. Mold spores and debris can easily become airborne during the remediation process, posing a significant risk to your eyes. To prevent potential eye irritation, infections, or more serious injuries, it's essential to wear appropriate protective eyewear.
Safety goggles are the most effective choice for mold remediation projects. Look for goggles that provide a tight seal around your eyes and offer both impact and splash protection. Ensure they're rated for dust and fine particles, as these are common during mold removal. Anti-fog coatings can help maintain clear vision in humid environments where mold thrives.
For those who wear prescription glasses, consider over-glasses safety goggles or prescription safety glasses. Full-face respirators with built-in eye protection are also an excellent option, combining respiratory and eye safety in one device. Regardless of the type chosen, ensure the eyewear fits comfortably and doesn't interfere with your respirator or face mask. Remember to clean and disinfect your protective eyewear after each use to prevent cross-contamination and maintain its effectiveness for future projects.
Disposable Coveralls
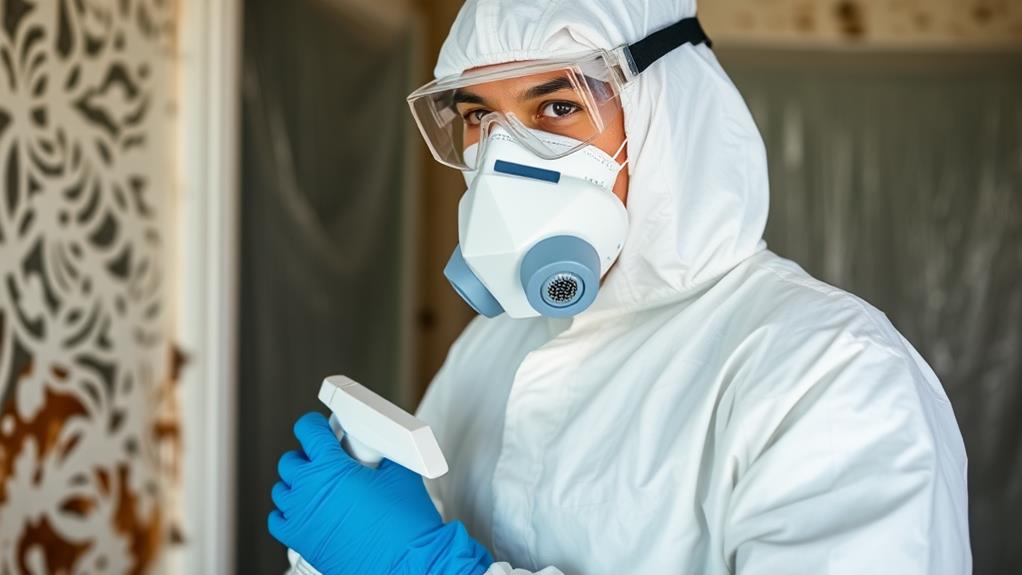
Moving from eye protection to full-body coverage, disposable coveralls play a vital role in DIY mold remediation safety. These garments act as a barrier between your skin and clothing and potentially harmful mold spores. Typically made from materials like polypropylene or polyethylene, disposable coveralls offer a lightweight yet effective defense against mold contamination.
When selecting coveralls for mold remediation, opt for those with elastic wrists, ankles, and a hood to ensure maximum coverage. Look for coveralls rated for particulate protection, ideally with a microporous film coating for added resistance against liquid splashes. Sizes range from small to XXL, so choose one that fits comfortably without restricting movement.
To use disposable coveralls effectively, put them on over your regular clothes before entering the mold-affected area. Ensure the hood covers your hair completely and that the coveralls overlap with your gloves and boot covers. After completing your work, carefully remove the coveralls by rolling them away from your body, turning them inside out. Dispose of used coveralls in a sealed plastic bag to prevent spreading mold spores.
Gloves
Proper hand protection is crucial when tackling DIY mold remediation projects. Gloves serve as a critical barrier between your skin and potentially harmful mold spores, as well as the cleaning agents used during remediation. When selecting gloves for mold removal, opt for heavy-duty, chemical-resistant options such as nitrile or neoprene.
Nitrile gloves are a popular choice due to their durability, puncture resistance, and effectiveness against a wide range of chemicals. They also provide excellent dexterity, allowing for precise movements during cleaning. Neoprene gloves offer similar protection and are particularly resistant to oils and solvents often used in mold remediation.
Ensure the gloves extend at least to your wrists, preferably with a longer cuff to tuck under your coveralls. This prevents mold spores or cleaning solutions from entering the gloves. Always check for tears or holes before use and replace gloves immediately if damaged. After completing your work, remove gloves carefully to avoid contaminating your skin, and dispose of them properly. For extensive mold remediation projects, consider using disposable gloves and changing them frequently to maintain optimal protection throughout the cleaning process.
Shoe Covers
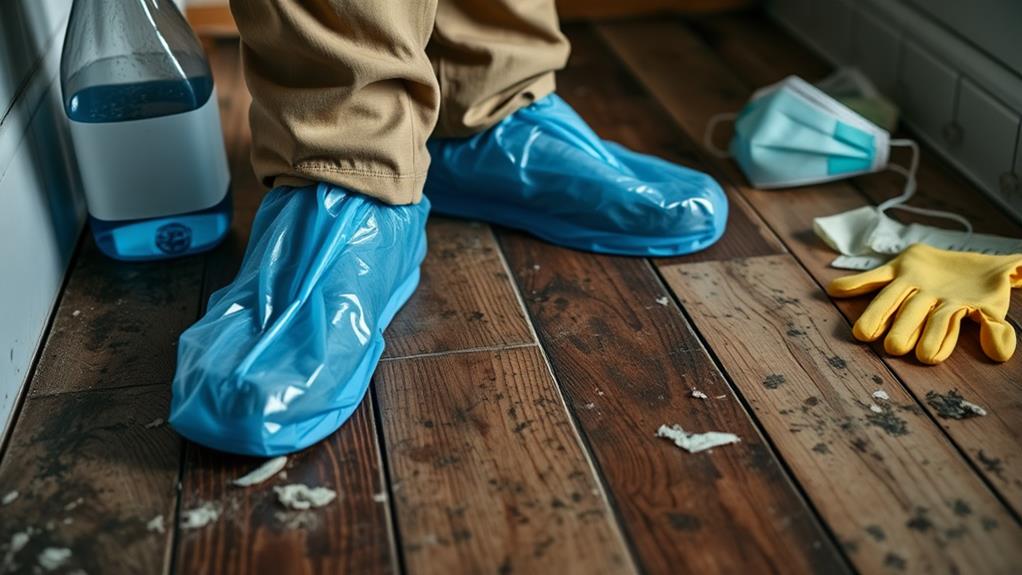
Shoe covers play a vital role in protecting both the wearer and the environment during DIY mold remediation. These disposable, lightweight barriers prevent the transfer of mold spores from contaminated areas to clean spaces, reducing the risk of cross-contamination. Made from materials like polypropylene or polyethylene, shoe covers are designed to be impermeable to liquids and microscopic particles.
When selecting shoe covers for mold remediation, opt for those with non-slip soles to ensure stability on wet or slippery surfaces. Choose a size that fits securely over your shoes without bunching or sliding. For added protection, consider boot-style covers that extend up the calf.
Always put on shoe covers before entering the contaminated area and remove them carefully when exiting to avoid spreading mold spores. Proper disposal of used shoe covers is crucial. Treat them as contaminated waste and seal them in a plastic bag before discarding. Replace shoe covers frequently during the remediation process, especially if they become visibly soiled or torn.
Hair Covers
Hair covers, also known as bouffant caps, are another indispensable component of personal protective equipment for DIY mold remediation. These lightweight, disposable covers prevent mold spores from contaminating your hair and reduce the risk of carrying spores to other areas of your home. They also help maintain a clean work environment by preventing hair from falling into the remediation area.
When selecting hair covers for mold remediation, opt for those made from non-woven, breathable materials like polypropylene. These materials offer excellent protection while allowing air circulation to keep your head cool during work. Ensure the covers have an elastic band for a secure fit around your hairline and cover all hair completely.
To use hair covers effectively, put them on before entering the contaminated area and remove them carefully when exiting. Dispose of used covers in sealed plastic bags to prevent cross-contamination. For individuals with long hair, tuck it securely under the cover or consider using a more comprehensive head covering, such as a hood. Remember that hair covers are just one part of a complete protective ensemble and should be used in conjunction with other recommended safety gear for optimal protection during mold remediation.
Cleaning Products and Disinfectants
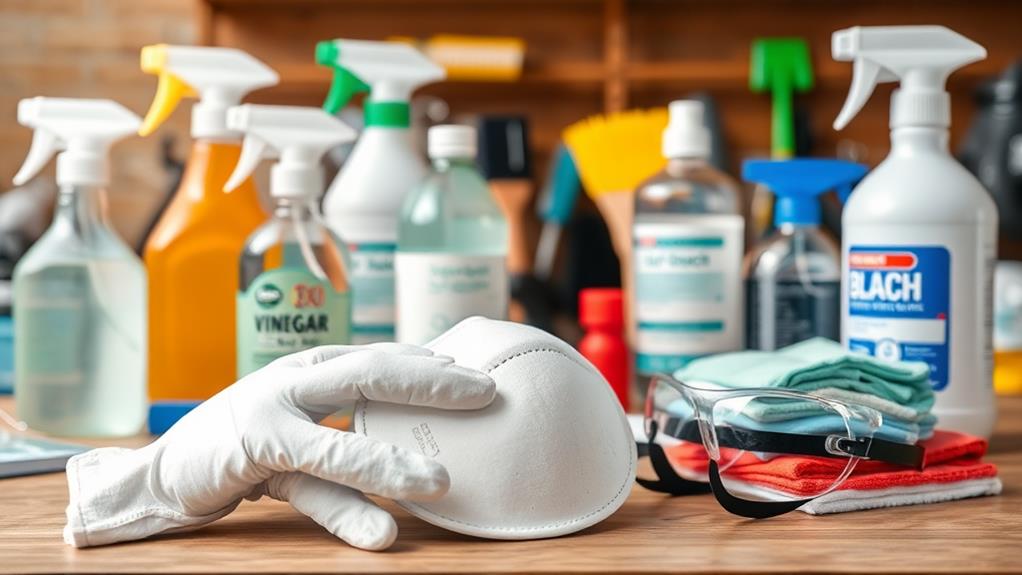
Effective cleaning products and disinfectants are crucial components of any DIY mold remediation project. When selecting these items, prioritize products specifically designed for mold removal and prevention. Common choices include bleach-based solutions, hydrogen peroxide, vinegar, and commercial anti-fungal sprays.
For general cleaning, a mixture of water and detergent can help remove surface mold. However, for more stubborn infestations, stronger solutions are necessary. Chlorine bleach, when diluted properly, is effective against many mold species. Alternatively, hydrogen peroxide (3% concentration) can be used as a less harsh option.
Commercial mold removers often contain specialized ingredients like quaternary ammonium compounds or sodium hypochlorite. These products are formulated to kill mold spores and prevent regrowth. When using any cleaning product, always follow the manufacturer's instructions for dilution and application.
After cleaning, applying a mold-inhibiting solution can help prevent future growth. Products containing concrobium or other antimicrobial agents are effective for this purpose. Remember to thoroughly ventilate the area during and after the cleaning process to minimize exposure to fumes and allow surfaces to dry completely.
Containment Materials
Isolation is key when dealing with mold remediation, making containment materials essential for any DIY project. These materials help prevent the spread of mold spores to unaffected areas of your home during the cleanup process. The primary containment materials include heavy-duty plastic sheeting, duct tape, and zipper-style plastic barriers.
Plastic sheeting, typically 6-mil polyethylene, should be used to seal off the affected area. This creates a barrier between the contaminated space and the rest of your home. Duct tape is crucial for securing the plastic sheeting to walls, floors, and ceilings, ensuring a tight seal. Zipper-style plastic barriers are ideal for creating temporary doorways, allowing access to the work area while maintaining containment.
Additional containment materials include negative air machines or HEPA air scrubbers, which help filter the air and maintain negative pressure within the contained area. This prevents mold spores from escaping into other parts of your home. Disposable booties and protective clothing should also be considered part of your containment strategy, as they prevent the transfer of mold spores on your person when entering and exiting the work area.
Moisture Meters
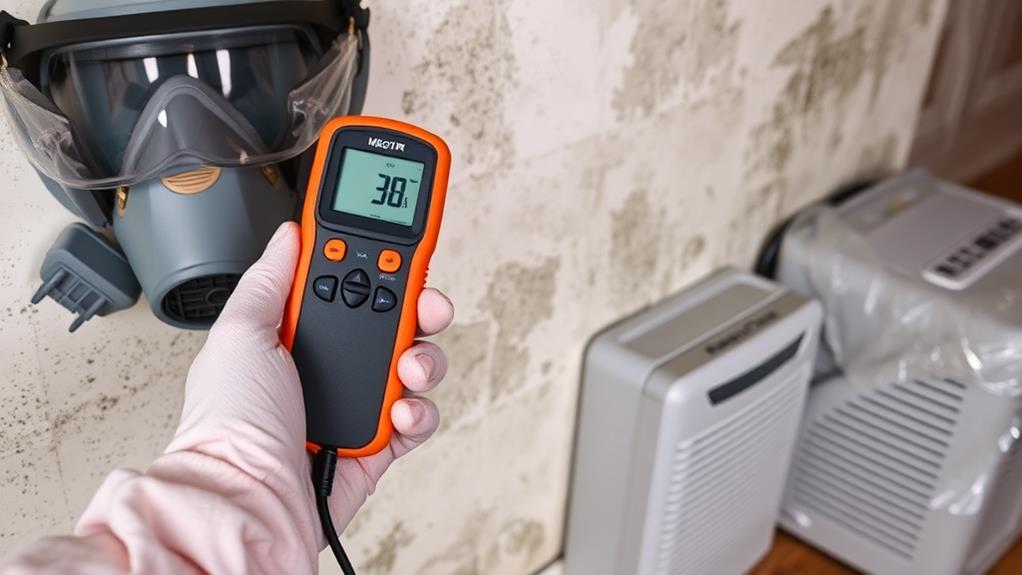
A crucial tool in any DIY mold remediation kit is a moisture meter. This device helps identify areas of excess moisture that may be conducive to mold growth. Moisture meters come in two main types: pin-type and pinless. Pin-type meters use two metal probes to measure electrical resistance in materials, while pinless meters use electromagnetic waves to detect moisture content.
When selecting a moisture meter for mold remediation, opt for a model that can measure both wood and other building materials. Look for features such as adjustable material settings, digital displays, and hold functions for easy reading. Some advanced models even include data logging capabilities and Bluetooth connectivity for smartphone integration.
To use a moisture meter effectively, take readings in multiple locations, including areas adjacent to visible mold growth. Compare these readings to dry, unaffected areas to establish a baseline. Generally, moisture content above 16% in wood or elevated readings in other materials indicate potential mold-friendly conditions. Regular use of a moisture meter during and after remediation helps ensure thorough drying and prevents future mold growth.
Proper Disposal Equipment
When undertaking DIY mold remediation, proper disposal equipment is essential for safely removing and containing contaminated materials. Heavy-duty plastic bags, preferably 6-mil thickness or greater, are crucial for sealing and disposing of moldy items. These bags should be securely tied and labeled to indicate their hazardous contents.
For larger remediation projects, consider renting or purchasing a HEPA-filtered vacuum specifically designed for mold cleanup. This specialized equipment efficiently collects mold spores and prevents them from spreading during the disposal process. Disposable coveralls, gloves, and shoe covers should be worn during the cleanup and discarded after use to prevent cross-contamination.
A spray bottle filled with a fungicidal solution is necessary for treating surfaces before disposal. This helps neutralize mold spores and reduce the risk of further contamination. For transporting contaminated materials, use sturdy, sealable containers or double-bag items to prevent spills or tears during transit. Finally, ensure you have access to a designated disposal site that accepts mold-contaminated materials, as not all landfills or waste facilities are equipped to handle such waste safely.
Frequently Asked Questions
How Long Does DIY Mold Remediation Typically Take?
The duration of DIY mold remediation varies depending on the extent of the mold problem and the size of the affected area. Typically, small-scale projects can take a few days, while larger or more severe cases may require several weeks to complete.
Can I Reuse Any of the Safety Gear for Future Projects?
Reusing safety gear for future projects depends on the item. Respirators with replaceable filters can be reused. Disposable coveralls and gloves should be discarded. Goggles can be sanitized and reused. Always follow manufacturer guidelines for proper care and replacement.
What's the Average Cost of a Complete DIY Mold Remediation Kit?
Like a beacon of hope for budget-conscious homeowners, a complete DIY mold remediation kit typically ranges from $100 to $300. This investment covers essential safety gear, cleaning solutions, and tools necessary for tackling small to medium-sized mold problems effectively.
Are There Any Health Conditions That Prevent Someone From Doing Mold Remediation?
Several health conditions can preclude individuals from performing mold remediation. These include respiratory issues, weakened immune systems, allergies, and asthma. Pregnant women and those with skin sensitivities should also avoid direct exposure to mold during remediation activities.
How Can I Tell if the Mold Problem Is Too Severe for DIY?
Like a ship's captain navigating treacherous waters, assess the mold's extent. If it covers more than 10 square feet, affects structural elements, or stems from sewage contamination, it's best to seek professional help for remediation.
Conclusion
Proper safety gear is the cornerstone of effective DIY mold remediation, akin to a knight's armor in battle against a microscopic foe. A study by the EPA found that 21% of asthma cases can be attributed to mold exposure, underscoring the importance of protection. From respirators to containment materials, each piece of equipment plays a crucial role in safeguarding health and ensuring thorough remediation. Investing in quality safety gear is an essential first step in reclaiming a mold-free environment.
