
When designing a universally accessible bathroom, focus on spacious layouts with 60-inch turning radii and 30×48-inch clear spaces in front of fixtures. Choose non-slip flooring and eliminate thresholds for easy navigation. Install wall-mounted sinks, lever faucets, and comfort-height toilets with nearby grab bars. Ensure proper lighting with multiple sources and use high-contrast color schemes to enhance visibility. Don't forget safety features like anti-slip surfaces and fold-down shower seats. By considering these elements, you'll create a bathroom that's safe and comfortable for users of all abilities. There's much more to explore in creating an inclusive bathroom design.
Space Planning and Layout
Three key elements define effective space planning and layout for a universally accessible bathroom: clearance, reach ranges, and flexible design. When planning your bathroom, ensure there's ample clearance for wheelchair users to maneuver comfortably. This means providing a 60-inch turning radius and 30×48-inch clear floor space in front of each fixture.
Consider the reach ranges of all potential users, including those in wheelchairs or with limited mobility. Install fixtures, controls, and storage within easy reach, typically between 15 and 48 inches from the floor.
Opt for a flexible design that accommodates various needs. Include adjustable-height features like sinks, mirrors, and shower heads. Plan for potential future modifications by reinforcing walls for grab bar installation. Choose a curbless shower design with a slight slope for drainage, allowing easy access for everyone.
Consider a wall-mounted toilet and sink to maximize floor space and adjustability. Place towel bars and toilet paper holders within reach from both standing and seated positions. By focusing on these space planning principles, you'll create a bathroom that's not only accessible but also adaptable to changing needs over time.
Flooring and Threshold Considerations
With the layout optimized for accessibility, let's focus on the ground beneath our feet. Your bathroom floor plays a crucial role in safety and comfort for all users. Choose non-slip flooring materials like textured tiles, vinyl, or rubber to prevent accidents, especially when wet. Ensure the flooring is level throughout the space, eliminating any sudden changes in height that could pose tripping hazards.
When it comes to thresholds, aim for a zero-entry design. This means there's no raised barrier between the bathroom and adjacent rooms, allowing for seamless wheelchair access. If a threshold is unavoidable, keep it no higher than 1/2 inch and beveled on both sides for easy navigation.
Consider using contrasting colors or patterns between the floor and walls to help those with visual impairments distinguish boundaries. For added safety, install non-slip strips near key areas like the toilet, sink, and shower.
Don't forget about proper drainage. Slight slopes towards drains will prevent water accumulation, reducing slip risks. By prioritizing these flooring and threshold considerations, you'll create a bathroom that's not only accessible but also safer for everyone who uses it.
Fixtures and Fittings Selection
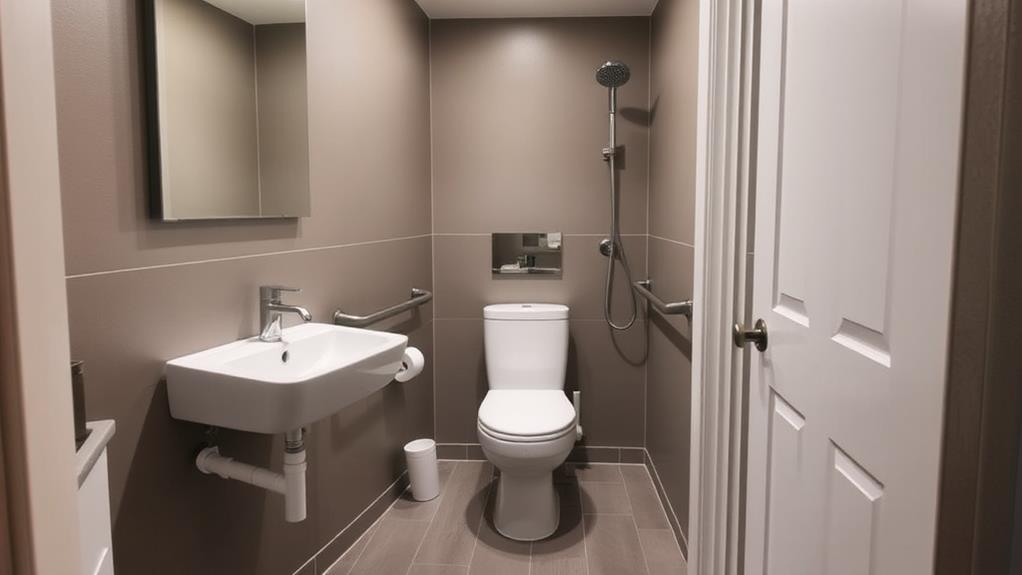
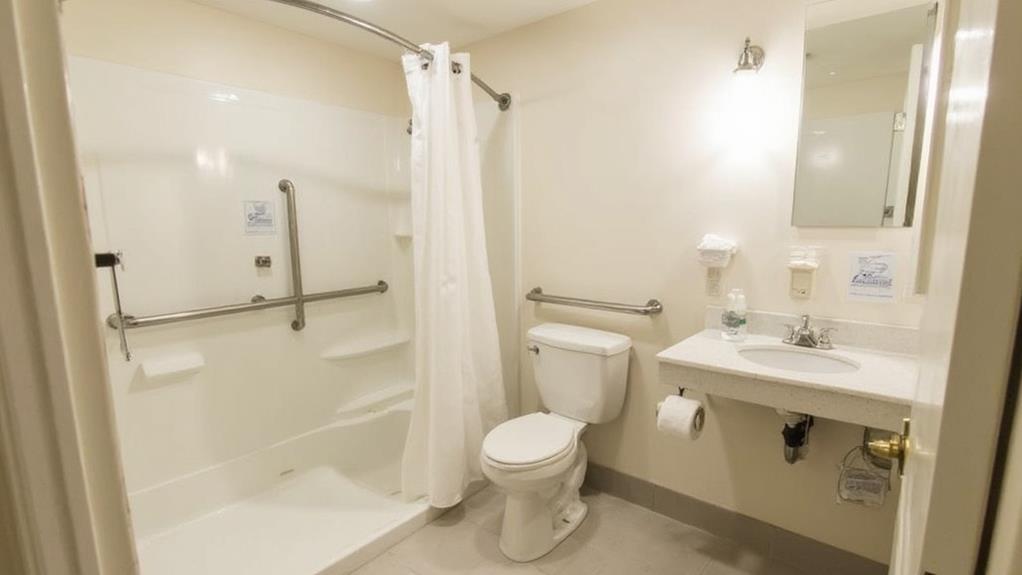
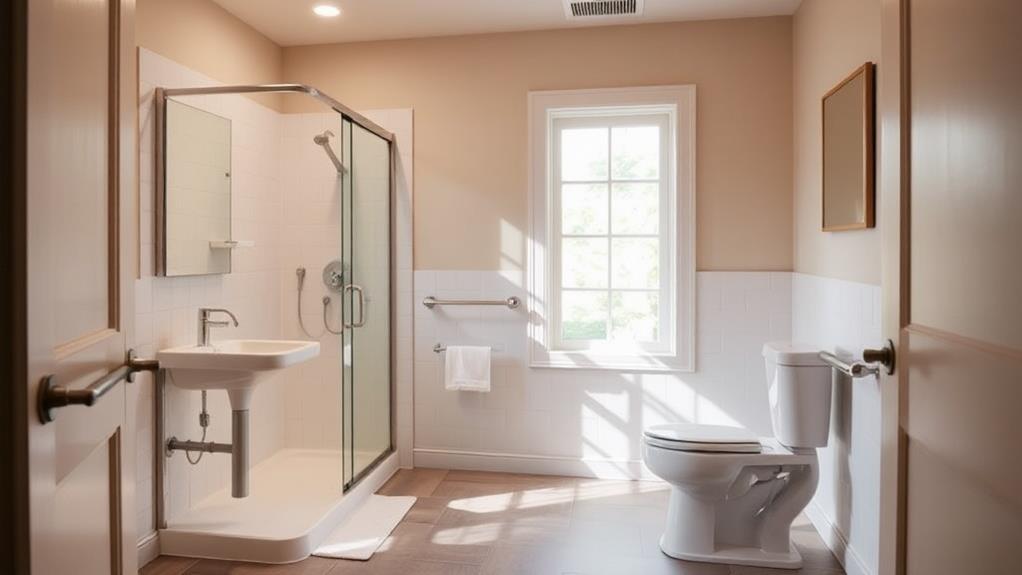
When it comes to fixtures and fittings, your choices can make or break the accessibility of your bathroom. Select a wall-mounted sink with knee clearance underneath to accommodate wheelchair users. Opt for lever-style faucets that are easy to operate with limited hand mobility. Install grab bars near the toilet, shower, and tub areas to provide support and stability.
Choose a comfort-height toilet (17-19 inches tall) with a elongated bowl for easier transfers. Consider a wall-hung model for added floor space. For the shower, install a curbless entry with a handheld showerhead and thermostatic mixing valve to prevent scalding. A fold-down shower seat is essential for those who can't stand for long periods.
When selecting a bathtub, look for models with a wide deck for easier transfers and a non-slip bottom. Install an adjustable-height toilet paper holder and towel bars at various heights to accommodate different users. Don't forget to place electrical outlets and light switches at accessible heights (15-48 inches from the floor). By carefully selecting these fixtures and fittings, you'll create a bathroom that's both functional and inclusive for all users.
Lighting and Color Schemes
Now that we've covered the physical elements of an accessible bathroom, let's focus on creating an environment that's visually comfortable and safe for all users. Proper lighting and color schemes play a crucial role in enhancing accessibility and safety for people with various visual impairments.
Start by incorporating multiple light sources to eliminate shadows and ensure even illumination throughout the space. Install bright, glare-free LED lights overhead, and add task lighting near the mirror and sink area. Consider motion-activated lights for nighttime use, reducing the risk of falls.
When selecting colors, opt for high-contrast combinations to help visually impaired users distinguish between different surfaces and fixtures. Use darker colors for grab bars and toilet seats against lighter walls and floors. Avoid busy patterns that can be disorienting for some users.
Choose matte finishes for surfaces to minimize glare and reflection. Ensure that light switches and electrical outlets contrast with the wall color for easy identification. Consider using color-coded faucets for hot and cold water, making them more intuitive to use.
Safety Features and Accessories
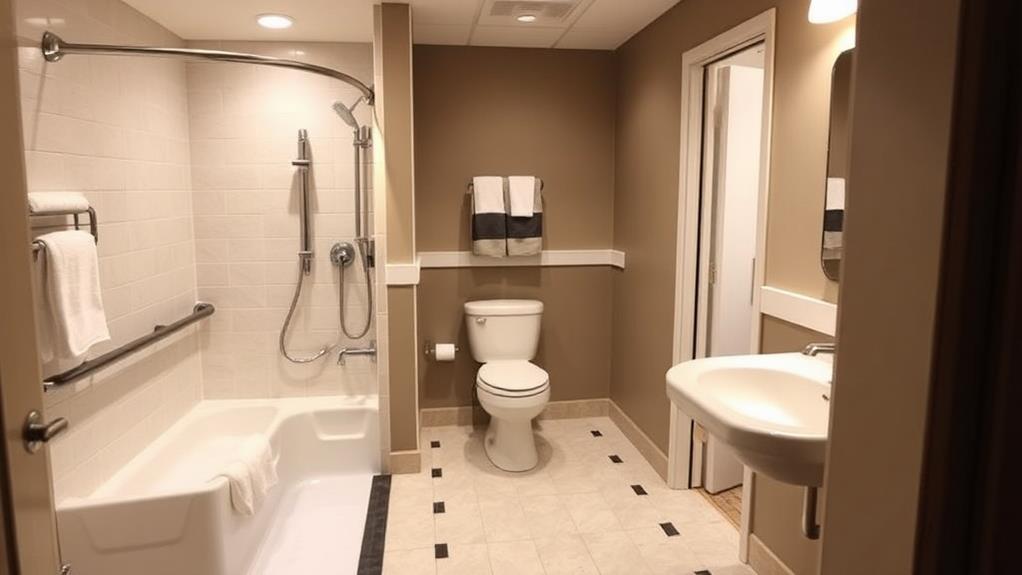
Safety-first design is paramount when creating a universally accessible bathroom. You'll want to incorporate several key features to ensure the space is safe for all users. Start by installing grab bars near the toilet, shower, and bathtub. These should be sturdy, securely mounted, and positioned at appropriate heights for both standing and seated users.
Non-slip flooring is essential throughout the bathroom, especially in wet areas. Choose textured tiles or apply anti-slip treatments to existing surfaces. In the shower, add a fold-down seat and a handheld showerhead with an adjustable height bar. For the bathtub, consider a walk-in model or install a transfer bench to ease entry and exit.
Include a raised toilet seat or comfort-height toilet to accommodate those with mobility issues. Install lever-style faucets and door handles, which are easier to operate than knobs. Don't forget emergency features like a waterproof call button or pull cord. Lastly, ensure all accessories, such as soap dispensers, towel bars, and toilet paper holders, are within easy reach from both standing and seated positions. These safety features and accessories will create a bathroom that's not only accessible but also comfortable and secure for all users.
Conclusion
You've laid the foundation for a bathroom that welcomes all, like a lighthouse guiding ships to shore. Your carefully chosen fixtures and thoughtful layout are the open arms that embrace every user. The safe, slip-resistant flooring is the solid ground beneath their feet, while the strategic lighting illuminates their path. As you finalize your design, remember: this space isn't just a bathroom—it's a beacon of independence and dignity for everyone who enters.