

Transform your space affordably with these DIY painting tricks. Color blocking creates modern impact, while ombre walls add depth. Stenciling offers intricate designs on a budget, and textured techniques bring visual interest. Create an accent wall for maximum effect, or use faux finishes to mimic luxury materials. Striped walls add dimension, while proper edge techniques ensure professional results. Chalkboard paint turns surfaces into creative canvases, and ceiling makeovers elevate the entire room. Finally, upcycle furniture with paint for a fresh look. These simple yet effective methods can dramatically change your living space without breaking the bank. Discover how easy it is to revitalize your home with just a brush and some imagination.
Color Blocking for Visual Impact

Color blocking's bold approach to interior design can transform a room with striking visual impact. This technique involves painting large, geometric shapes in contrasting colors on walls or furniture, creating a modern and dynamic aesthetic. To implement color blocking effectively, start by selecting a harmonious color palette with two to four hues that complement each other while providing visual contrast.
Begin by measuring and marking your desired shapes on the wall using painter's tape. Consider incorporating existing architectural features or creating abstract designs for added interest. Apply base coats of paint and allow them to dry completely before removing the tape and adding subsequent layers. For clean, crisp lines, use high-quality brushes or rollers and apply multiple thin coats rather than one thick layer.
Experiment with different color combinations and shapes to achieve the desired effect. Vertical stripes can make a room appear taller, while horizontal blocks can visually widen a space. For a subtler approach, try color blocking on a single accent wall or piece of furniture. Remember to balance bold color choices with neutral elements in the room to prevent overwhelming the space. With careful planning and execution, color blocking can become a cost-effective way to add personality and style to any room.
Ombre Walls Made Easy
Creating a subtle gradient effect, ombre walls offer a sophisticated and visually appealing alternative to traditional solid-colored surfaces. This technique, which involves blending two or more shades of the same color family, can add depth and dimension to any room.
To achieve this look, start by selecting a light base color and a darker shade of the same hue. Divide your wall into three or four horizontal sections, marking them lightly with a pencil.
Begin painting the darkest shade at the bottom of the wall, gradually lightening the color as you move upward. Use a dry brush technique to blend the colors where they meet, creating a seamless transition. For best results, work in small sections and blend while the paint is still wet. A spray bottle filled with water can help keep the paint moist and workable.
To simplify the process, consider using paint with built-in primer to reduce the number of coats needed. Alternatively, pre-mixed ombre paint kits are available, offering a foolproof solution for achieving this trendy look with minimal effort and expertise.
Stenciling on a Budget

While ombre walls offer a sophisticated look, stenciling provides an equally eye-catching yet cost-effective way to enhance your home's interior. This technique allows you to create intricate patterns and designs without breaking the bank. To start, choose a simple stencil design that complements your room's style. You can find affordable stencils online or at craft stores, or even create your own using sturdy cardstock.
Before applying the stencil, ensure your wall is clean and dry. Use painter's tape to secure the stencil in place and prevent paint bleed. Opt for a foam roller or stencil brush for smooth application, and use minimal paint to avoid seepage under the stencil edges. For a budget-friendly approach, mix your own custom paint colors using leftover paints from previous projects.
To achieve a professional look, maintain consistent pressure when applying paint and remove the stencil carefully to prevent smudging. Allow each section to dry completely before moving on to adjacent areas. For added depth, consider using multiple colors or incorporating metallic accents. With patience and attention to detail, stenciling can transform your space into a custom work of art without the hefty price tag.
Textured Paint Techniques
Texture adds depth and visual interest to walls, elevating them beyond simple flat surfaces. Affordable textured paint techniques can dramatically transform a room without breaking the bank.
One popular method is the rag rolling technique, which involves applying paint with a crumpled cloth to create a mottled effect. Another option is sponge painting, where a natural sea sponge is used to dab paint onto the wall, creating a subtle, organic texture.
For a more pronounced texture, consider using a slap brush technique. This involves applying a base coat, then slapping a special brush against the wet paint to create raised patterns. Alternatively, the comb technique uses a rubber comb or brush to create linear textures in wet paint. Sand painting is another cost-effective option, where fine sand is mixed with paint to create a gritty, tactile surface.
When attempting these techniques, practice on a sample board first to perfect your method. Always work in small sections and blend edges to avoid visible seams. With patience and creativity, these textured paint techniques can give your walls a custom, high-end look without the hefty price tag.
Accent Wall Magic
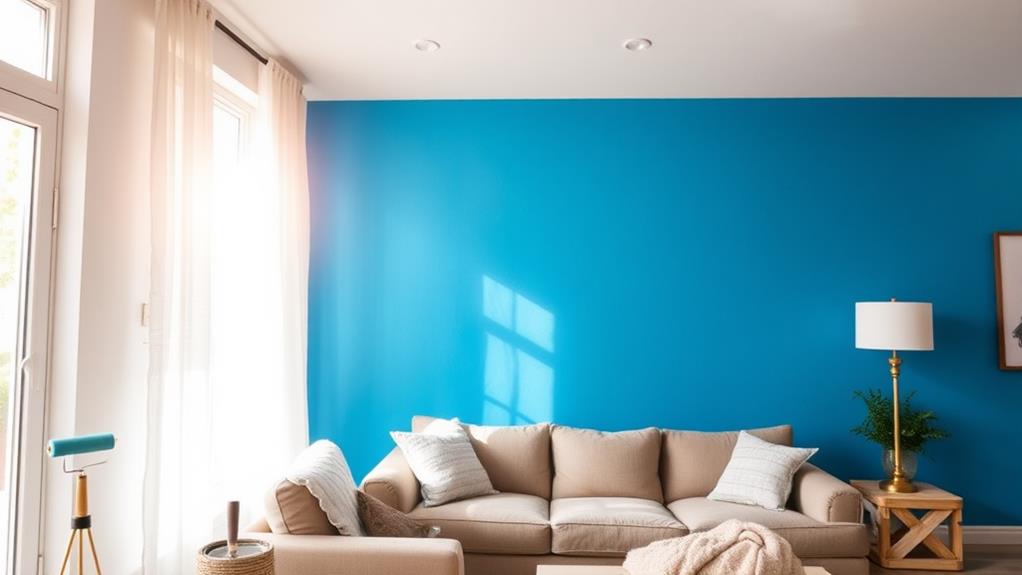
An accent wall can instantly elevate a room's aesthetic appeal and create a focal point without the need for a complete overhaul. To achieve maximum impact, select a wall that naturally draws attention, such as the one behind a bed or fireplace. Choose a color that complements the existing palette while adding depth and interest to the space.
For a budget-friendly approach, consider using paint techniques to create texture or pattern on your accent wall. Stencils offer a cost-effective way to add intricate designs, while ombre effects can be achieved by gradually blending two or more colors. Geometric patterns, created using painter's tape, can add a modern touch to any room.
Another innovative option is to use removable wallpaper or peel-and-stick murals for a temporary yet impactful accent wall. These alternatives are ideal for renters or those who like to frequently update their decor. For a unique twist, experiment with unexpected materials like reclaimed wood, fabric, or even carefully arranged book spines to create a personalized accent wall that reflects your style and personality.
Faux Finish Fakery
Faux finish techniques offer an affordable way to mimic high-end materials and textures without the associated costs. These methods can transform plain walls into surfaces that resemble marble, leather, wood grain, or even metallic finishes.
To achieve a faux marble effect, use a sponge to dab on various shades of paint, then blend with a feather or soft brush. For a leather look, apply a base coat, then use a textured roller to create a subtle pattern.
Wood grain effects can be achieved by using a wood graining tool and glaze over a base color. Metallic finishes are created by applying a metallic paint with a roller or brush, then gently dabbing with a sponge for added texture. Rag rolling is another versatile technique that can create depth and interest on walls. Simply apply a glaze over a base coat, then use a crumpled rag to remove some of the glaze in a random pattern.
For best results, practice these techniques on a small, inconspicuous area or a piece of scrap material before tackling larger surfaces. With patience and attention to detail, these faux finish tricks can give your room a high-end look on a budget.
Striped Walls Without Tears

Creating striped walls can add visual interest and depth to any room, but the process can be daunting for many DIY enthusiasts. With the right techniques and tools, however, you can achieve professional-looking results without the frustration.
Start by choosing your colors and deciding on the width of your stripes. Measure the wall carefully and mark the stripe locations with a pencil and level. Use painter's tape to create crisp lines, pressing the edges firmly to prevent bleeding. For textured walls, apply a thin layer of the base color along the tape edges to seal them.
When painting, use a small foam roller for smooth coverage and minimal texture. Apply thin, even coats, allowing each to dry completely before adding the next. Remove the tape while the paint is still slightly damp to avoid peeling.
For more complex patterns, consider using a laser level to ensure perfectly straight lines. Alternating matte and glossy finishes of the same color can create subtle, sophisticated stripes. Remember to protect baseboards, trim, and floors with drop cloths and additional tape to keep your project neat and professional.
Chalkboard Paint Creativity
Chalkboard paint offers a versatile and interactive surface for walls, furniture, and various household items. This innovative paint transforms ordinary surfaces into writable, erasable canvases, perfect for creative expression, organization, or playful spaces. Available in various colors beyond traditional black, chalkboard paint can complement any décor style.
To apply chalkboard paint effectively, start with a smooth surface. Sand rough areas and apply a primer if needed. Use a foam roller for even coverage and apply multiple thin coats, allowing each to dry completely. Once cured, condition the surface by rubbing chalk over it and erasing.
Chalkboard paint isn't limited to walls; consider applying it to cabinet doors for grocery lists, tabletops for game nights, or even flowerpots for plant labels. In children's rooms, create designated drawing areas or homework spaces. For adults, use it in home offices for brainstorming or in kitchens for menu planning.
Maintain your chalkboard surface by cleaning it regularly with a damp cloth and avoiding harsh chemicals. Periodically recondition the surface to maintain its writeability. With proper care, your chalkboard paint creation will provide years of functional and aesthetic enjoyment.
Ceiling Makeover Tricks

Often overlooked, ceilings present a canvas for dramatic home transformations. With a few simple painting tricks, you can elevate any room's ambiance without breaking the bank. One popular technique is the tray ceiling effect, achieved by painting the center portion a lighter shade than the surrounding area. This creates depth and visual interest, making the room appear larger.
For a bold statement, consider painting your ceiling a contrasting color to the walls. This unexpected twist can add character and warmth to a space. Alternatively, use stencils to create intricate patterns or faux architectural details, such as medallions or coffers. These design elements add sophistication without the cost of actual moldings.
Textured finishes offer another avenue for ceiling makeovers. Techniques like sponging, rag rolling, or stippling can add dimension and hide minor imperfections. For a subtle sheen, try using metallic paint or adding a glaze over a base color. This catches and reflects light, creating a soft glow that enhances the room's atmosphere. Remember to prep the surface properly and use quality materials for best results.
Furniture Upcycling With Paint
Furniture upcycling with paint has become a popular and cost-effective way to breathe new life into old or outdated pieces. This creative process allows homeowners to transform worn-out furniture into stylish, personalized items that complement their decor.
To begin, thoroughly clean and sand the piece to ensure proper paint adhesion. Choose a high-quality primer and paint suitable for the furniture's material, such as wood, metal, or plastic.
For a modern look, consider using chalk paint, which provides a matte finish and doesn't require sanding. Experiment with bold colors or create a distressed appearance by sanding edges after painting. Stencils and tape can be used to add intricate patterns or geometric designs. For a unique touch, try color blocking or ombre effects.
Don't forget to protect your newly painted furniture with a clear topcoat or wax. This will enhance durability and make cleaning easier. Updating hardware, such as knobs and handles, can further elevate the piece's appearance.
With patience and creativity, furniture upcycling can dramatically change the look of a room while saving money and reducing waste.
Frequently Asked Questions
How Long Should I Wait Between Coats of Paint?
For optimal results, wait 2-4 hours between coats of latex paint and 24 hours for oil-based paint. However, always consult the manufacturer's recommendations, as drying times can vary based on humidity, temperature, and paint type.
What's the Best Way to Remove Paint From Clothes?
Ironically, the best way to remove paint from clothes is to avoid getting it there in the first place. However, when accidents happen, promptly treat the stain with a solvent appropriate for the paint type—acetone for oil-based, soap for water-based.
Can I Paint Over Wallpaper Instead of Removing It?
Painting over wallpaper is possible, but not always recommended. Proper preparation is crucial for success. Clean the surface, repair any damage, and apply a specialized primer before painting. Consider potential issues like adhesion and texture transfer before proceeding.
How Do I Properly Dispose of Leftover Paint and Materials?
To properly dispose of leftover paint and materials, check local regulations. For latex paint, allow it to dry completely before disposal. Oil-based paints require special handling. Recycle empty cans and donate usable paint when possible.
What's the Ideal Room Temperature for Painting Interior Walls?
Interestingly, paint drying time can increase by 50% in cooler temperatures. For optimal results, maintain a room temperature between 50°F and 85°F (10°C to 29°C) when painting interior walls. This range ensures proper paint application and drying.
Conclusion
In conclusion, these economical painting techniques offer a plethora of options for enhancing living spaces without substantial financial outlay. From the subtle elegance of ombre walls to the bold statements of color blocking, these methods provide ample opportunity for artistic expression. The application of textured finishes and creative use of chalkboard paint further expand the possibilities for personalization. By employing these strategies, even the most modest abode can be transformed into a visually captivating sanctuary, demonstrating that financial constraints need not impede the pursuit of aesthetic excellence.